
I’m not going to sugar coat it; I’ve hated our dining room since… forever.
There wasn’t anything really gross about it. I just wasn’t my style. And since we have an open concept house, my least favorite room was always in my face.
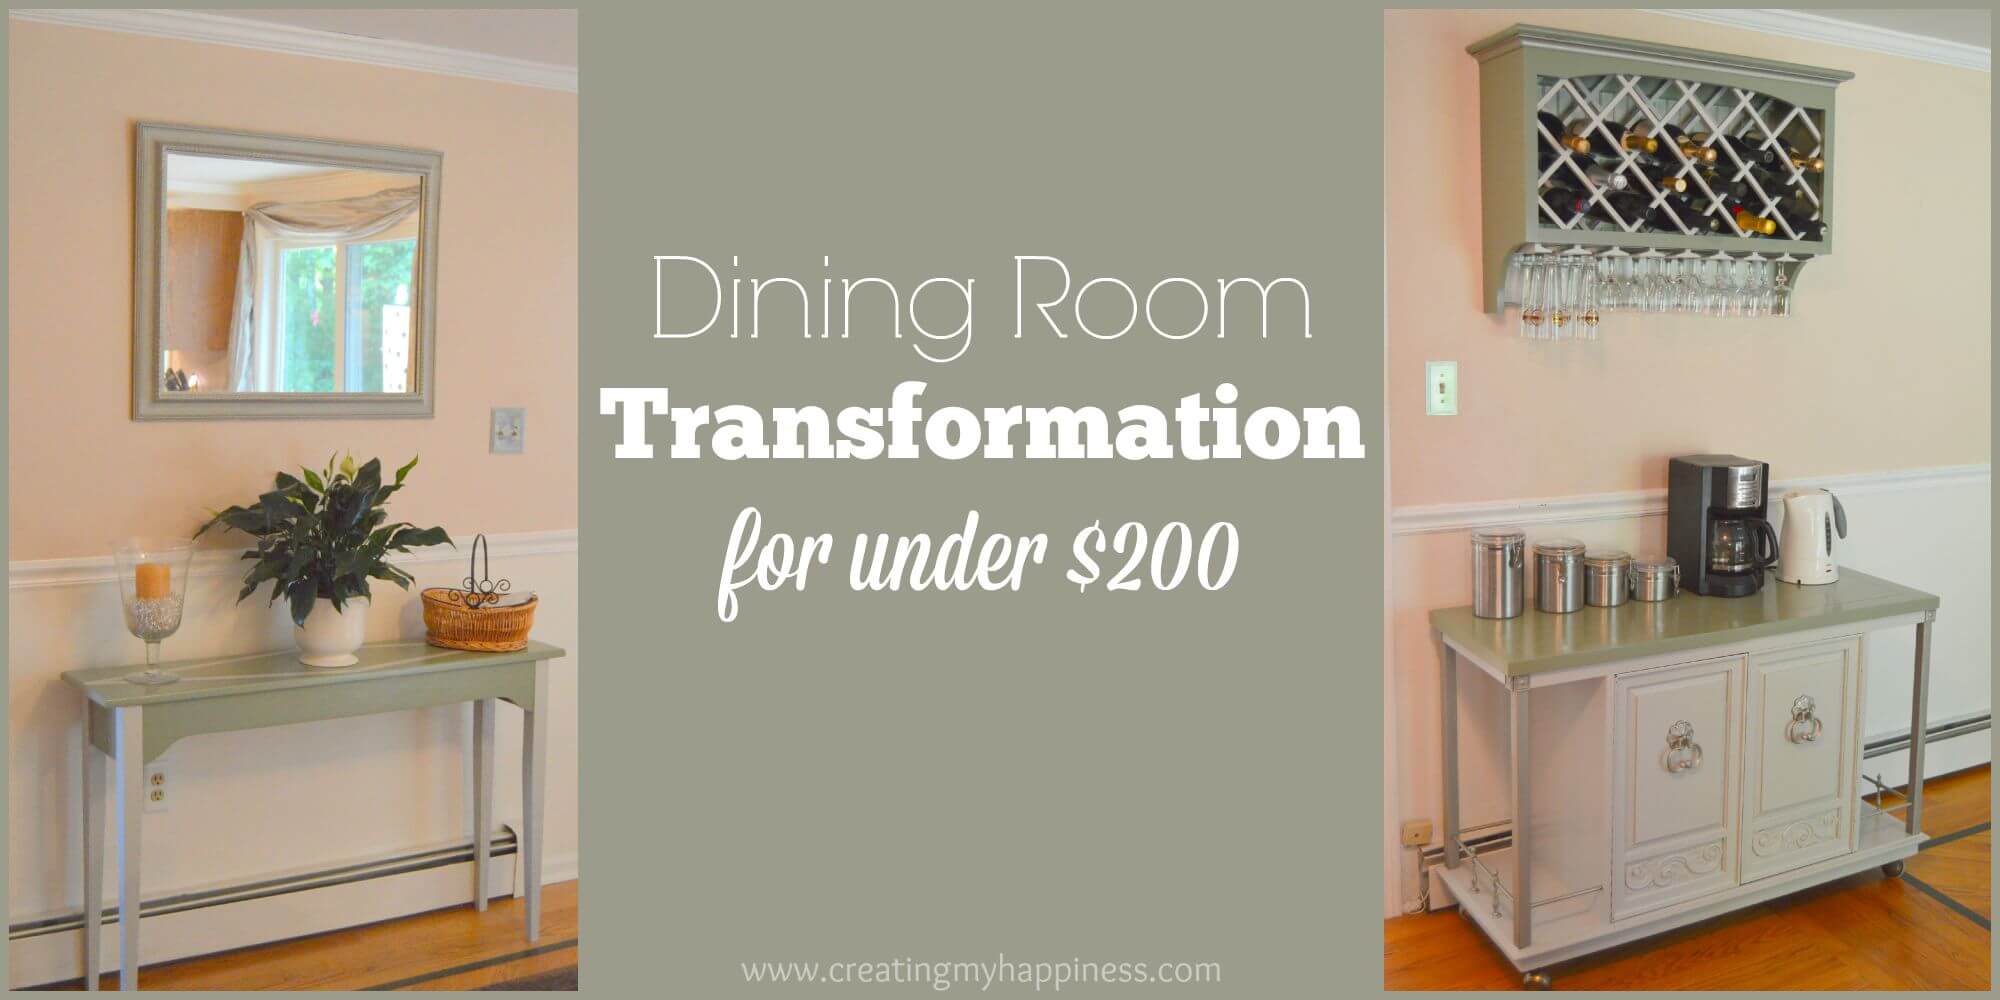
Now it’s been 6 years, and I’m finally doing something about it. On a budget. That’s key here. While I would love to do a full renovation of the kitchen and dining room, it’s just not a financial priority right now. I set myself a budget of $200 and was determined to stick to it.
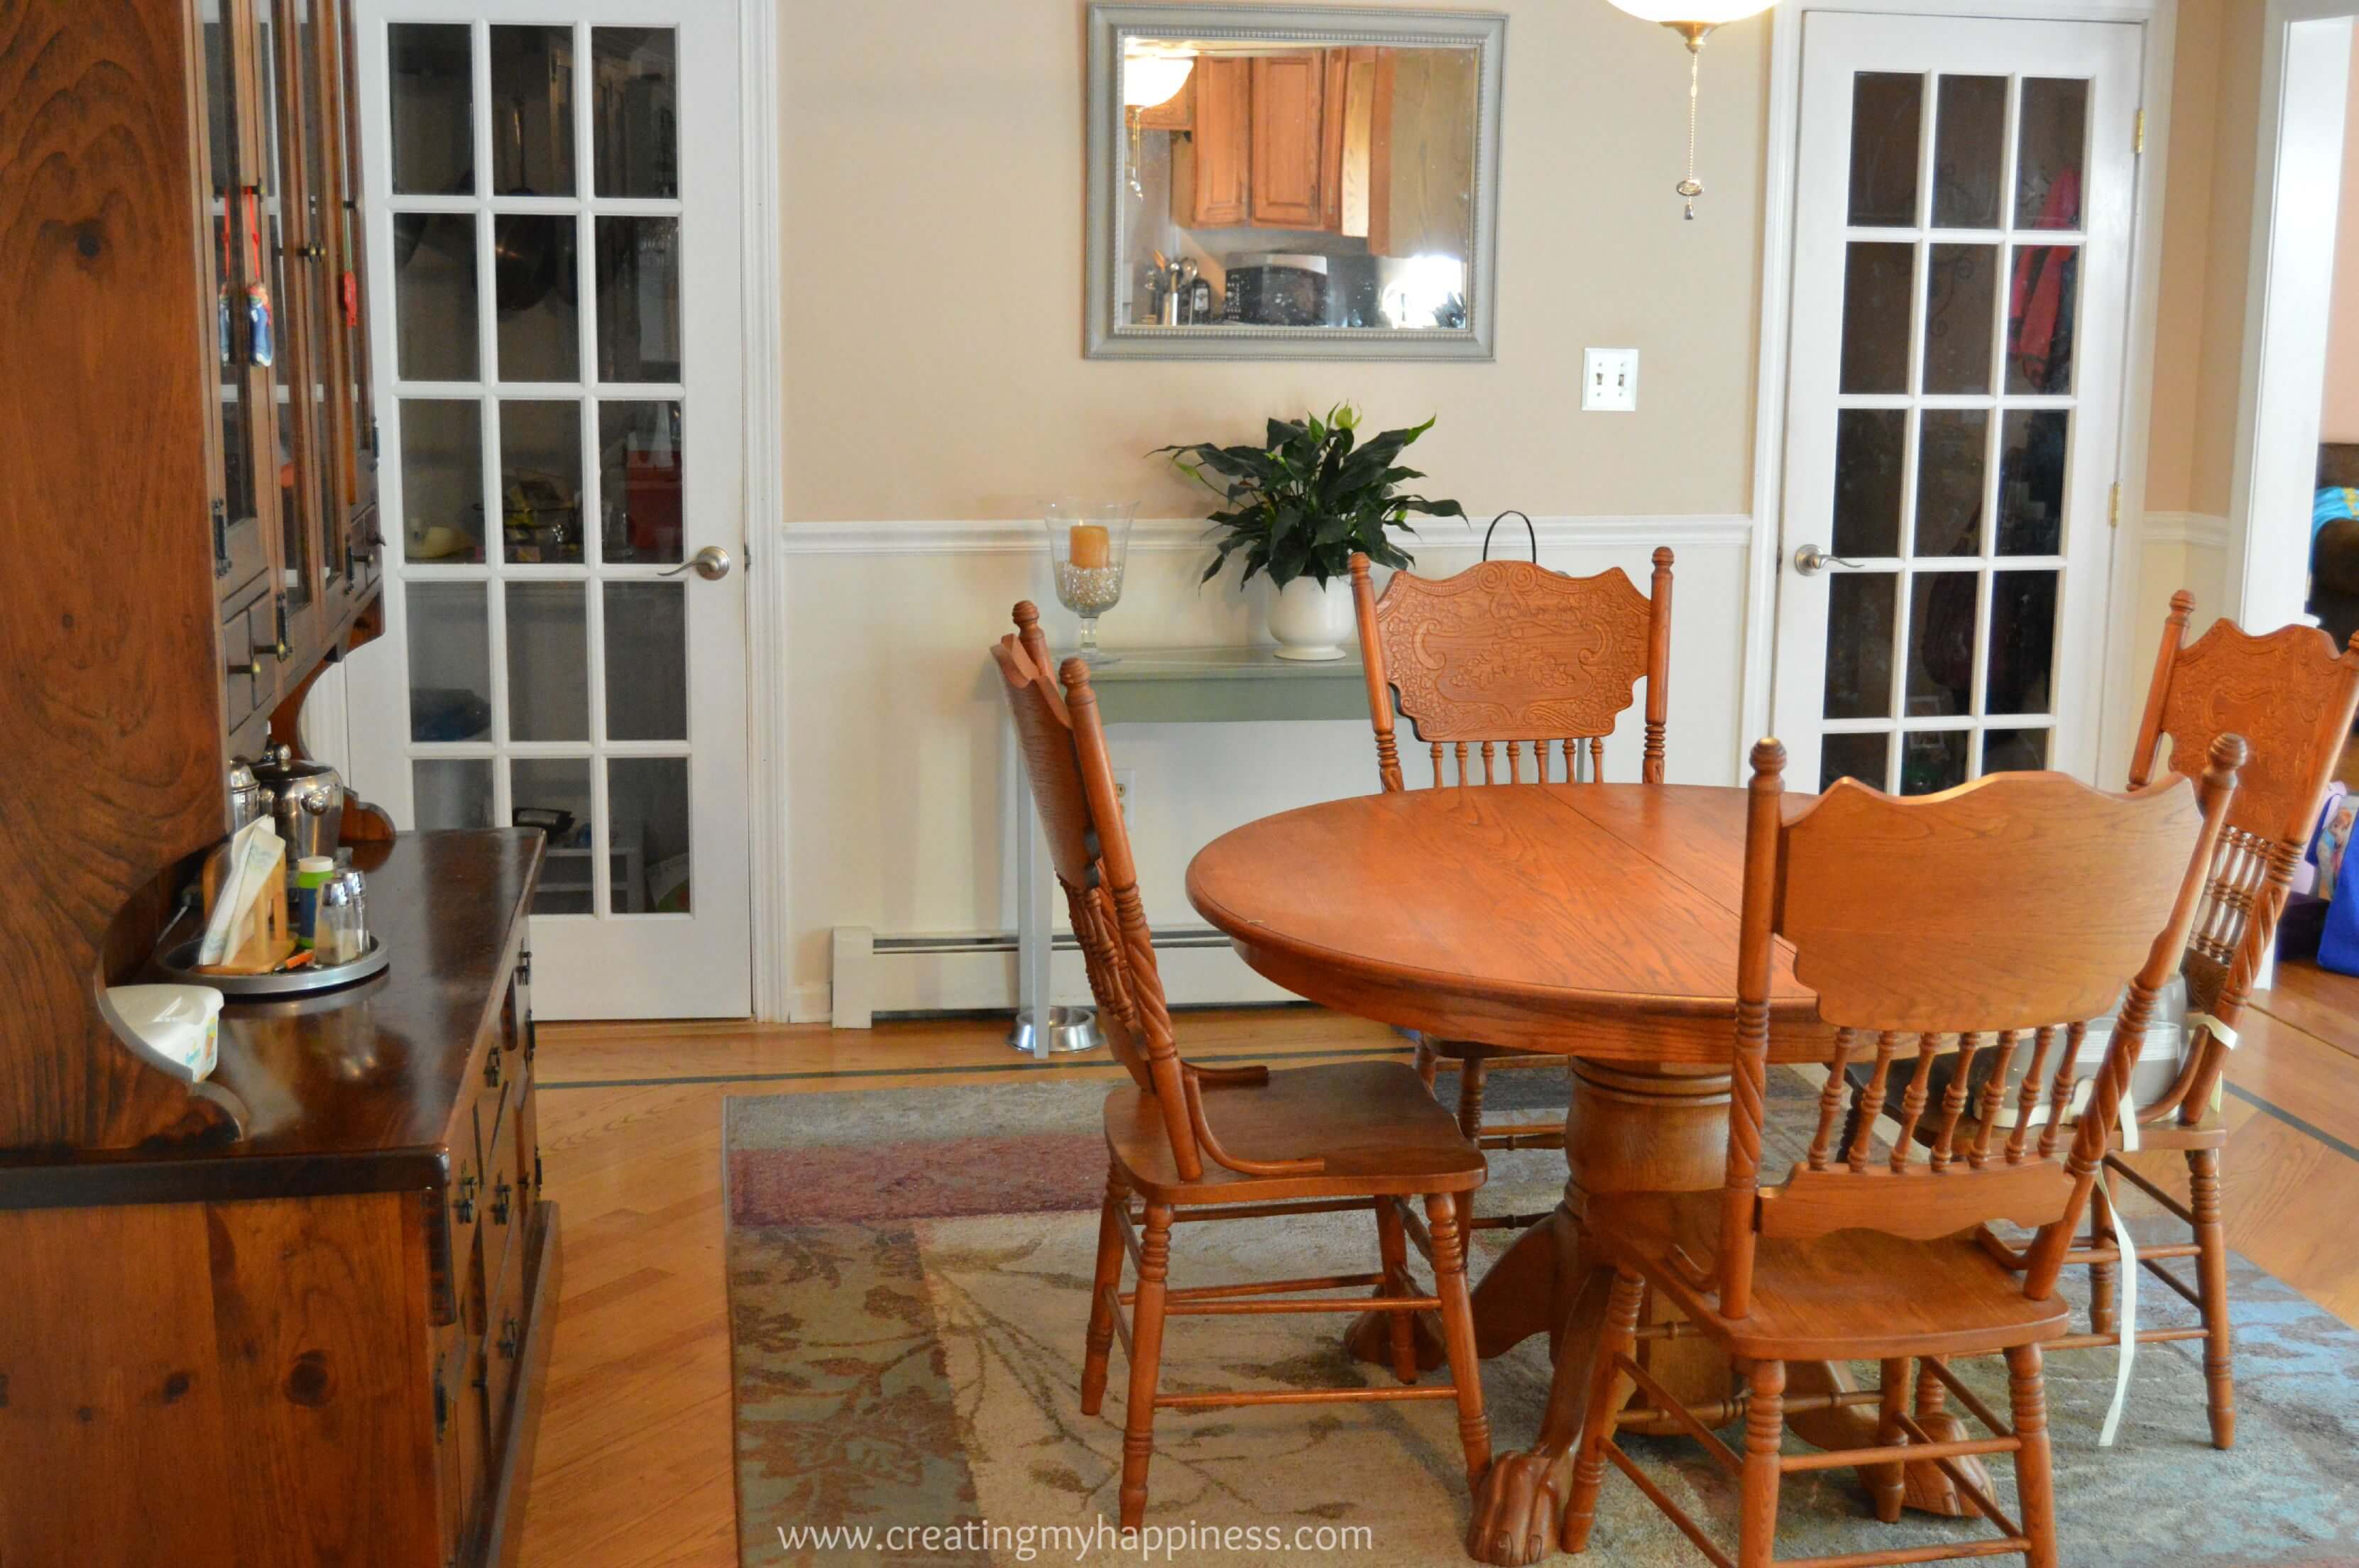
The first thing I did was paint. The paint colors were really adding to the country feel of the room and that’s the first thing that had to change. To keep things simple I decided to leave the top half of the room as it was and paint the bottom a cream color.

Ummm… I didn’t love it. It went from too country to… blah. You know that sinking feeling you get when you’re halfway through a project and you start to wonder if you’ve made a huge mistake? Yeah, that was me after the paint was done.
BUT, I had faith. I knew that bigger changes were coming and I just had to be patient.
Actually, I had to get off my butt and make the changes happen. So that’s what I did!

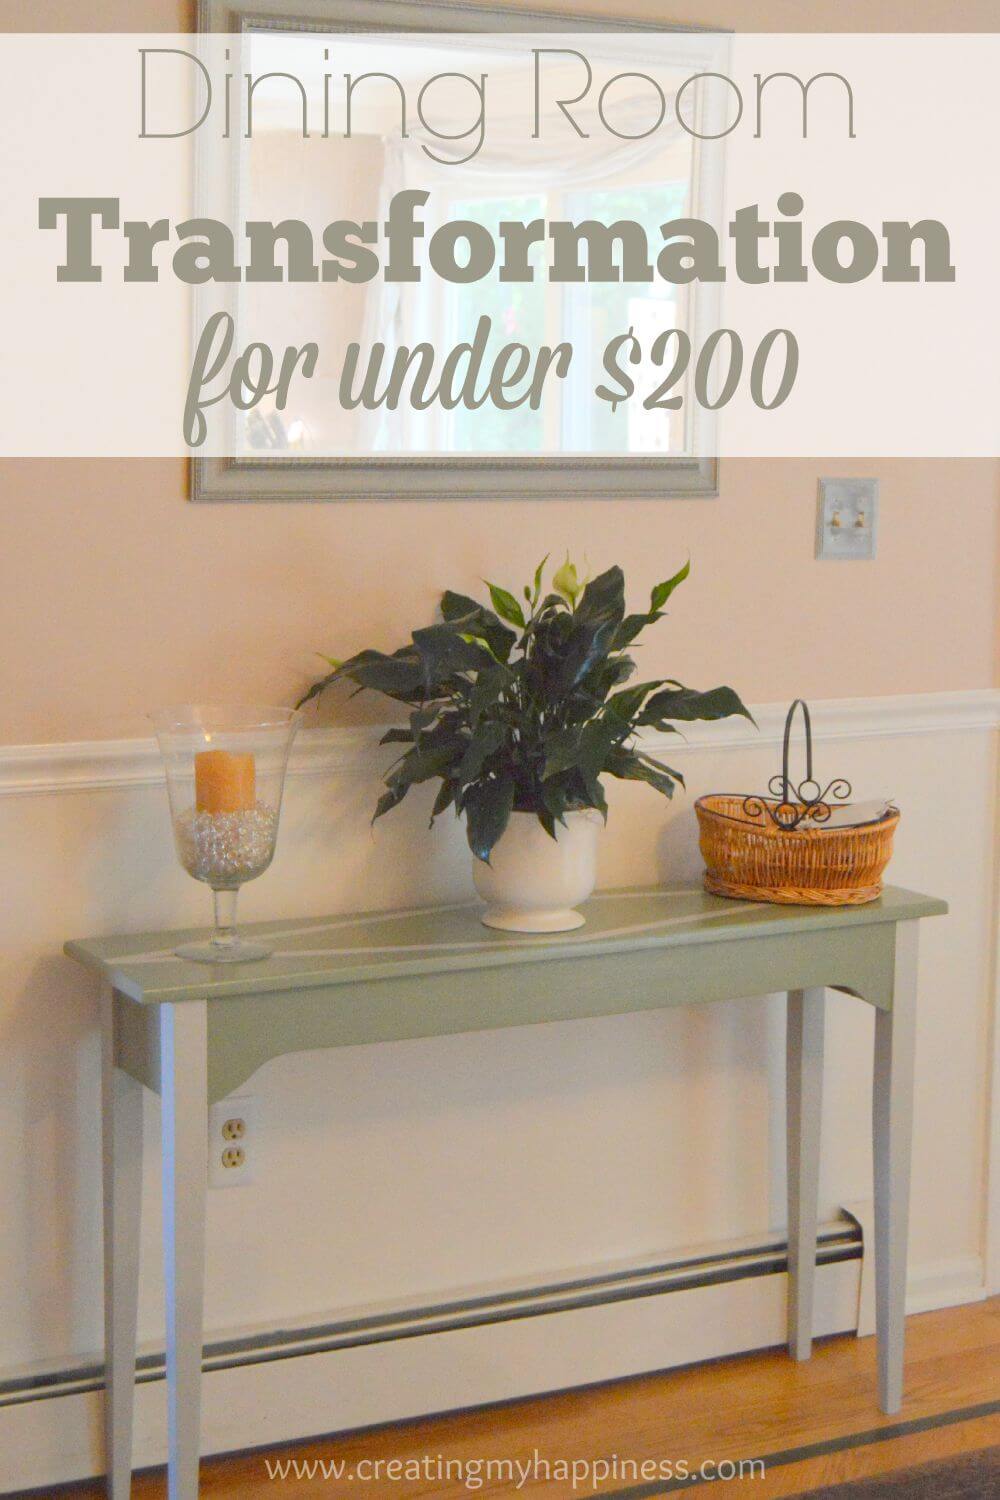
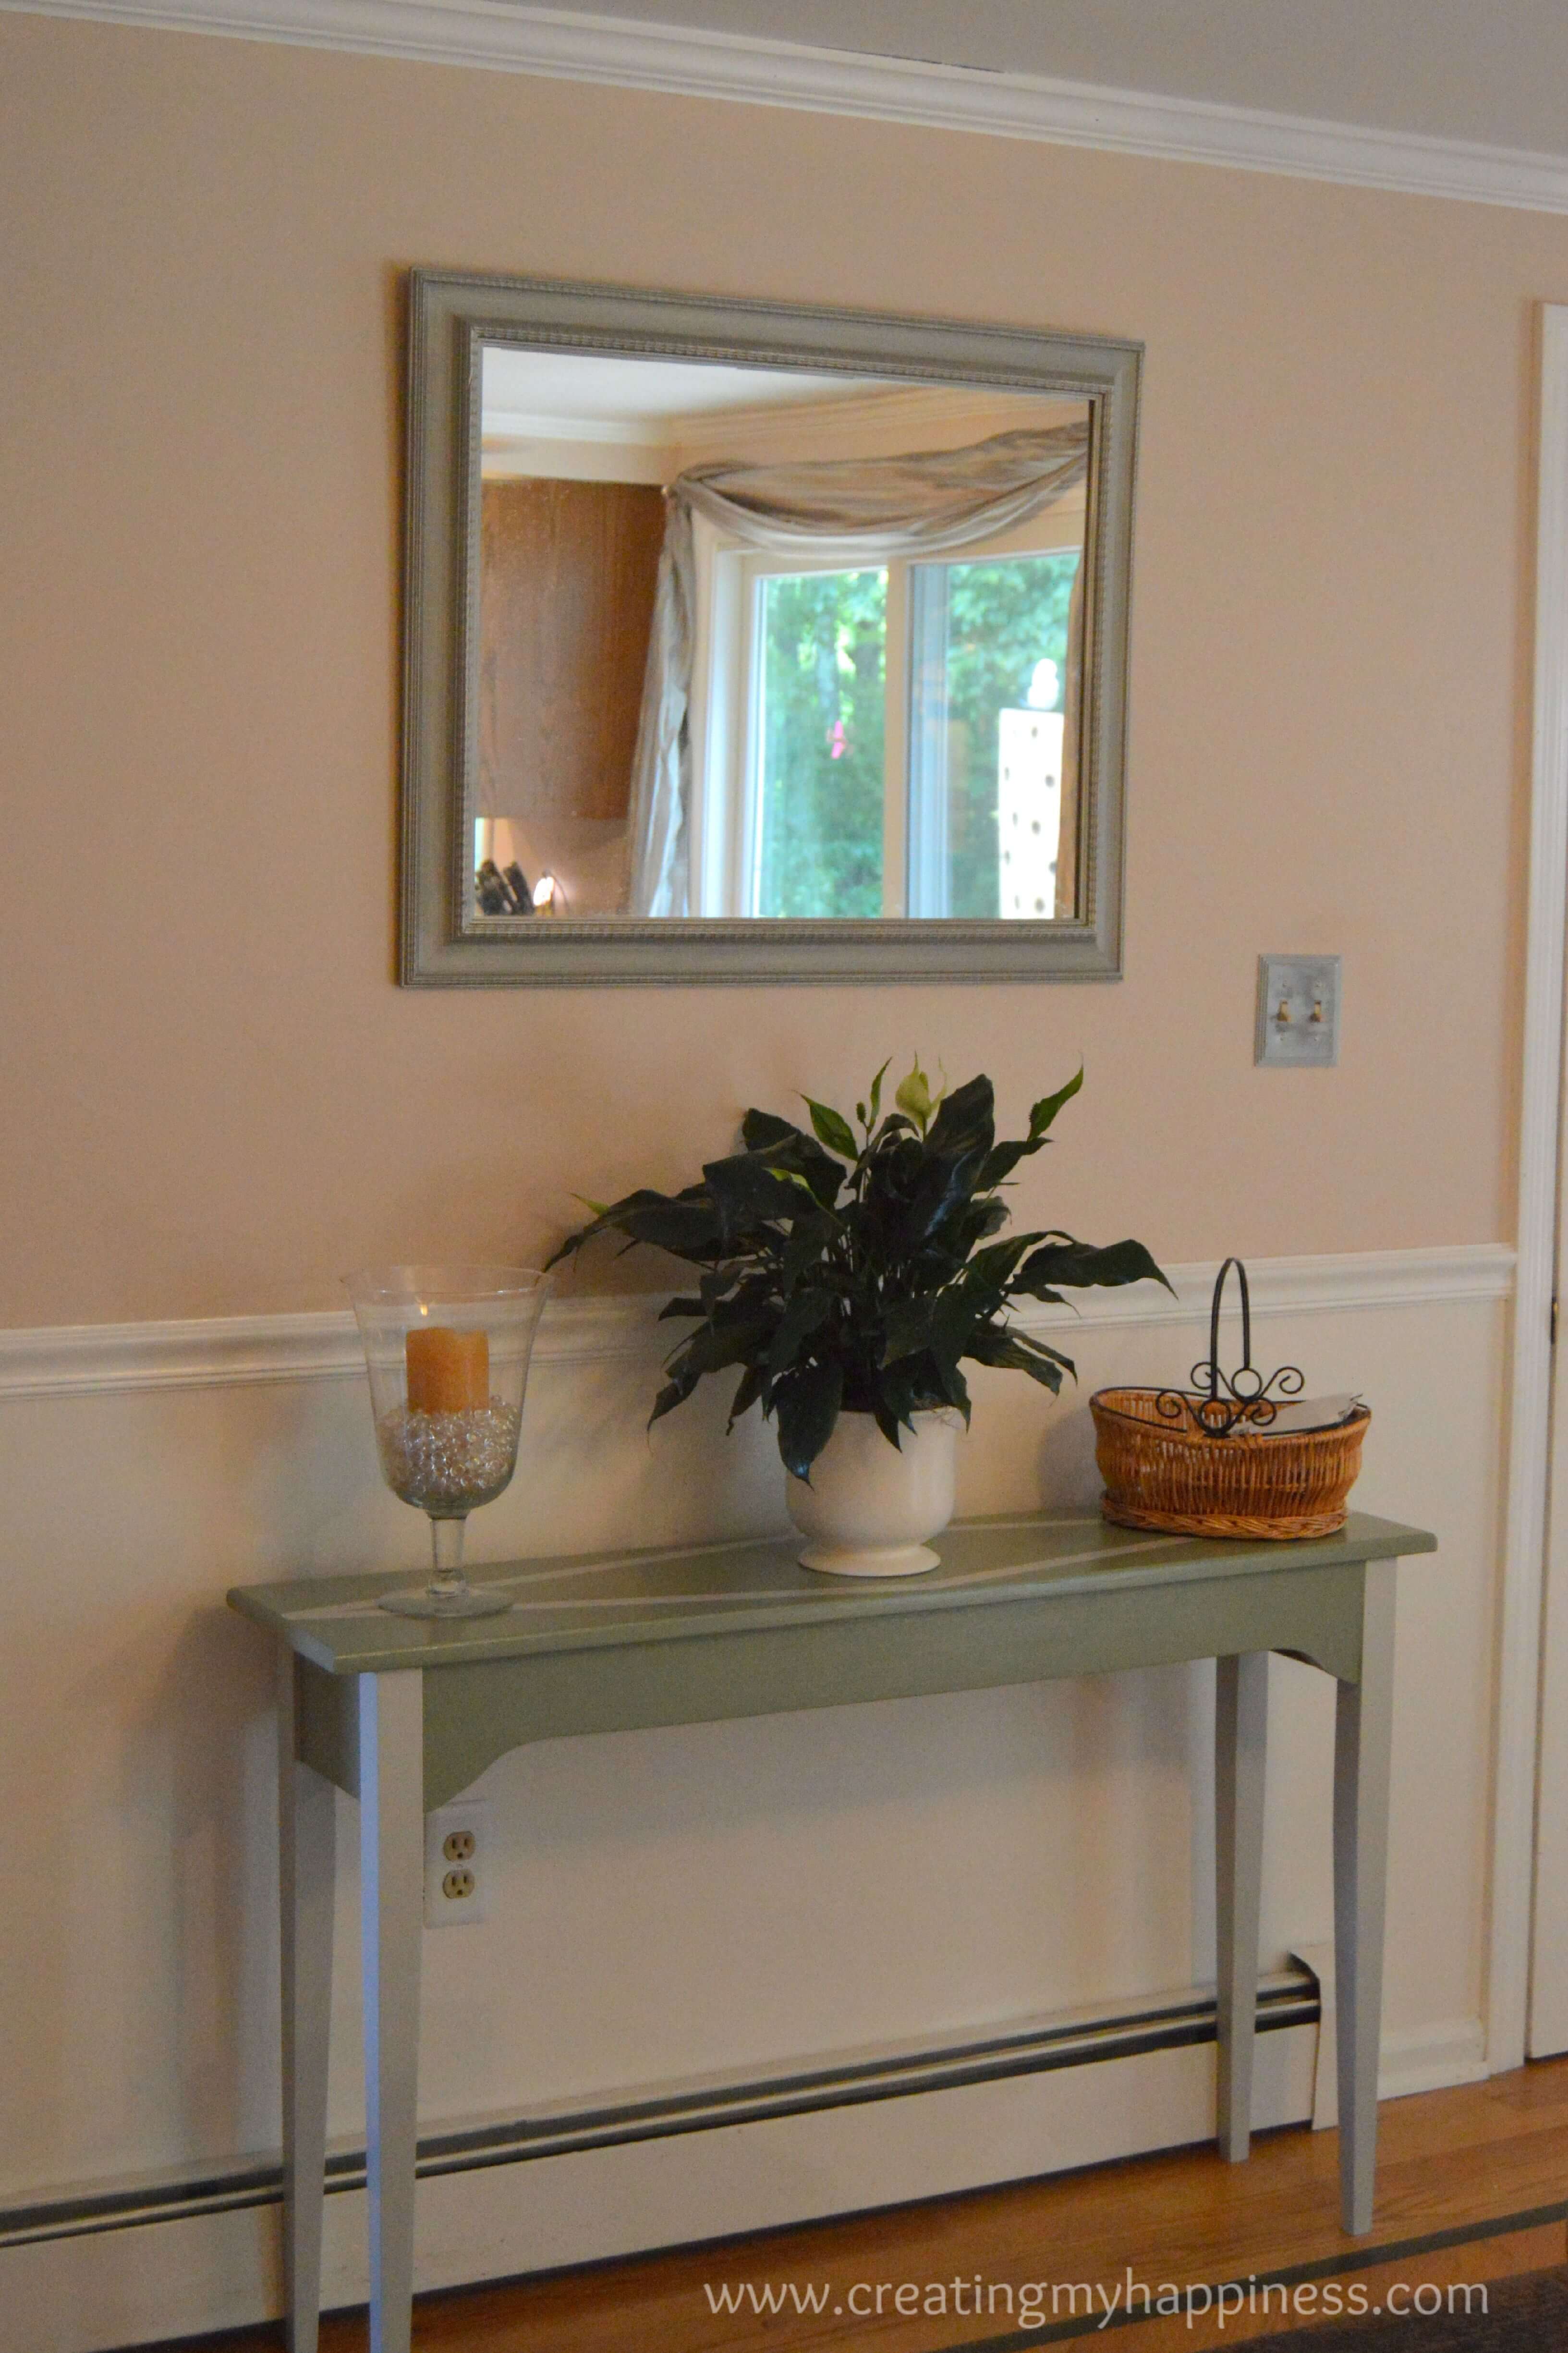
First up was the easiest change, the mirror. This was a simple coat of spray paint to update this thrift store find. The store was going out of business and the owner was asking $10 for the mirror. I offered $7, to which he replied, “I’m closing, I’m not desperate.” Hmmm. But then he continued, “But… I’ll let you have it for $9 so you can win.” Score!
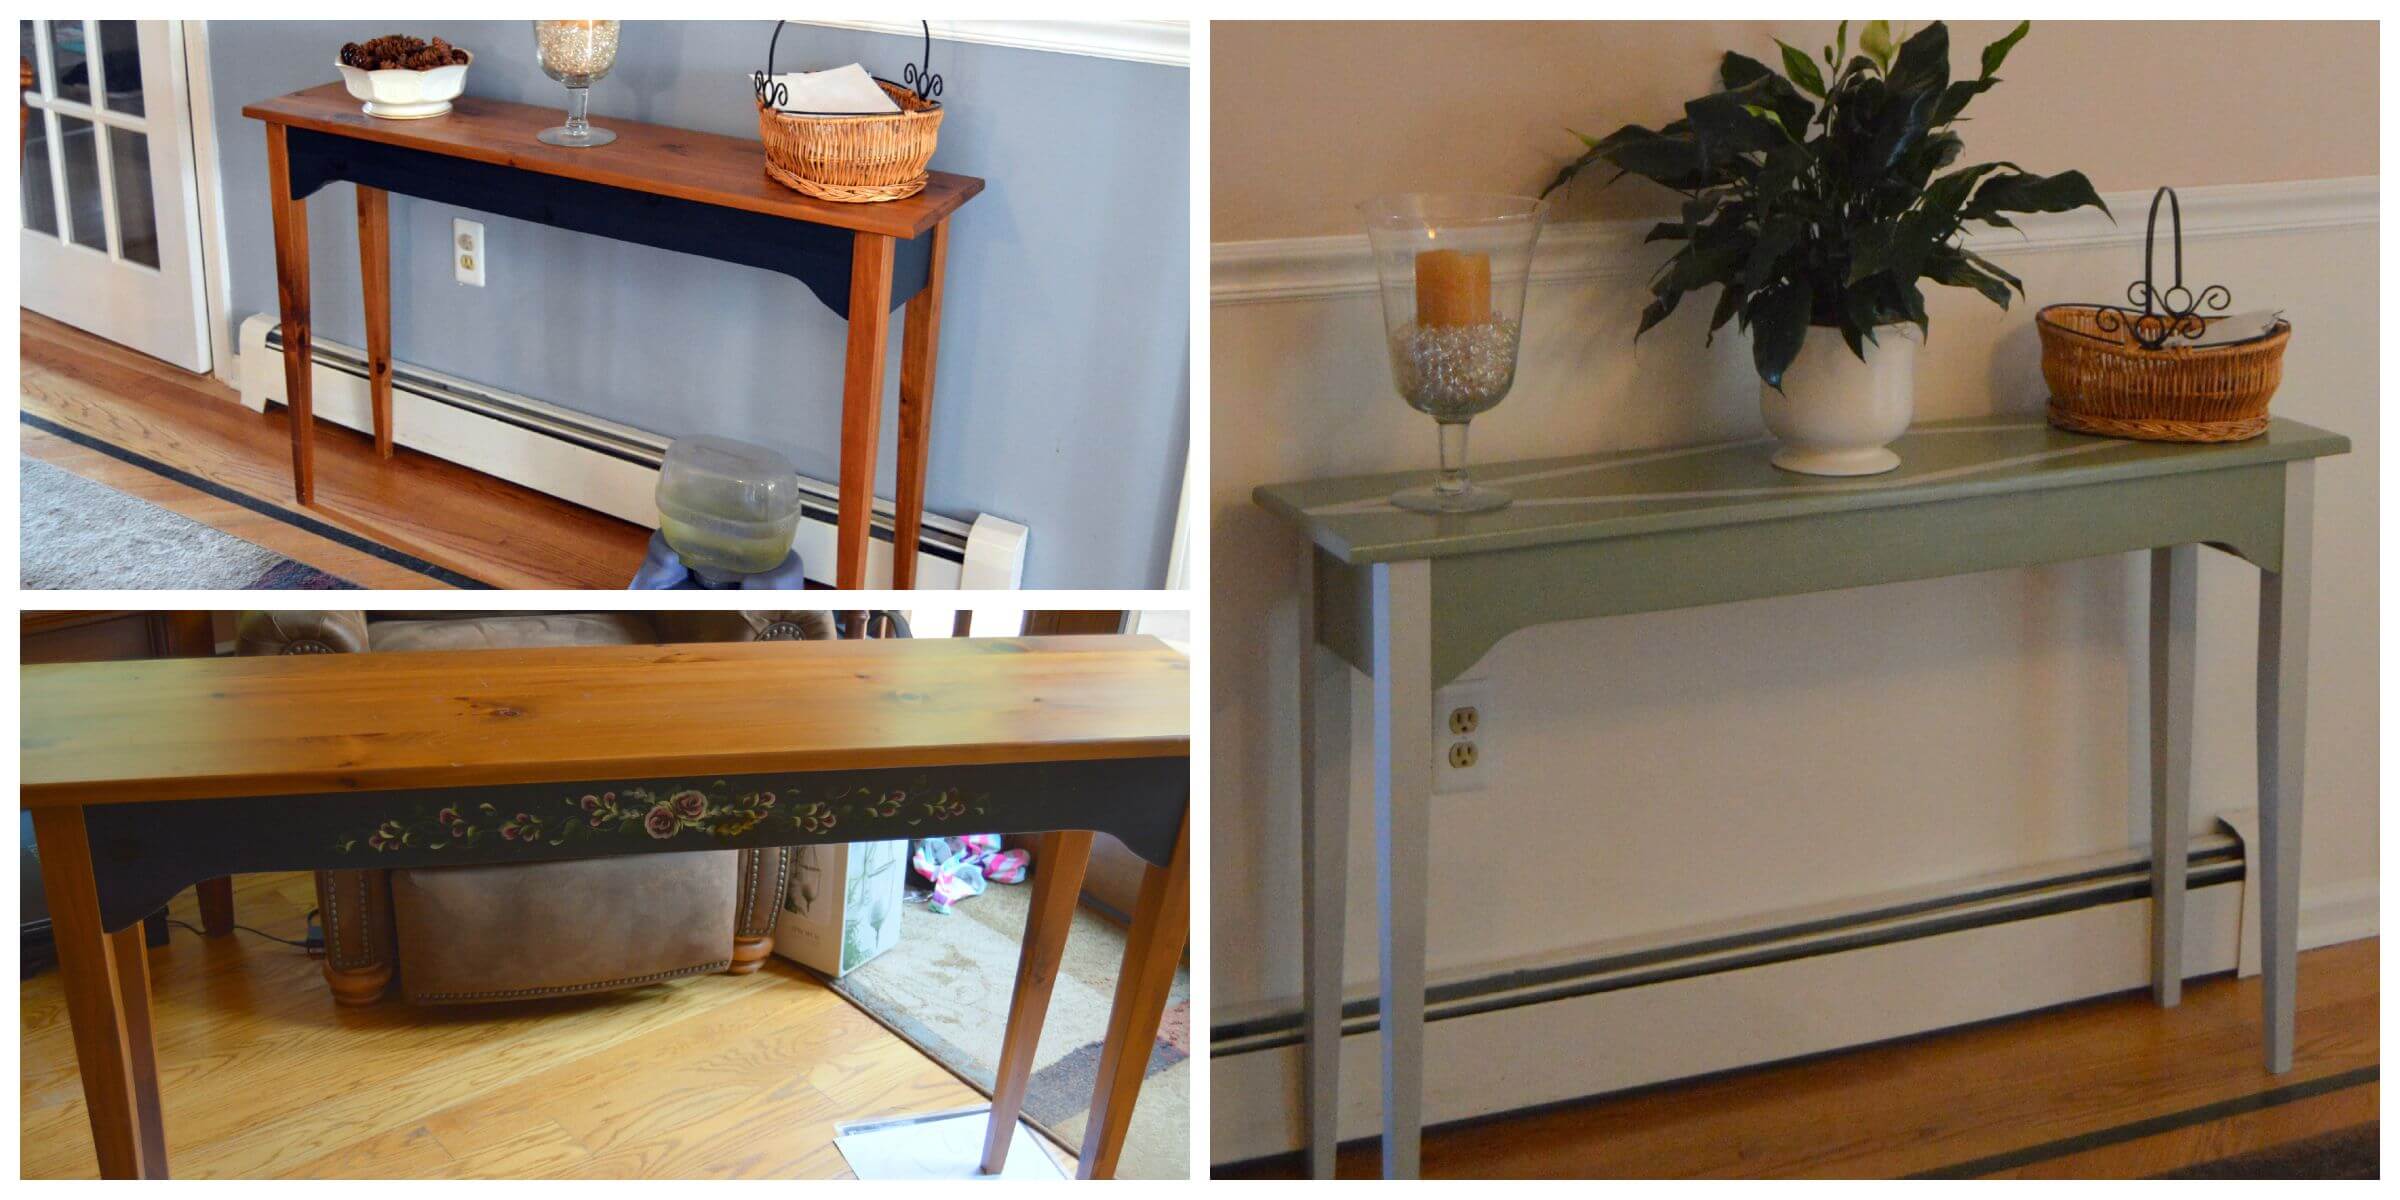
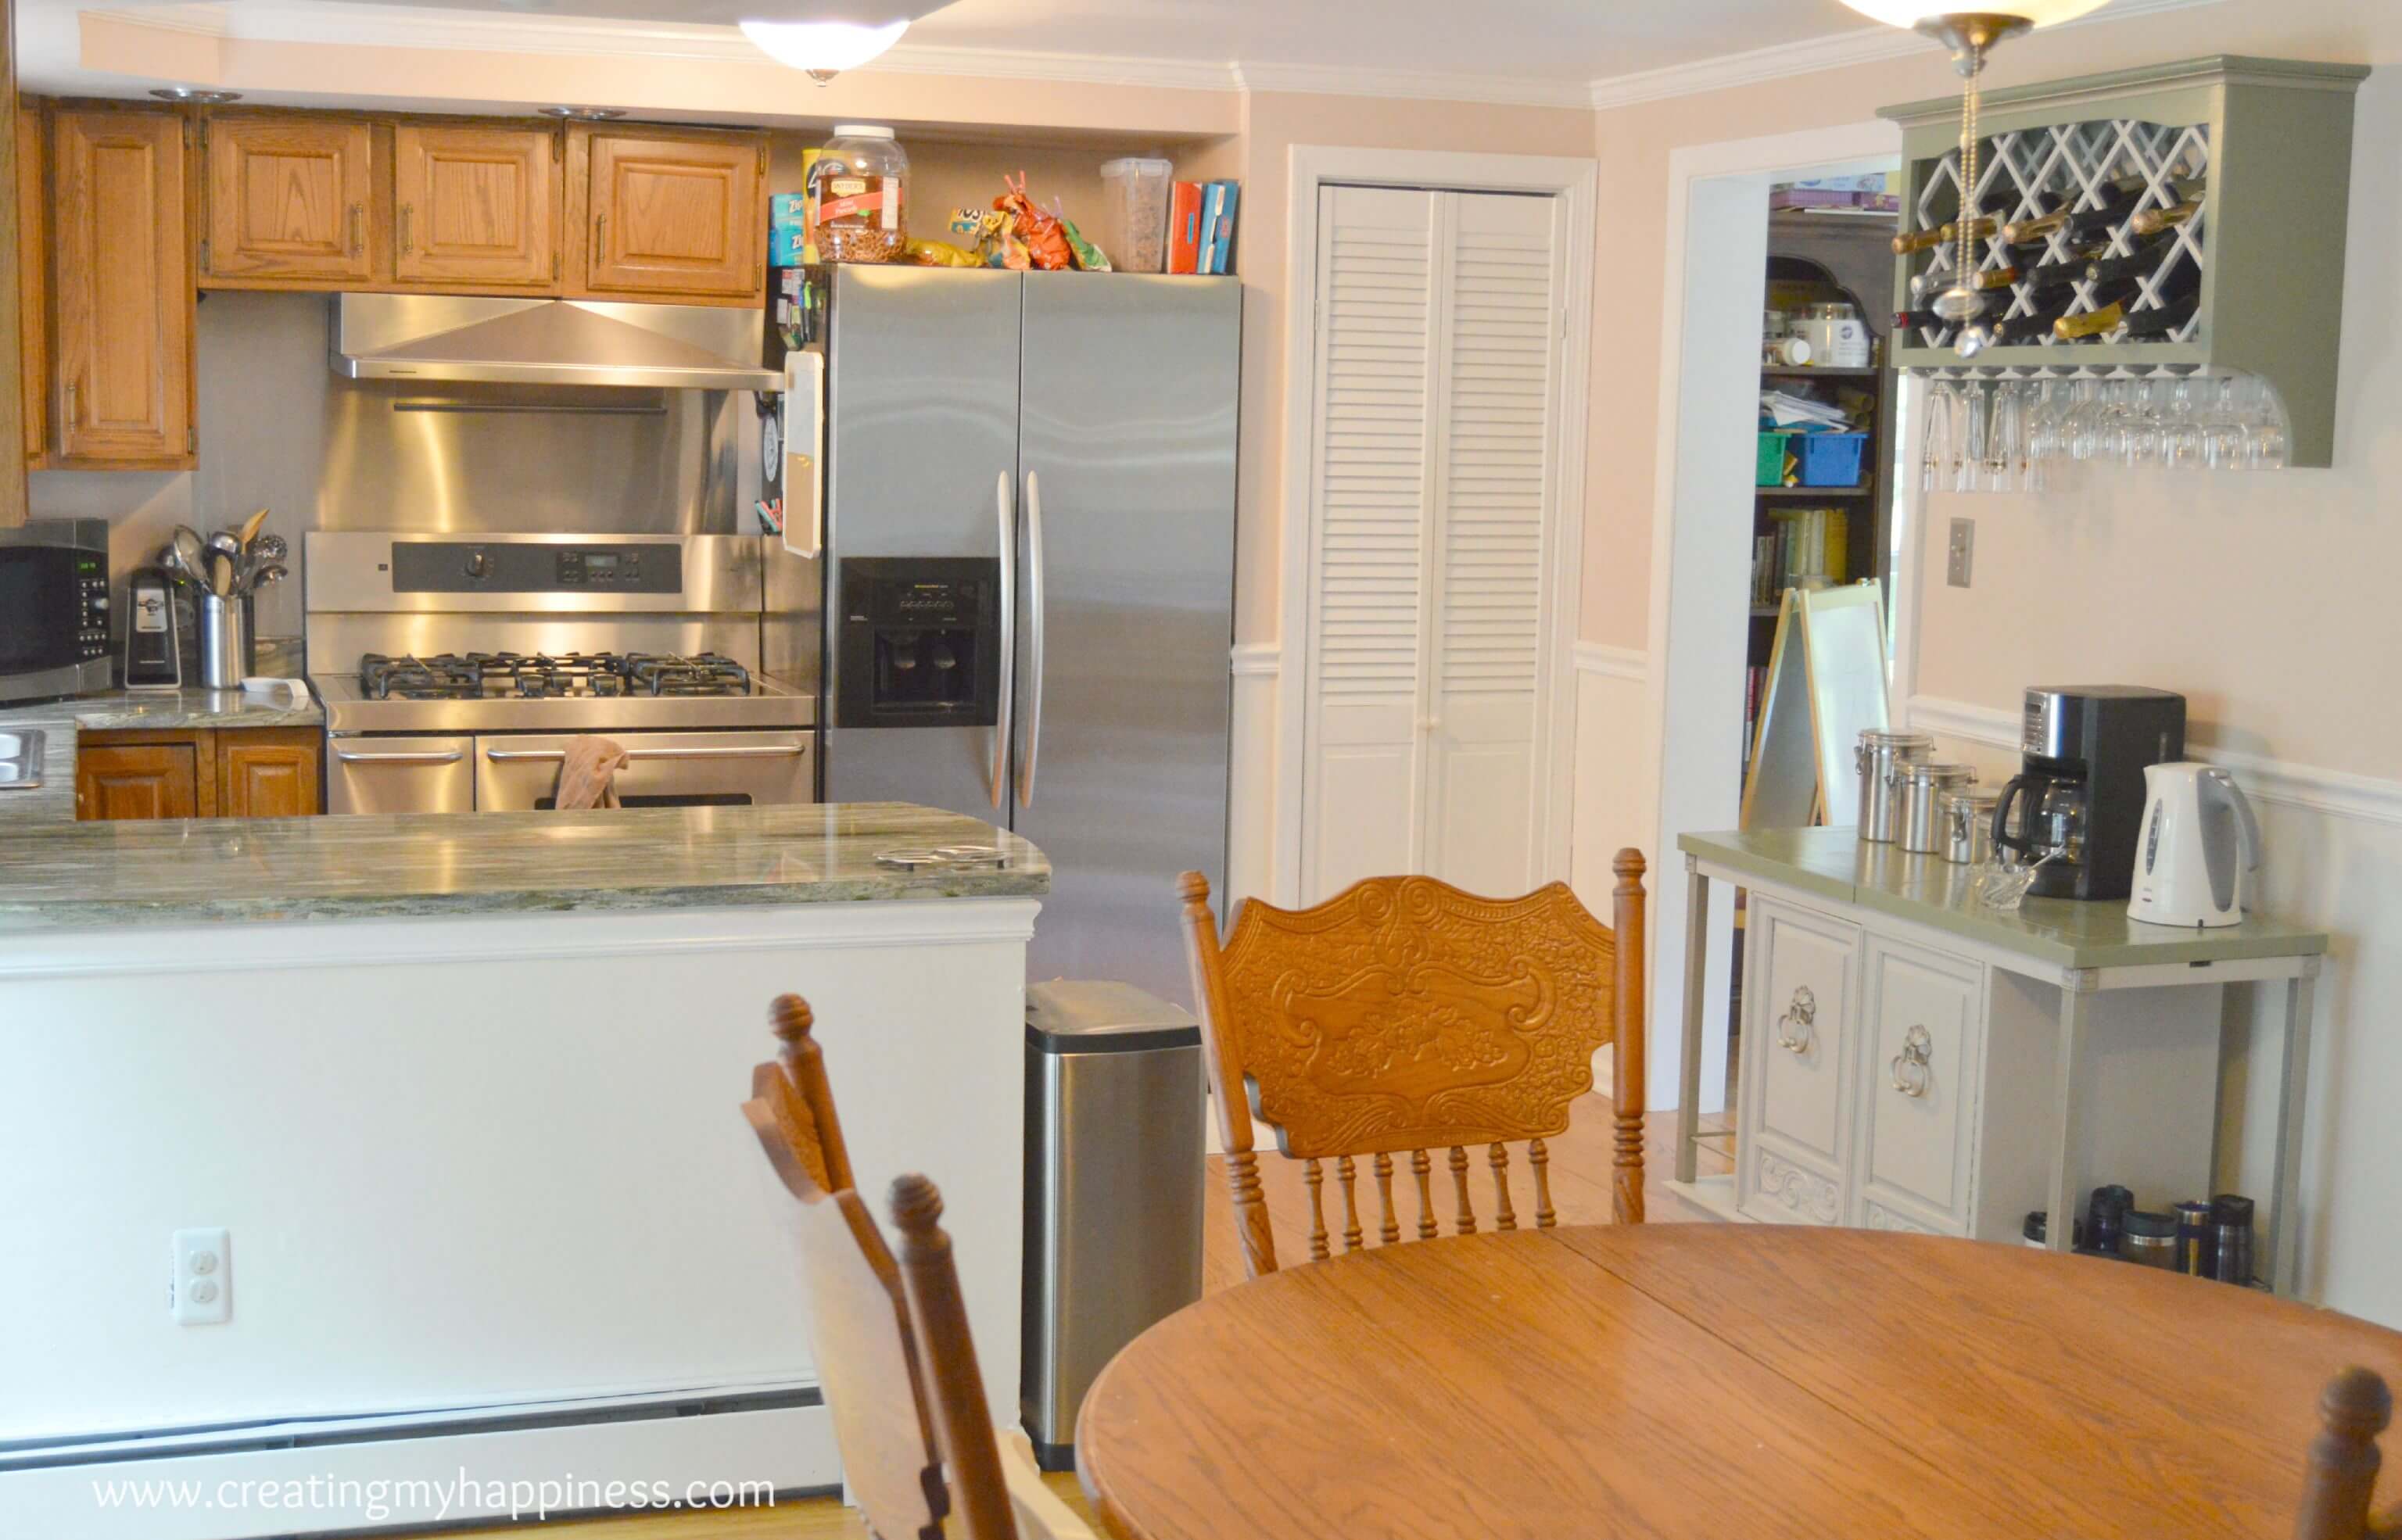
The console table was next. This was left behind by the previous owners and I’ve never really liked it. I started by painting the whole thing with General Finishes Seagull Gray, but up against the newly lightened walls it blended in too much. I made a split decision to paint the top Basil Green, also from General Finishes, taping out a diamond shape pattern. It gave it just enough design to be interesting, and not so much that it was busy. Lastly I put on several coats of High Performance Satin Top Coat to protect the paint.
Note: The milk paint has basically no odor and is safe to use indoors. The top coat does have a pretty strong odor and should be used in a well-ventilated area.

The next thing I tackled was the buffet. This was a big project and I knew it would take time, but the humidity slowed down the drying time even more than I thought.
Step 1 was to remove the hardware. I sprayed it with the silver spray paint I used on the mirror on both sides and set it aside. Then I sprayed the rest of the brass. I needed 2 full cans to get it done.
Because I had to tape the newly spray painted parts, I had to wait 3 full days for it to dry. Ugh. Finally I could get started on the General Finishes Seagull Gray, then the Basil Green top. This piece gets a lot of heavy use, so I put a TON of top coats on. Seriously, I think the flat top has 10 coats on it. I also put top coat on the spray painted sections, including the hardware, to keep it from chipping when a certain 4-year-old runs into it with her little pink shopping cart.
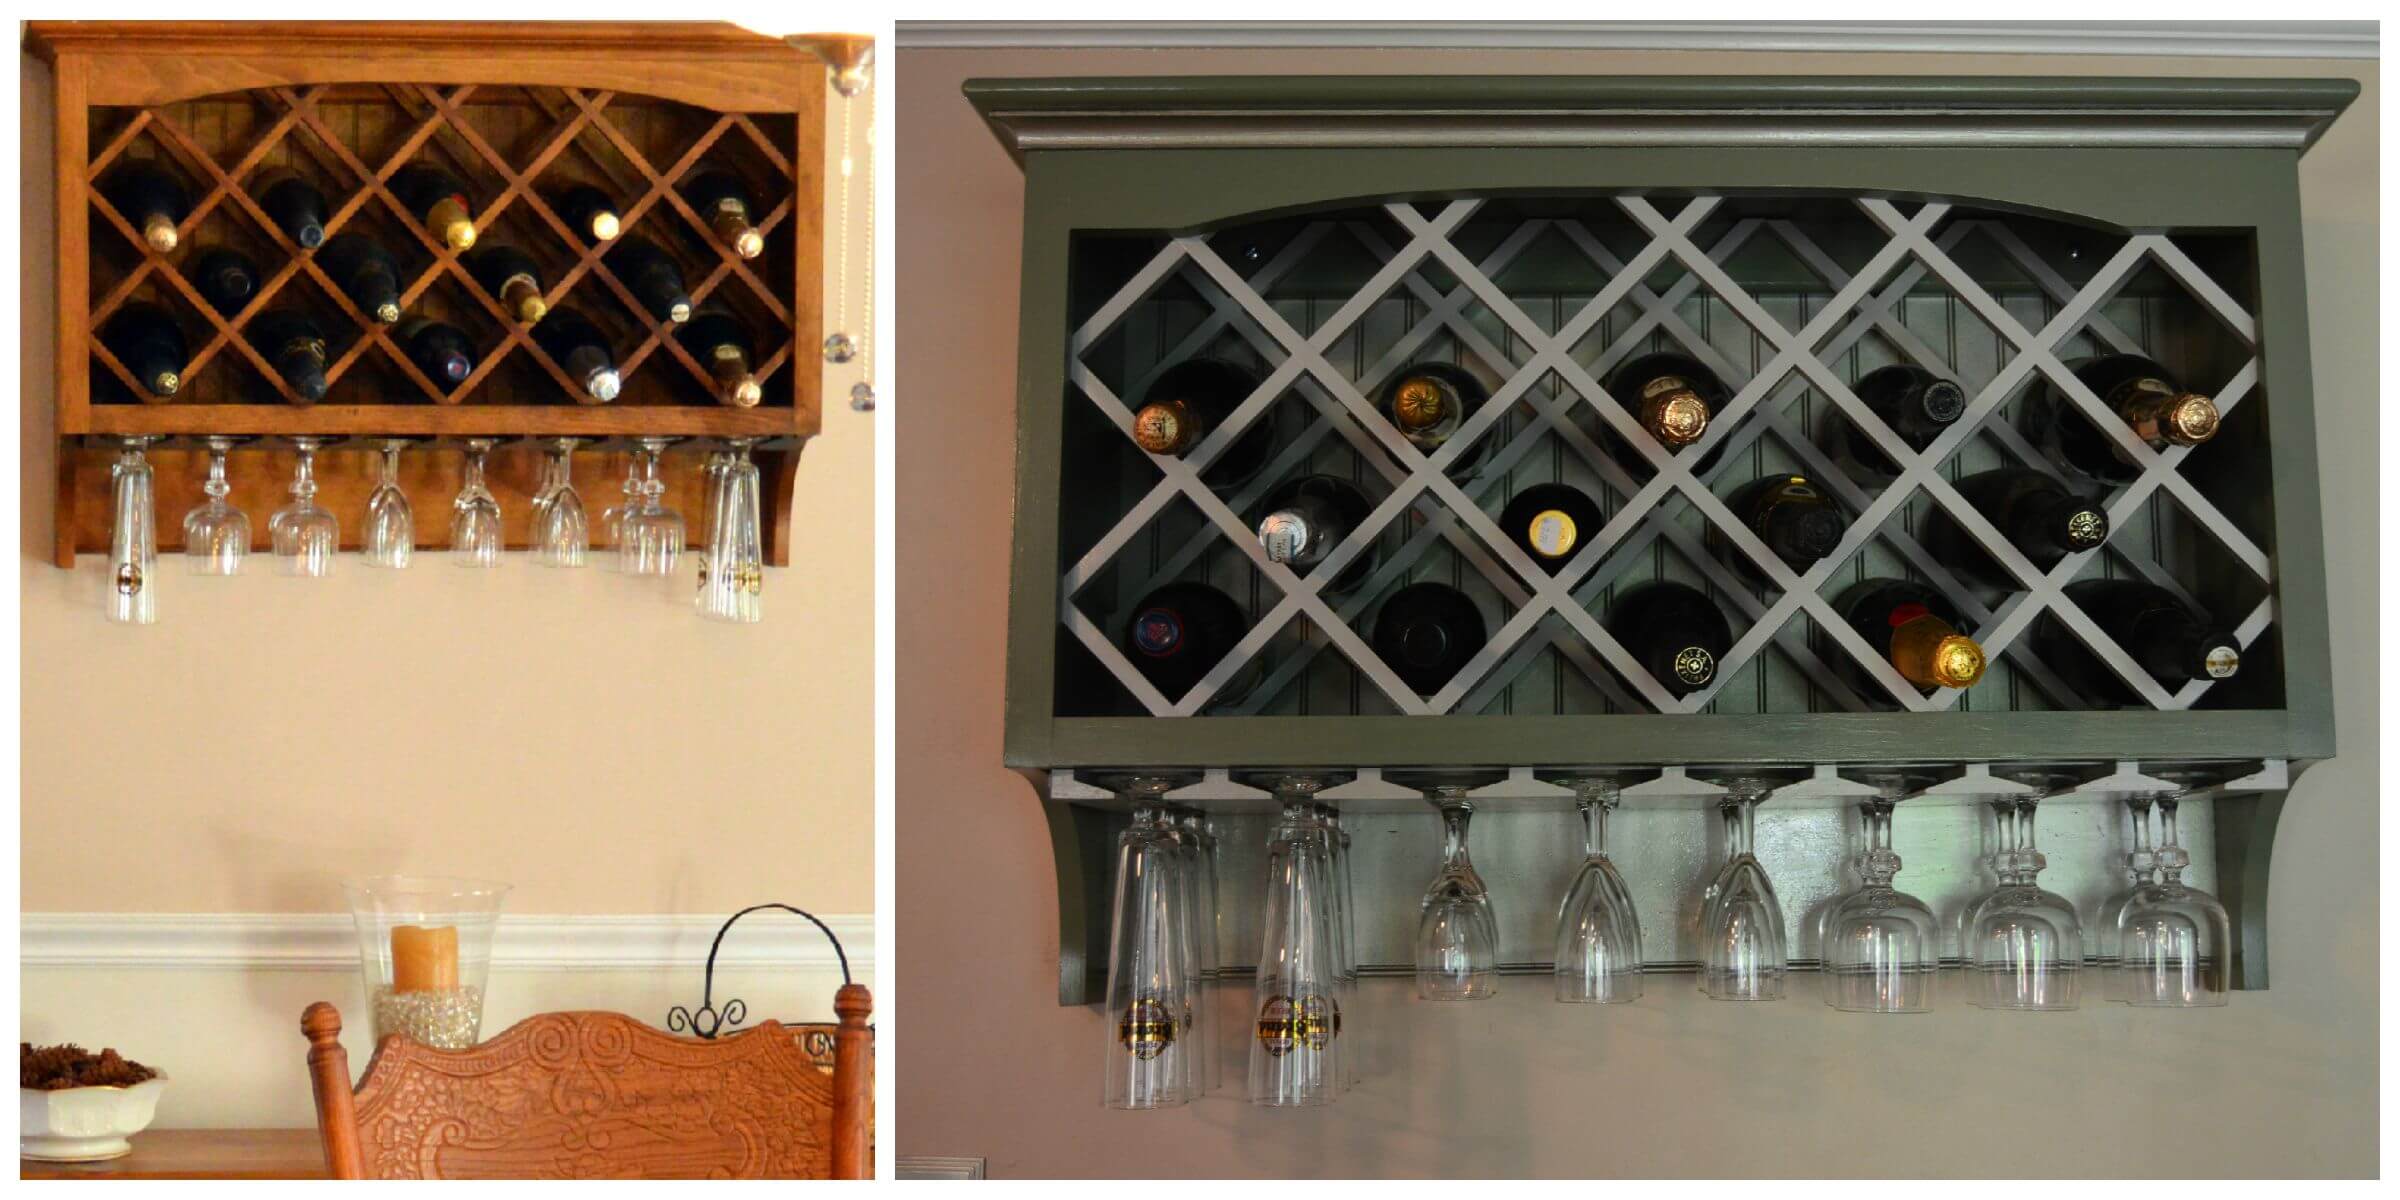
Let me tell you; this wine rack has been the bane of my existence since we moved into our house. The previous owners left it and I hated it. Mr. O loved it. We had several “discussions” about it, all of which ended with nothing changing. I finally got his okay to paint it, and boy, did I paint it!
I decided the easiest thing to do would be to take it apart. It was actually easier than I thought. I took off the back panel and sanded it down because it was quite rough. I used the same silver spray paint I’d used on the mirror and buffet table to give some shine to the back piece. Then I took off the criss-cross pieces that hold the wine and painted them General Finishes Seagull Gray. A small foam brush was perfect for this.
I wasn’t planning on it, but I decided to take off the glass holders as well. It was a pain, but trying to get clean coats on all those awkwardly shaped pieces would have been a bigger pain. It also allowed me to get more creative with colors. I sprayed the back piece silver and painted the glass holders gray, which I never would have been able to do without taking it apart. I also sprayed the trim piece around the top to give it a bit more depth and sparkle.
Again, I had to wait several days for the paint to dry before I could tape them up to paint the body of the wine rack Basil Green. I found it helpful to use paint pyramids when doing the body. They keep the edges clean so you don’t have to do touch-ups later.
Finally I put on the top coat and reassembled!
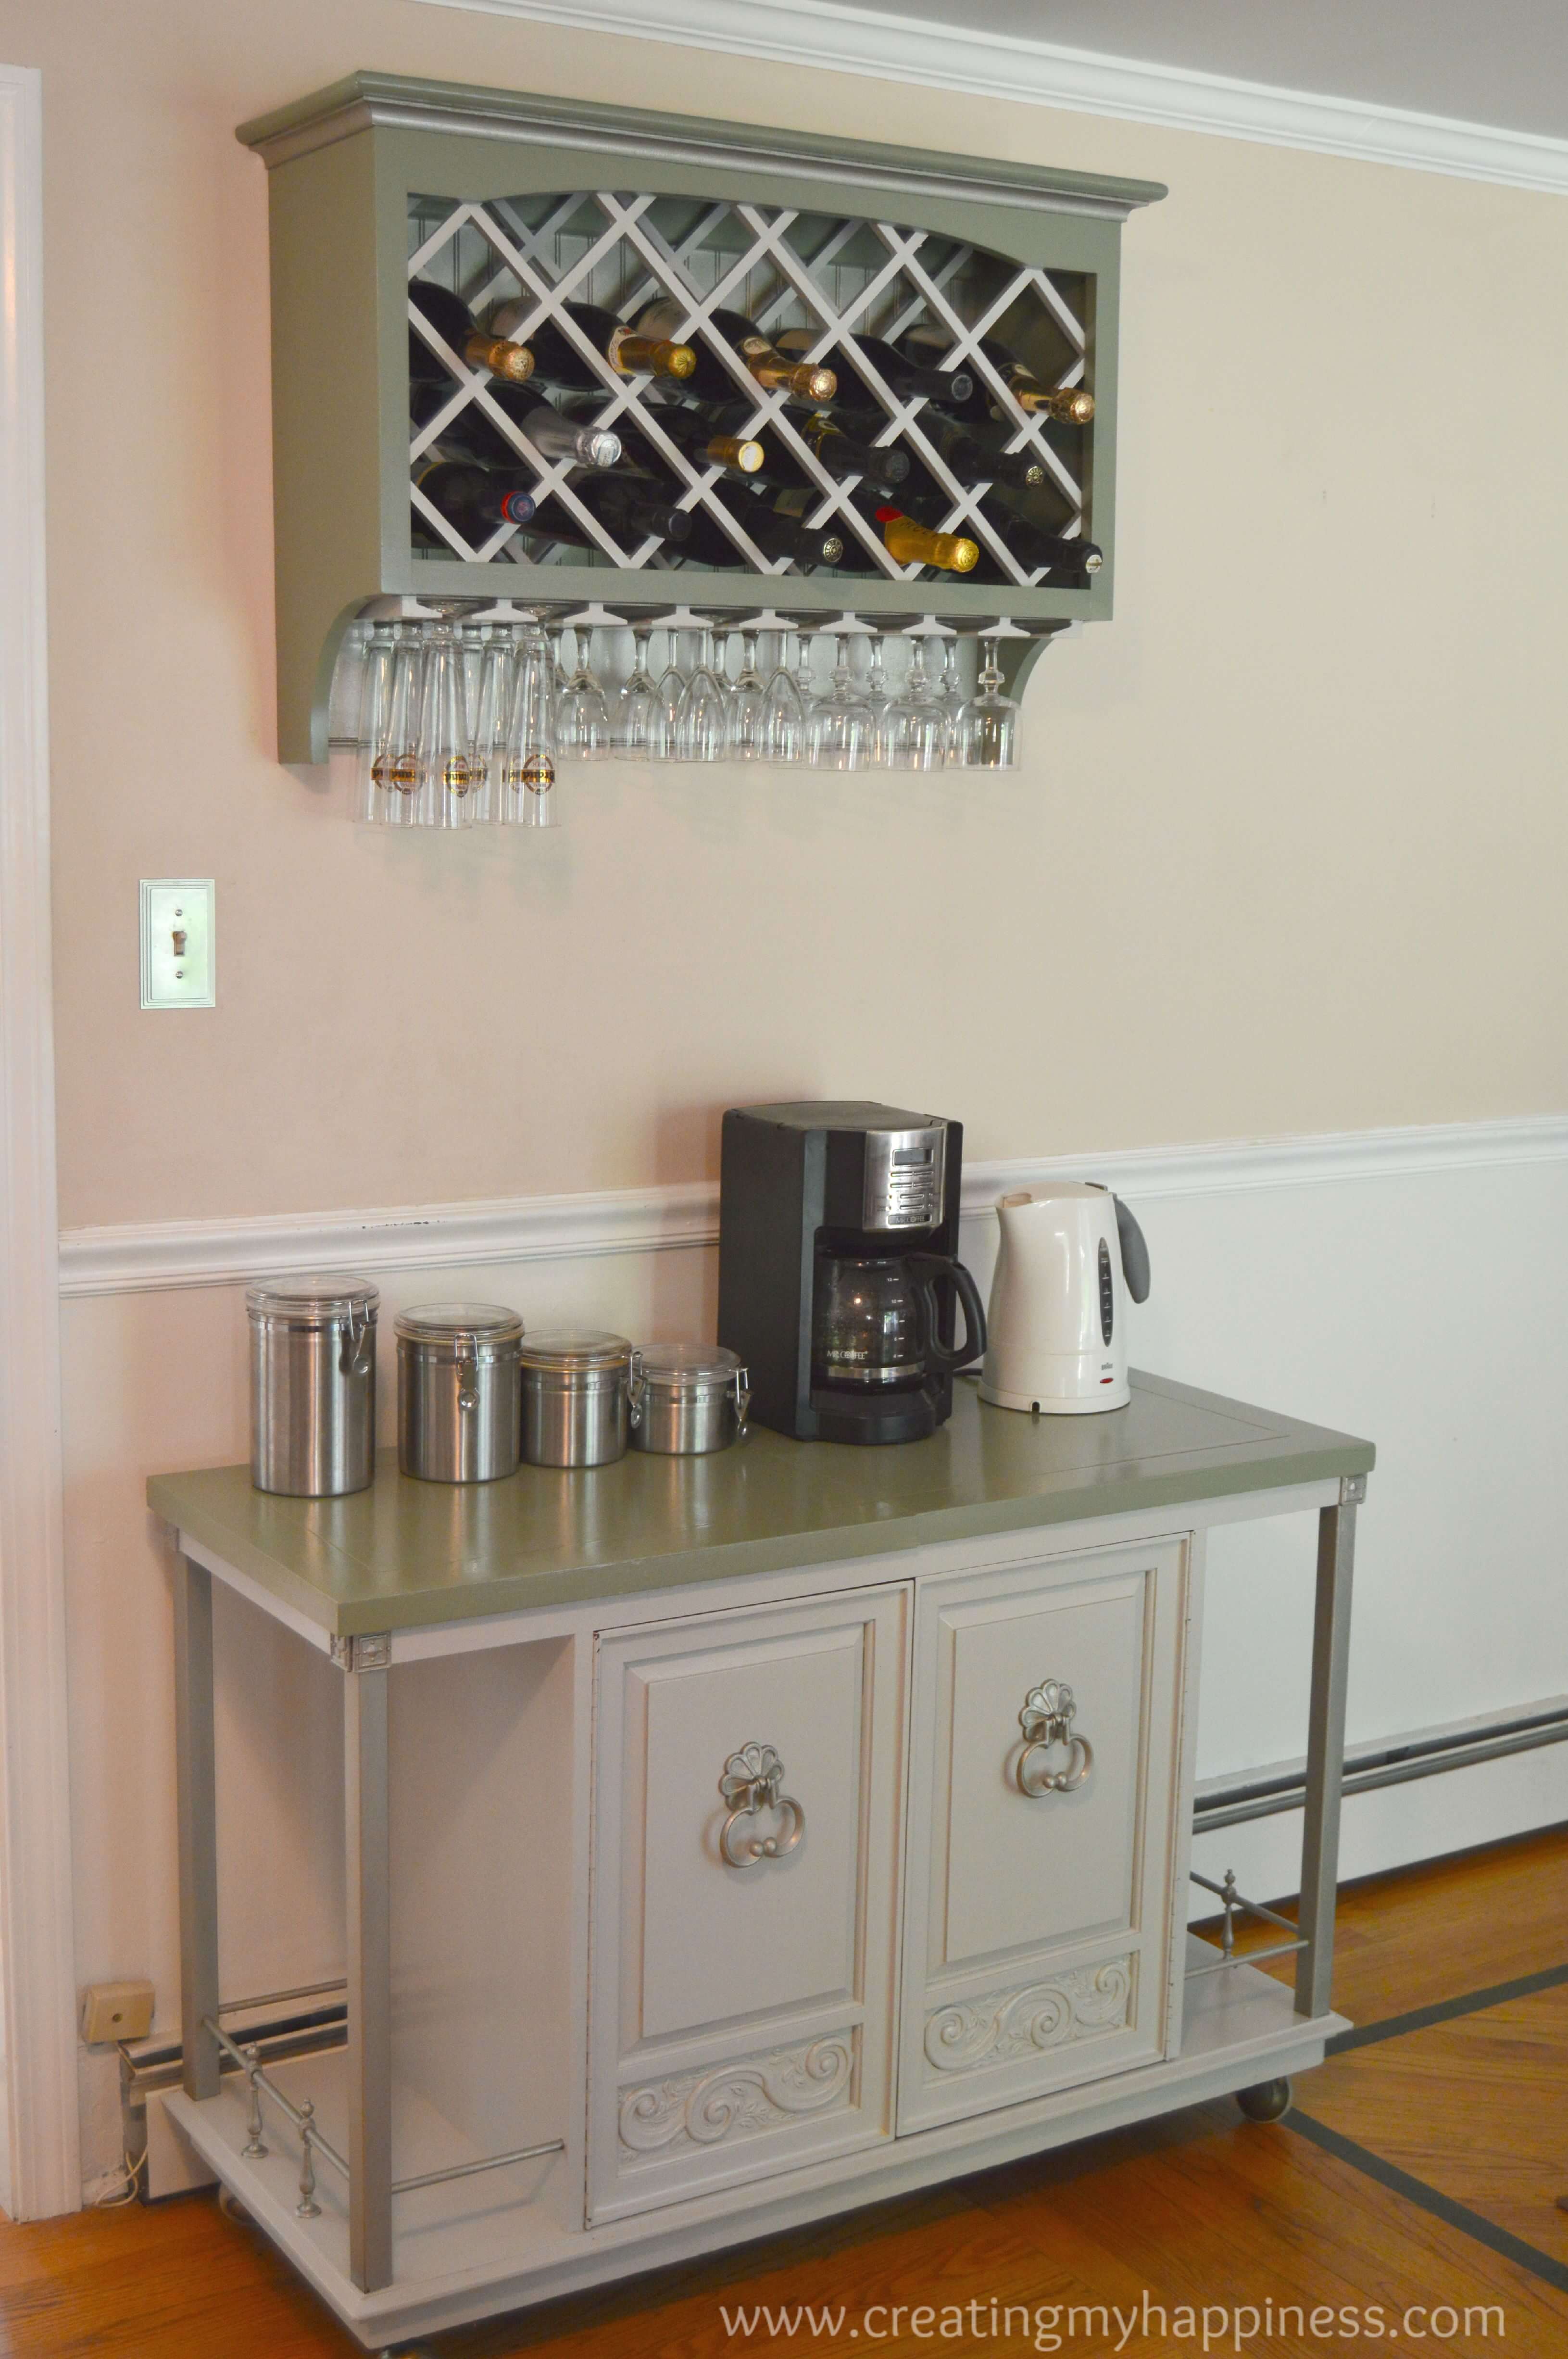
It’s done! My total cost was about $150, but I received 1 pint of paint free from General Finishes. Paying for it would be an additional $30 or so. I have to say that I LOVE the General Finishes milk paint. You don’t have to sand and the finish is beautiful.
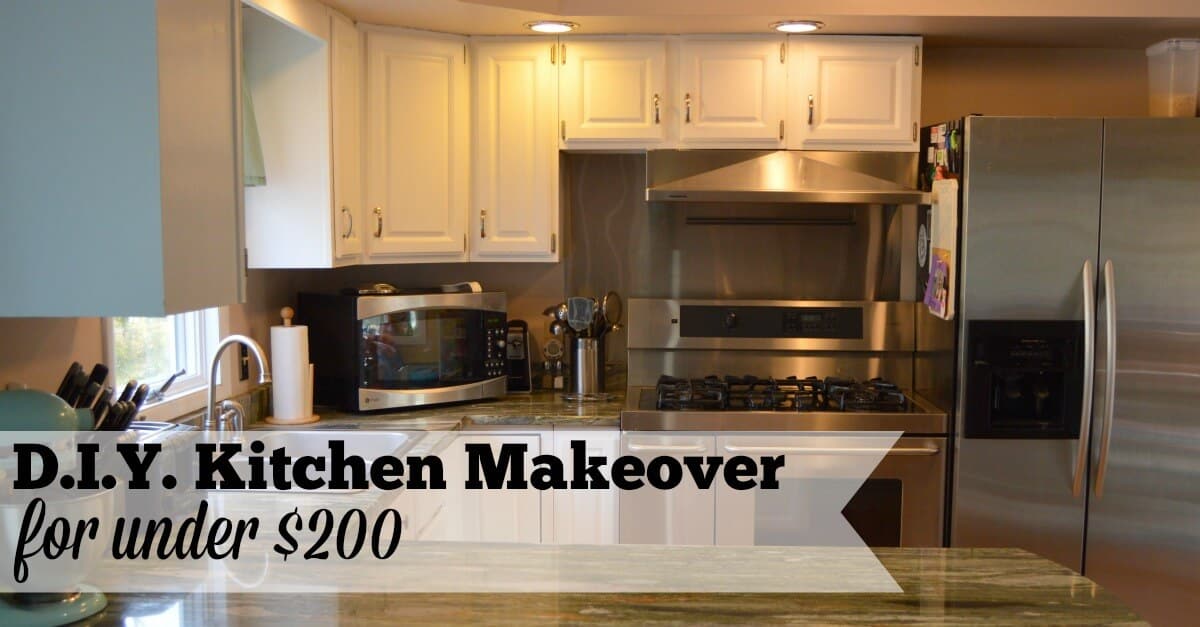
Next up is the kitchen cabinets!


