
I got my dining table from my aunt, who’d gotten it from her father, and I kept it because, well, it was free! Truth be told, it wasn’t my style. It was a claw-foot table with ornate carvings on the chairs. And since I wasn’t particularly close with my grandfather, I wasn’t holding onto it for sentimental reasons. But a new dining set just wasn’t in the budget.
I had to get creative.

My first stop was the ReStore. If you’ve never heard of them, they’re part of Habitat for Humanity and are staffed entirely by volunteers. While it’s hit or miss, I love shopping there because you can find some awesome things at really great prices, plus I know my money is going somewhere special.
The down side is that when you see something you like, you’ve got to pounce. I missed out on a beautiful dining set because I had to go home and check with Mr. O.
After some searching, and patience, I found another set on Craigslist and jumped on it. This set was definitely in need of some TLC. It was pretty dinged up and the chair cushions were filthy.

Yuck.
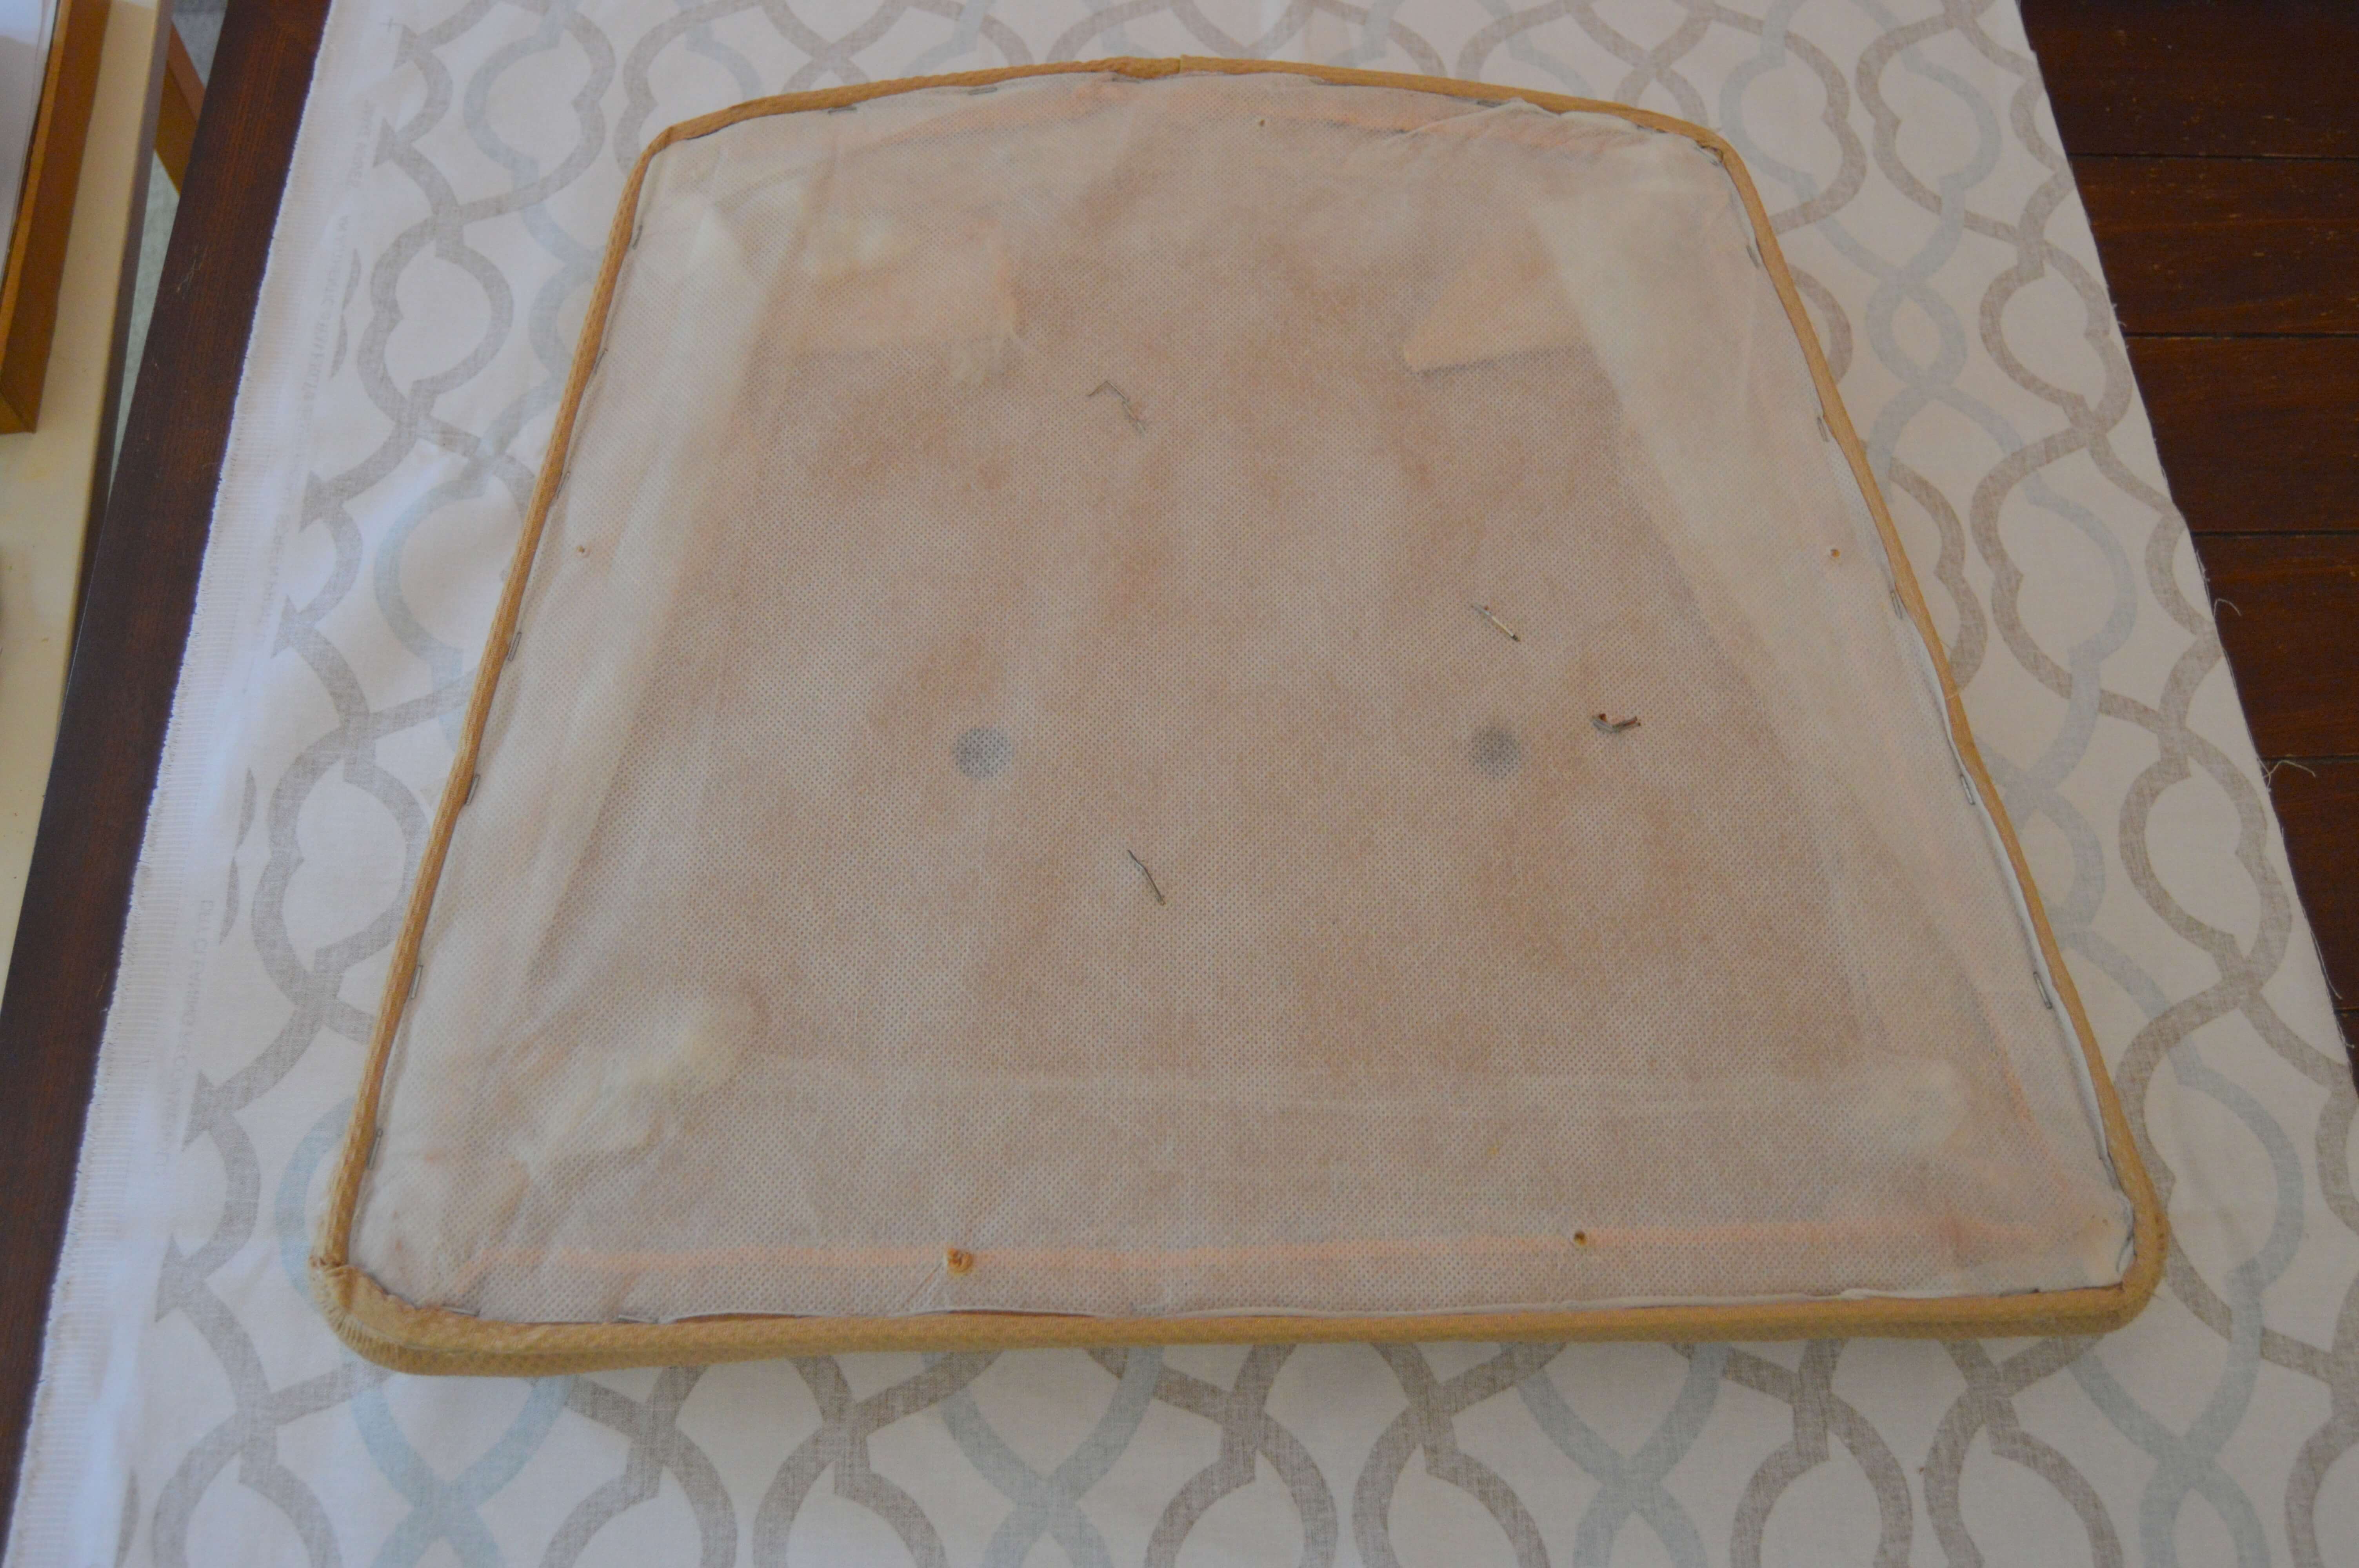
Step 1 was to remove the seats from the chairs. This is pretty simple. Just flip them over and unscrew. Set the seats aside.
Next you have to deal with the dings.
I’ve mentioned General Finishes paint in my posts about updating our dining room and painting our kitchen cabinets. It is easily, the best paint I’ve ever worked with. (And I’m not receiving any compensation for any of these posts.) Well, they also have a stain that’s a GEL! Do you know what that means? The biggest pain in the patoot about stain is that it drips like crazy, but the gel doesn’t drip.
Okay, I’ll stop gushing.
Let me be clear. You do not need to strip your furniture down. You can, if you choose to. But you don’t have to.
I took one of the chair arms to the store and found a stain that matched it almost exactly. And the nice thing about wood is that the color has a variety of shades, so exact isn’t necessary.
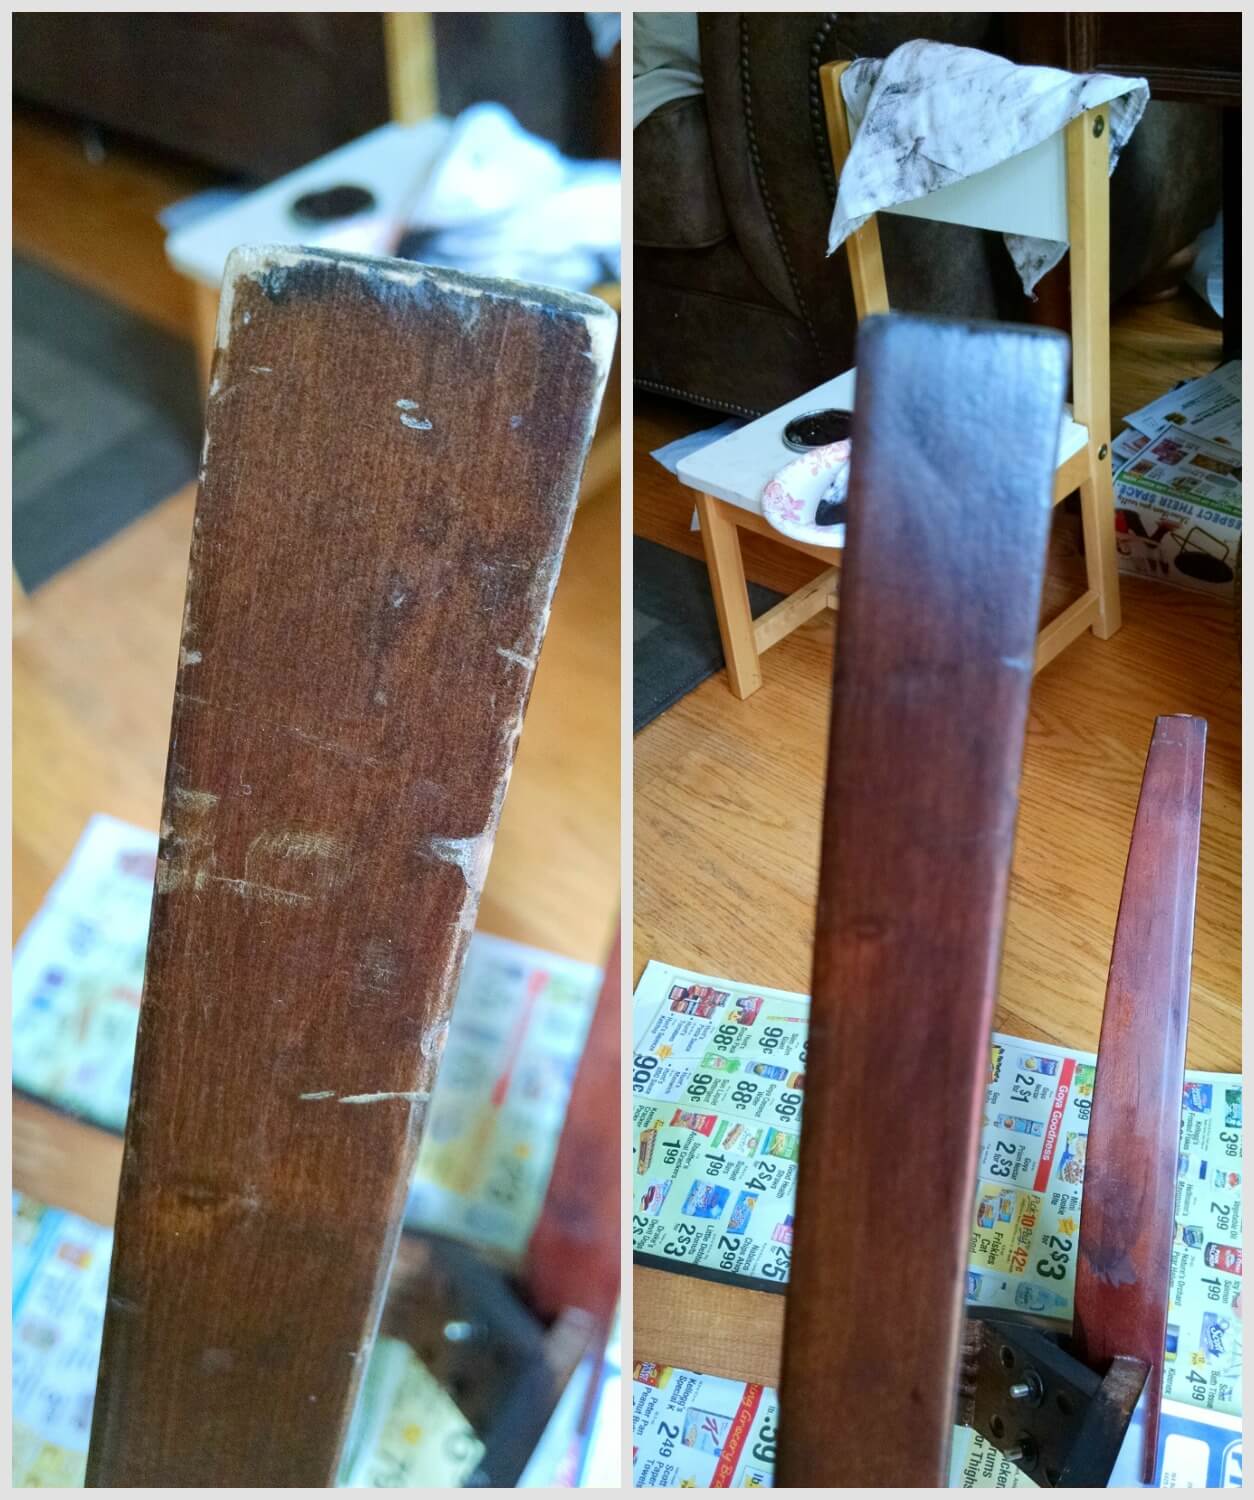
This is the same chair leg, before and after. The stain just filled in all the dings and blends right in.
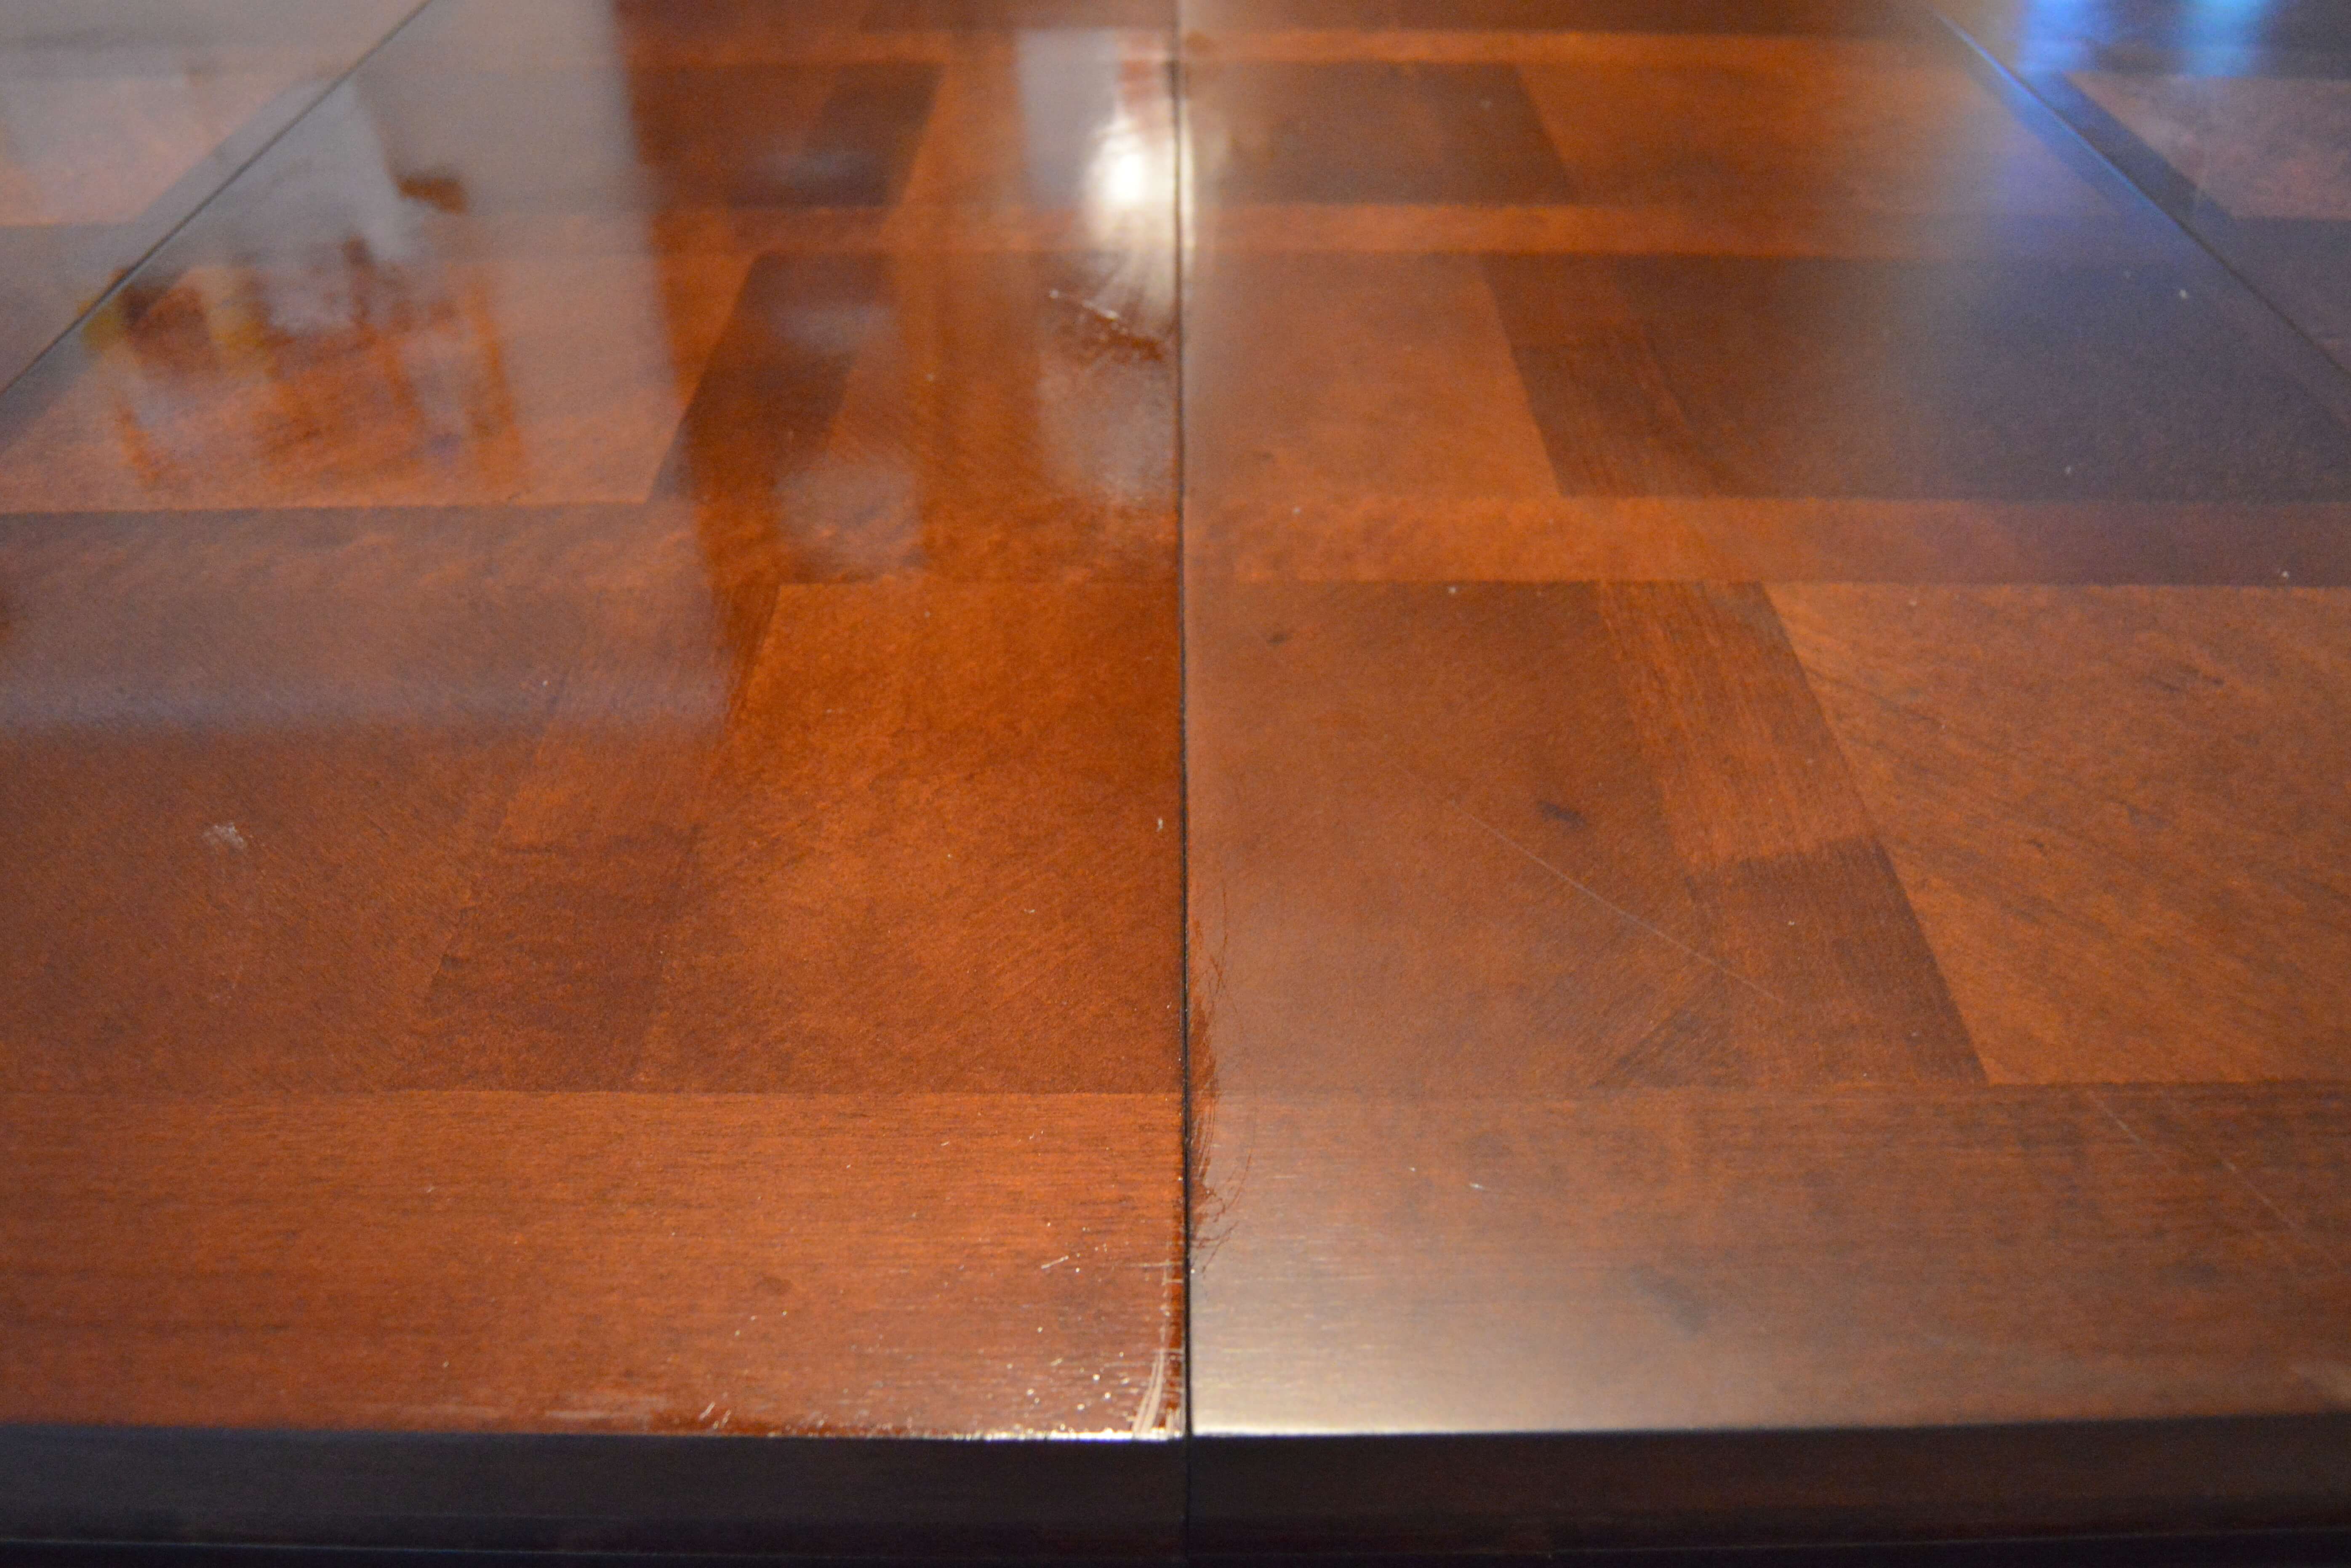
After staining, let your wood sit for 24 hours. Then I highly recommend taking one more step to give your piece an extra boost. Using the mixture from my wood floor post, you can make it look like new. Let it soak in for at least 48 hours.
While you are letting it soak, you can mosey on over to the seat cushions and get them taken care of.
Once you’ve chosen a fabric (I got 4 yards for 8 chairs) place a seat in the center and cut to size. You want extra, but not a lot of it.

Using a staple gun, secure the fabric to the chair. Start with the straight edges opposite each other, pulling tight as you go. Next do the corners, then the 2 remaining straight edges.
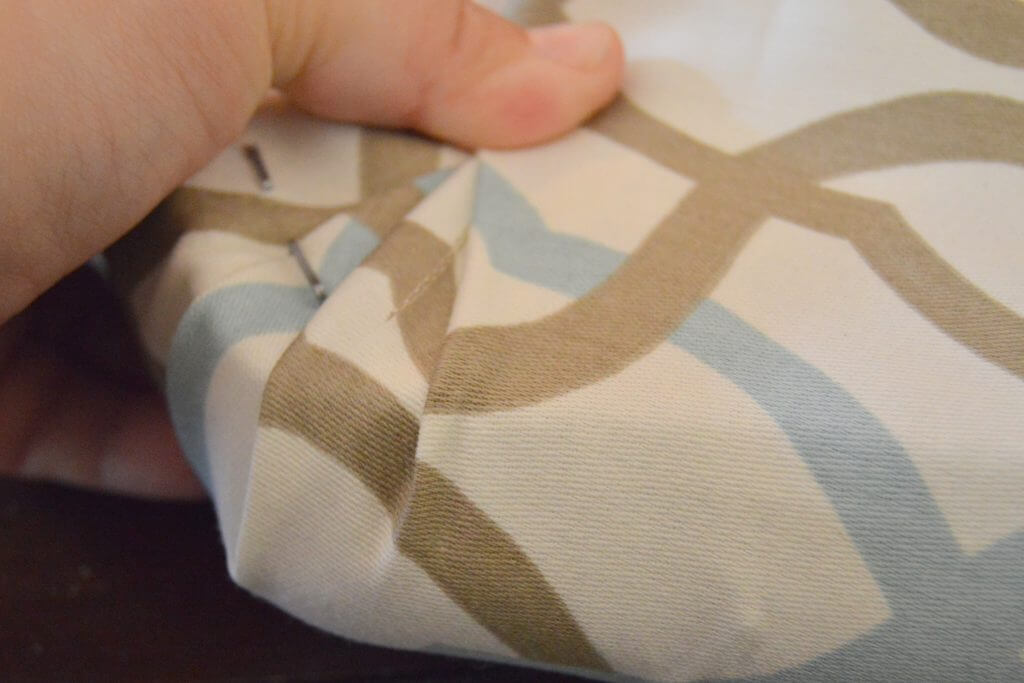
When you get to the corners, I recommend a double fold, like in the image above. It will help your fabric lay flat. Also, make sure the loose side doesn’t have wrinkles as you’re folding.
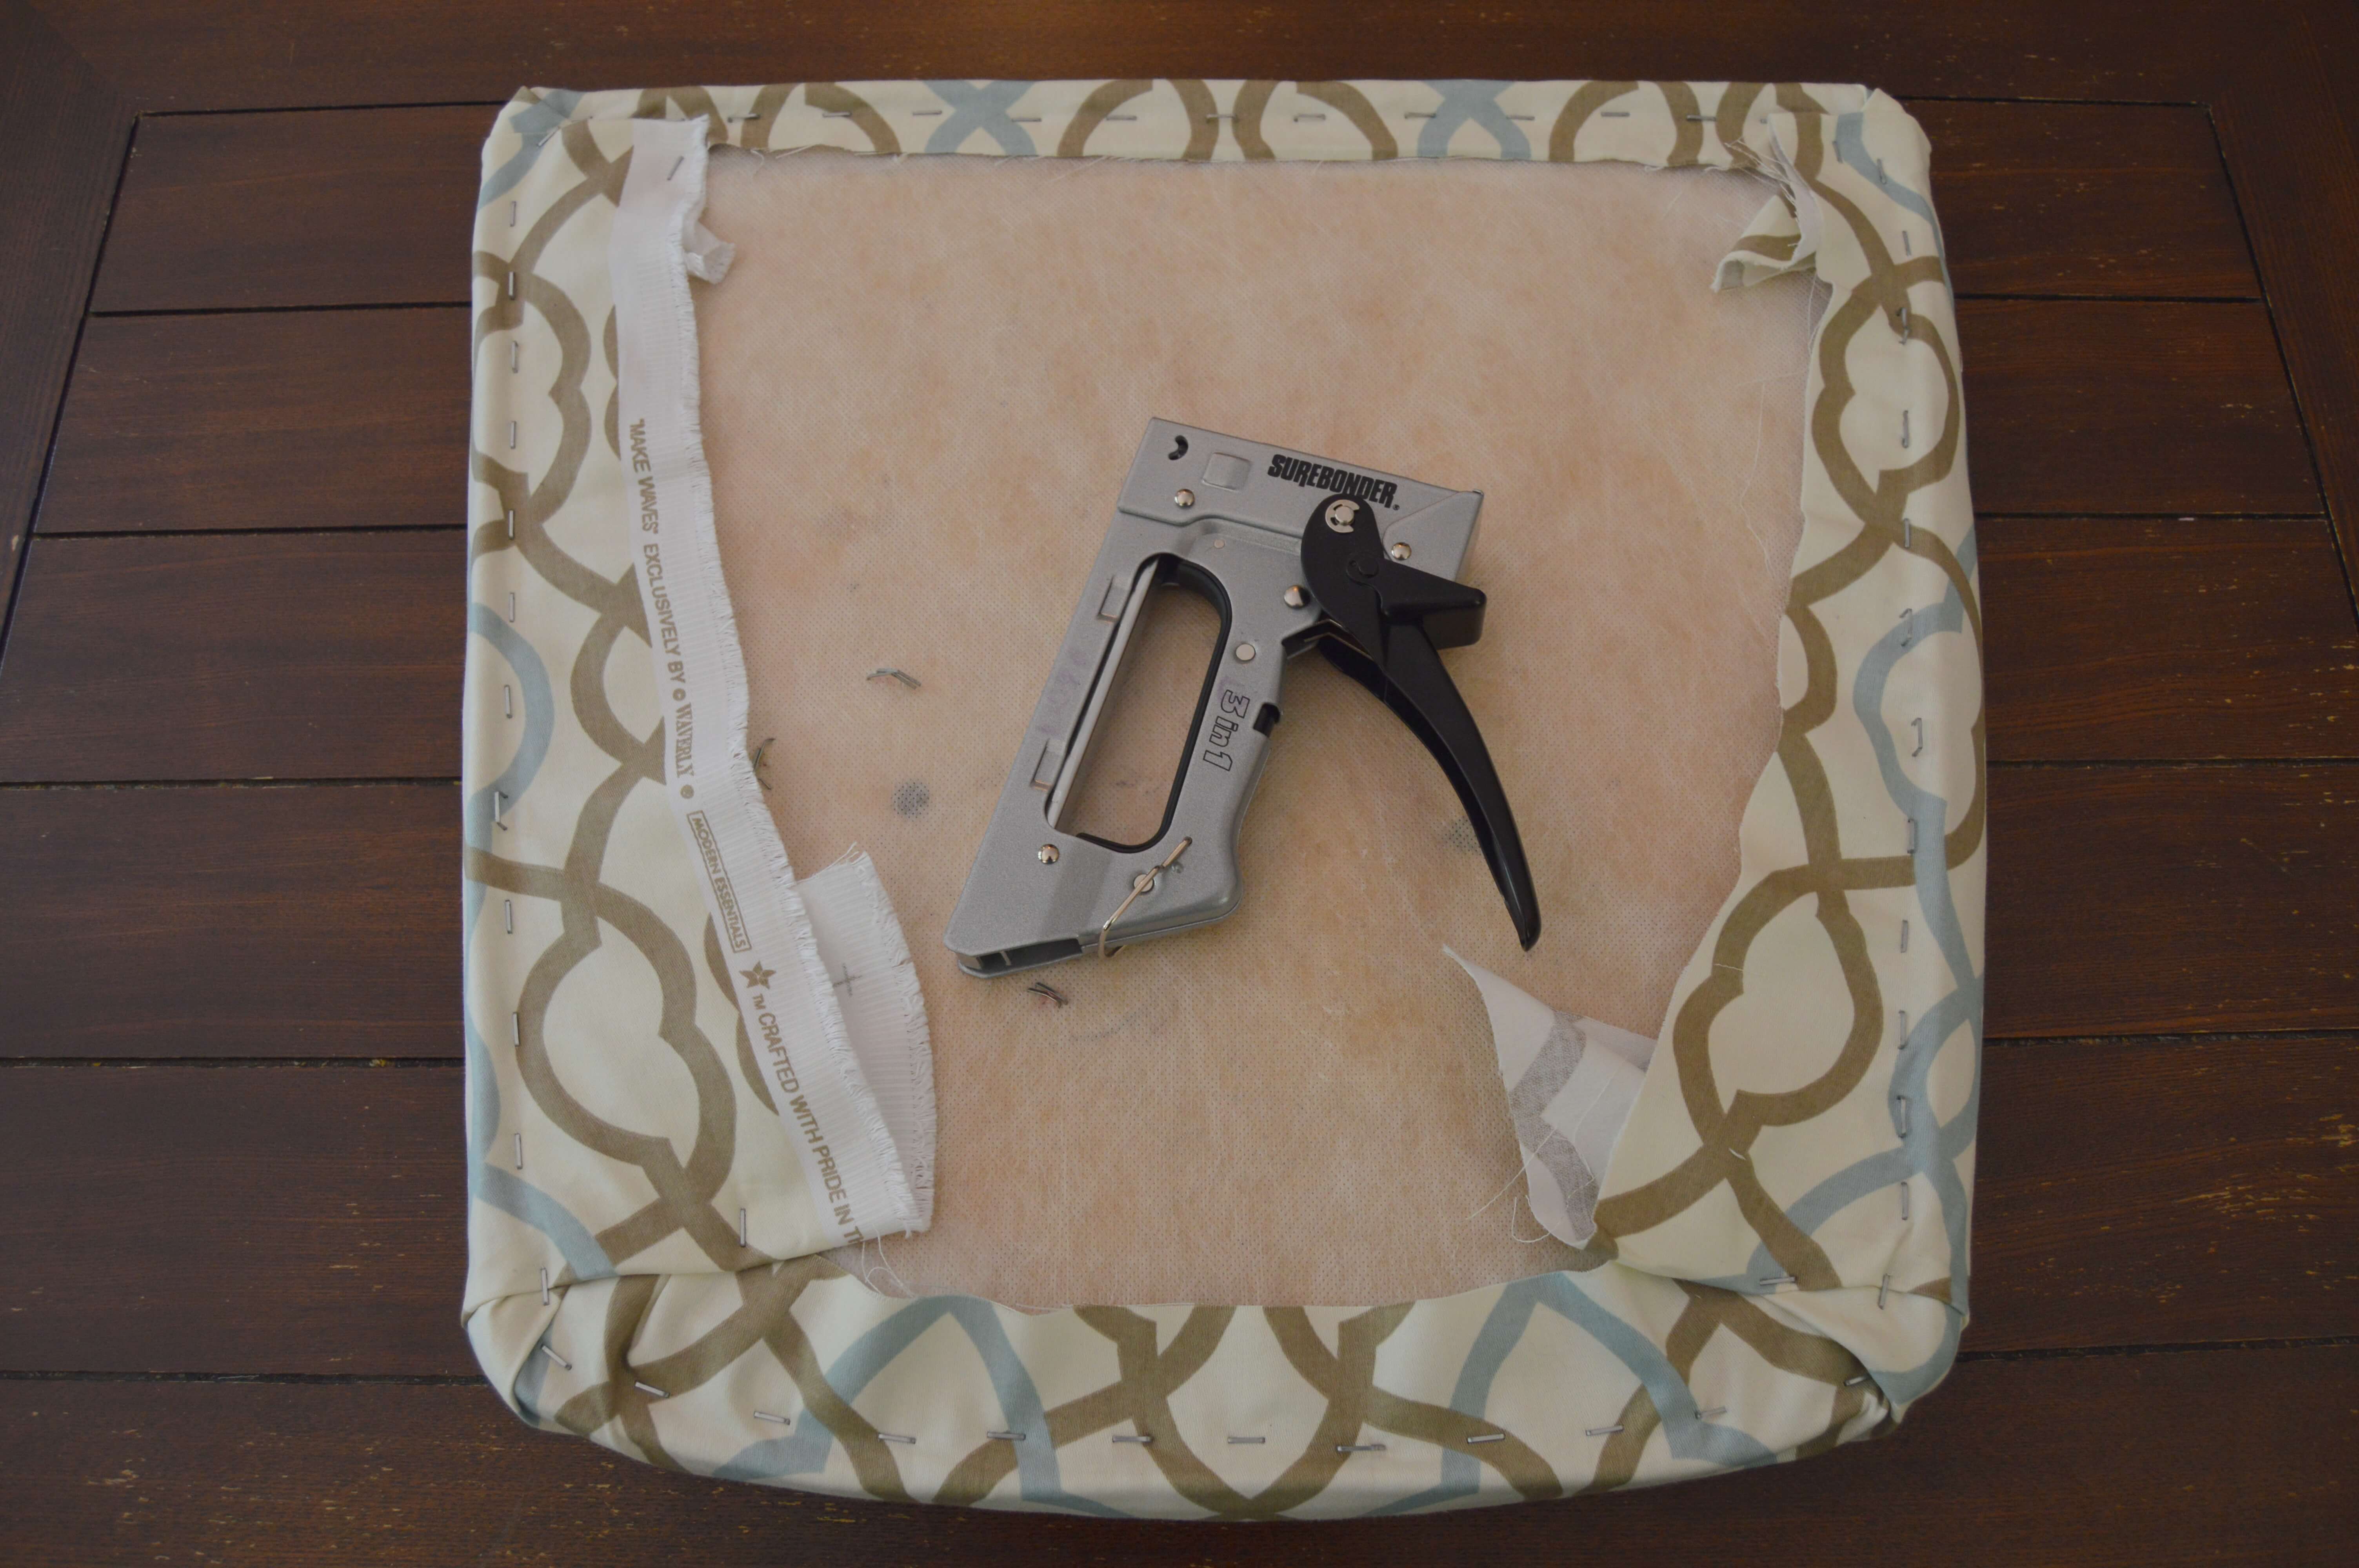
You can cut the excess if you want, or just staple it down. Honestly, by the time I got down 8 chairs I was too tired to go get scissors, so I just stapled it.
If you have kids, I also highly recommend using Scotch Guard. The last thing you want is for all your hard work to be ruined by a spaghetti dinner.
The last step is to simply reattach the seats to the chairs!
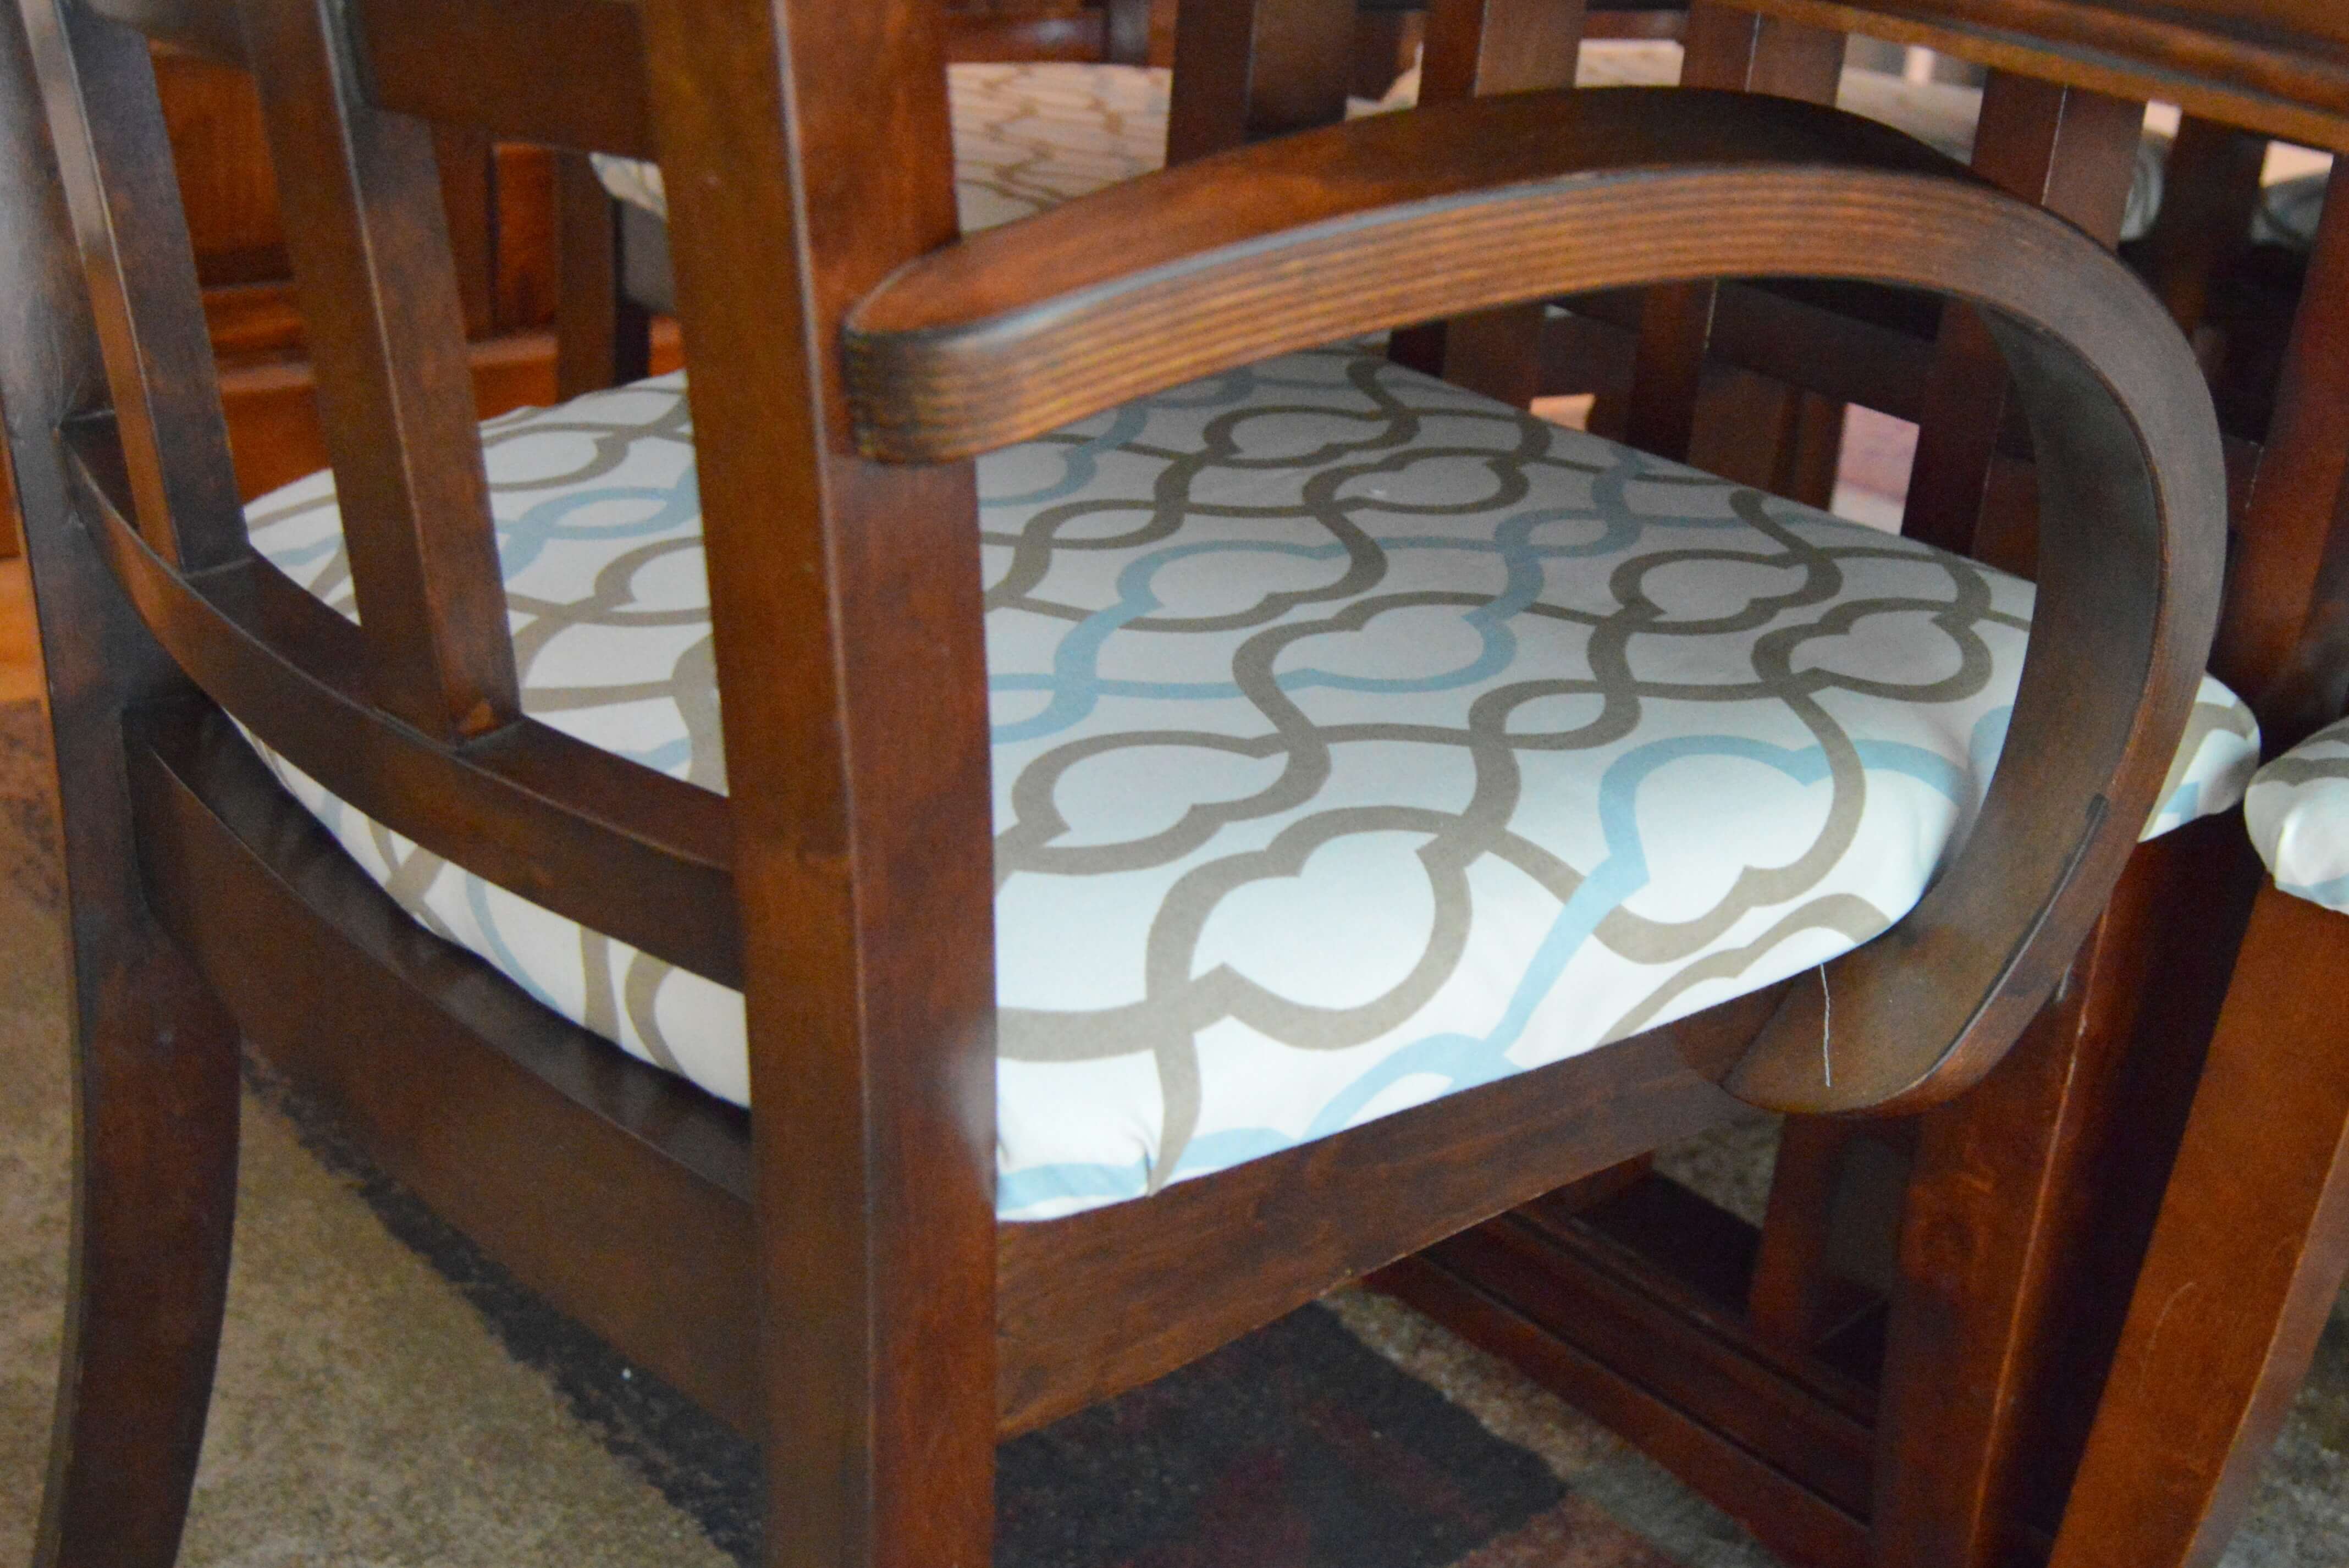
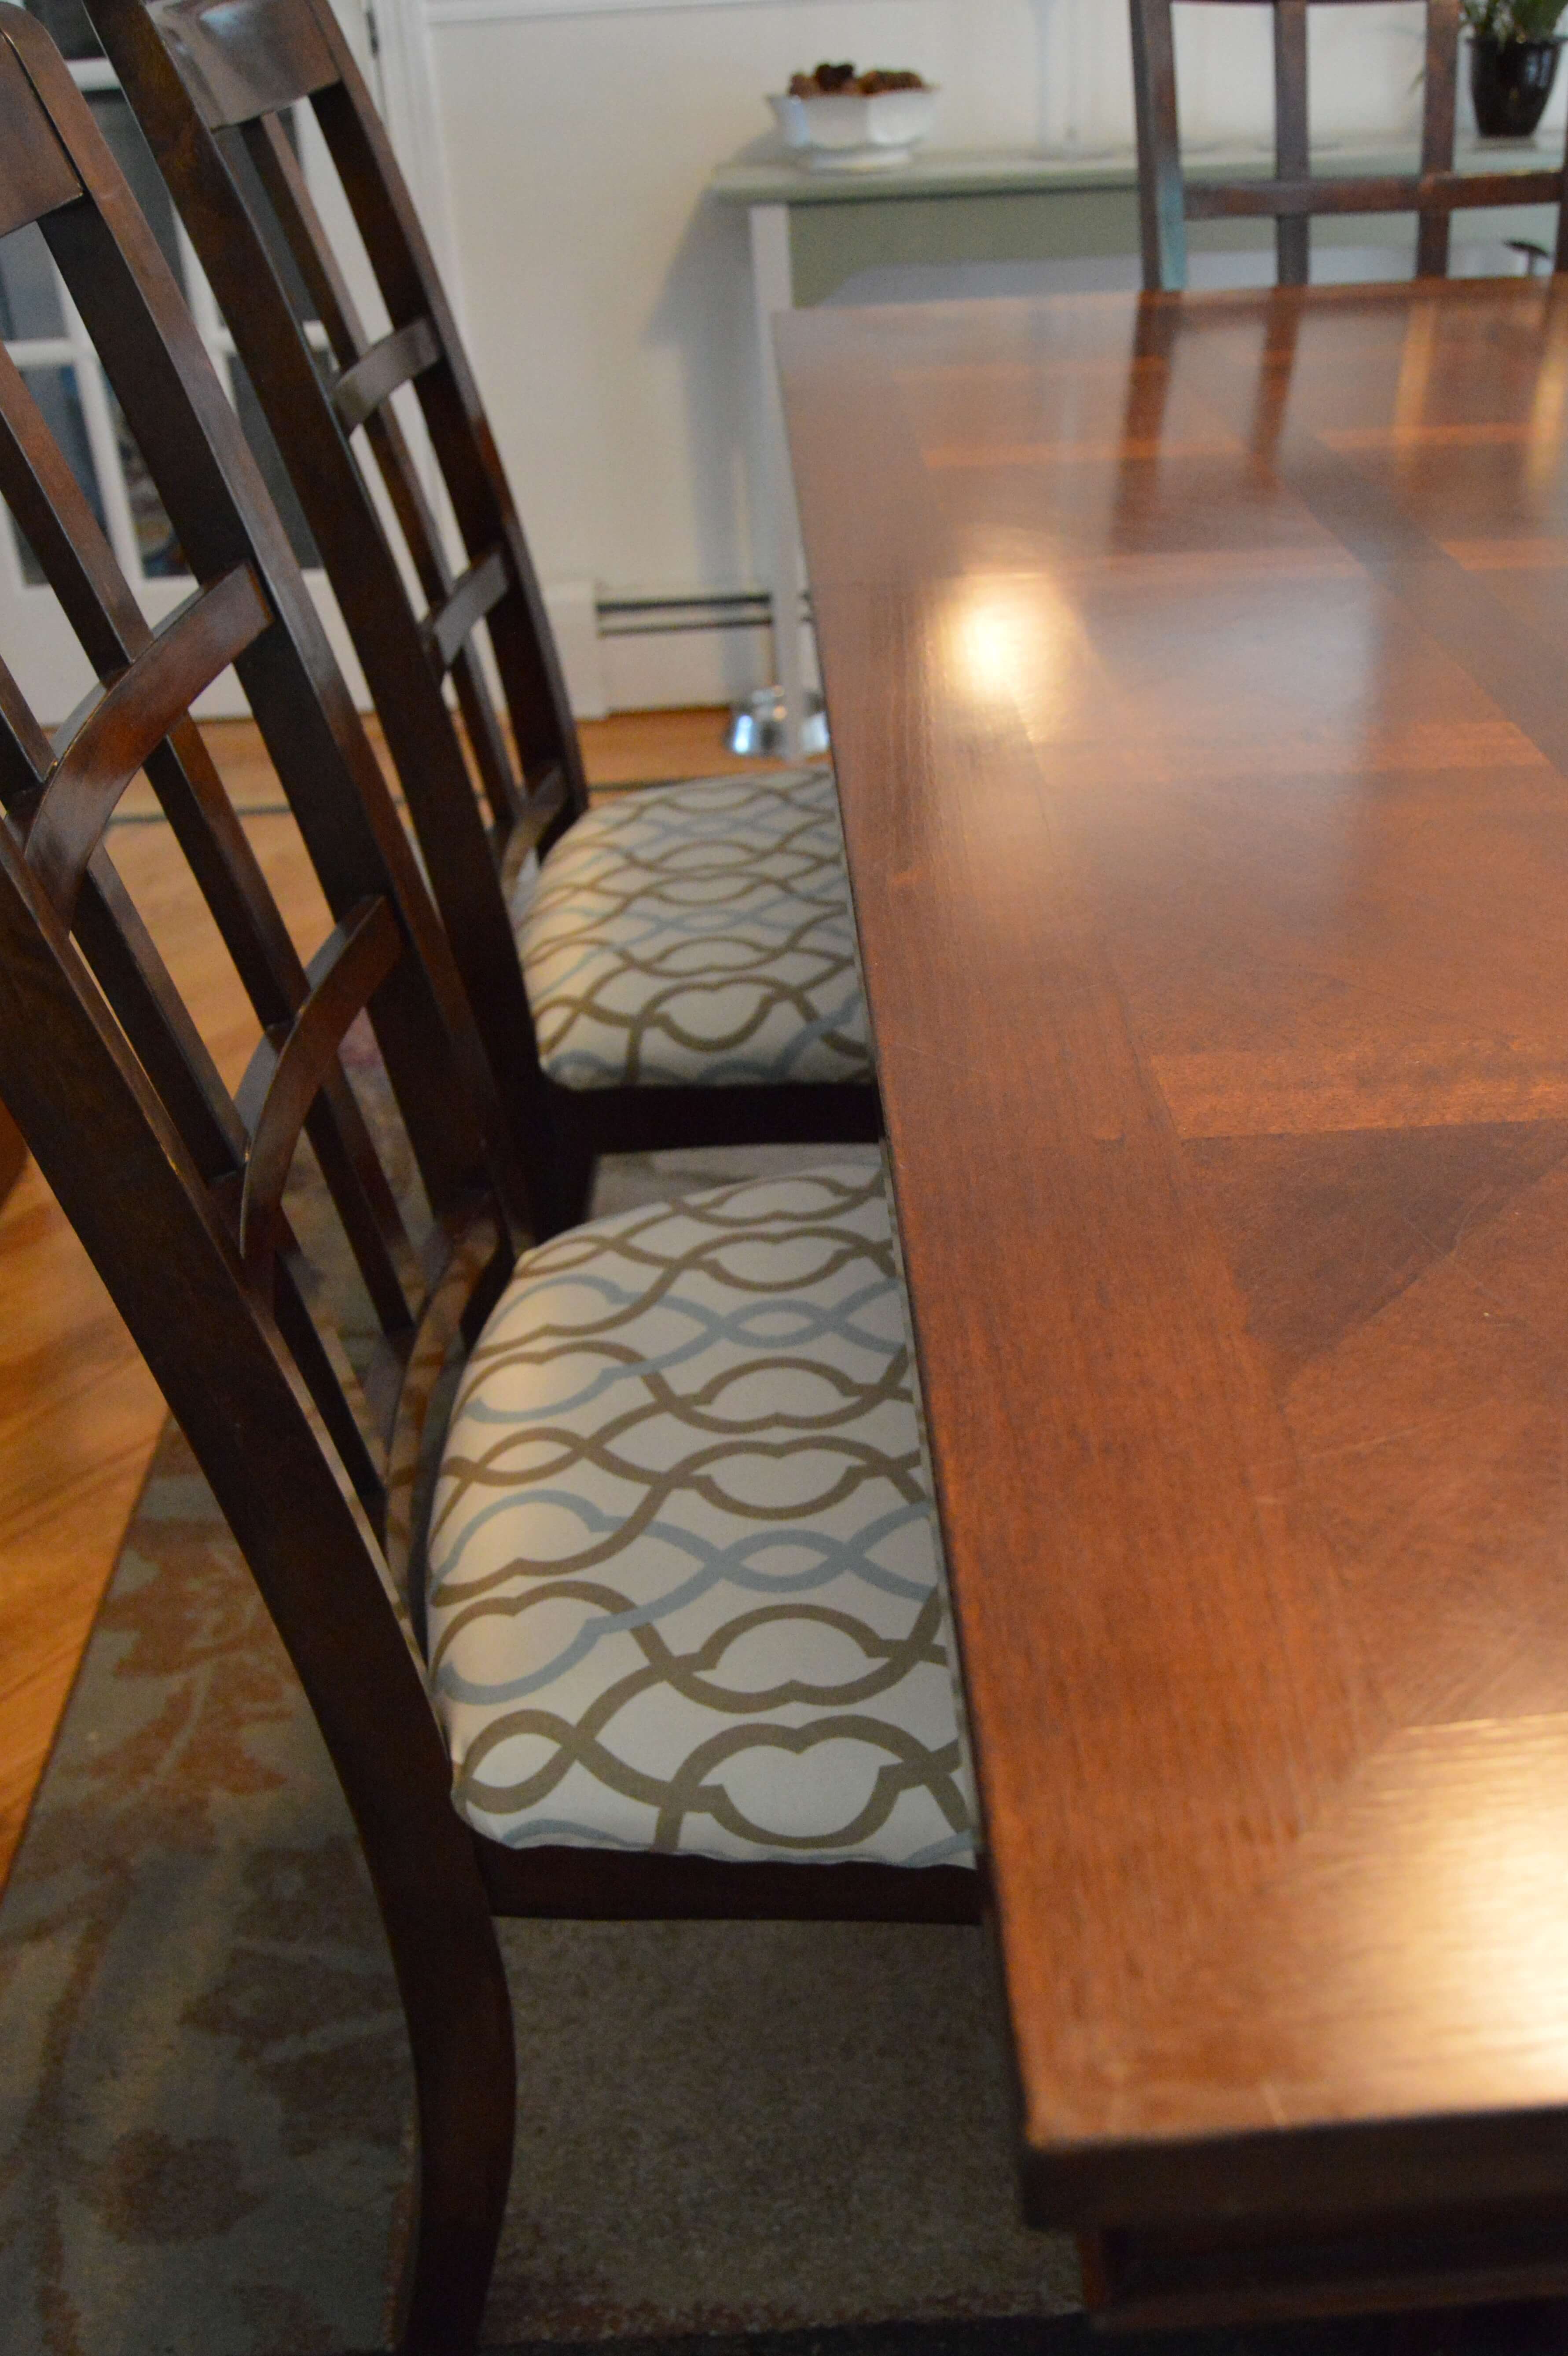
I couldn’t be happier with how it turned out. My dining set looks brand new – even better because the fabric is custom tailored to our room – and I paid about a quarter of the price.


