

This summer we’re starting our first edible garden. I have grown fruits and veggies in the past, with mixed success.
There was the container tomato that produced a single tomato (which rotted before I picked it), and the blueberries in the raised garden bed. The first year all the blueberries were ravaged by birds, the second year the bottom halfway fell out of the bed and the dog started eating the dirt.
When I went to plan out our edible garden, I knew we wanted lots of berries so I started looking around for ideas. The raspberries and blueberries are fairly straight-forward – just plant and water – and I can’t wait to get the blueberry bushes out of that sad, broken garden bed and in the ground.
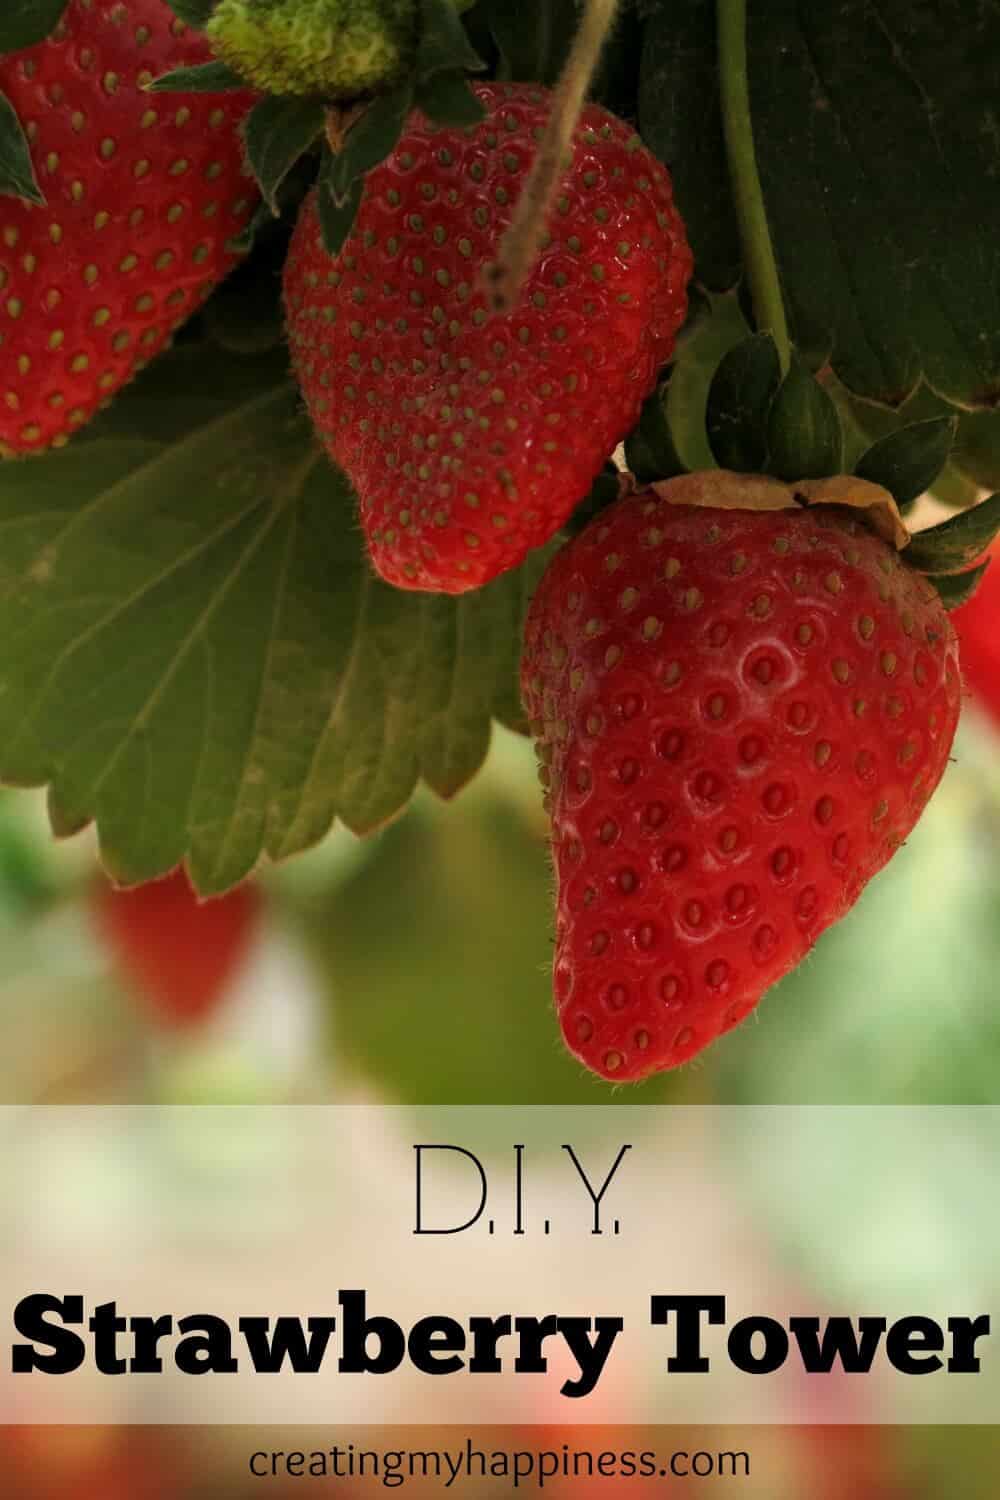
But strawberries, a favorite in our house, had 2 things going against them. They tend to take up a lot of garden space because they spread out, not up. Plus, strawberries rot pretty quickly if they’re laying in the soil (which they do often, because they’re very low plants).
Of course, I hit up Pinterest for some inspiration, and I was not disappointed. I found this post that explained the idea and knew I wanted to give it a try. The problem? Well, I don’t build stuff… and I didn’t have leftover fence boards. I scoured Craigslist for them, but didn’t have any luck.
Enter Home Depot.
I found some 1 x 6 boards for about $5 each and decided to go for it. 5 boards (4 for the sides and 1 for the footing & bottom) cost me less than $30 after taxes and I only needed 1 cubic foot of fill, so that was another $5. Not too shabby.
However, as is usually the case when novices try to tackle a building project, there were some bumps in the road.
The wood I bought is what’s known as common board. It’s a very soft wood and it splintered quite a bit when drilling. I also had trouble figuring out how to drill the holes. The guy at Home Depot gave me a tool that would have worked, but it wouldn’t fit in my drill. So I returned it and got a hole saw, which would have worked except for the fact that my drill didn’t have enough power. I ended up getting a new one (on half-price sale at Target) by returning a pair of shoes I wasn’t crazy about.
Side note: I think I get some builder’s cred for returning shoes for a drill.
Okay, so let’s get to what you really want to know; how to build your own strawberry tower!
You will need:
- 4 1×6 boards cut to 6 feet each
- 1 1×6 board cut to 8 inches
- 2 1×6 boards cut to 2 feet each
- 2″ deck screws
- A power drill
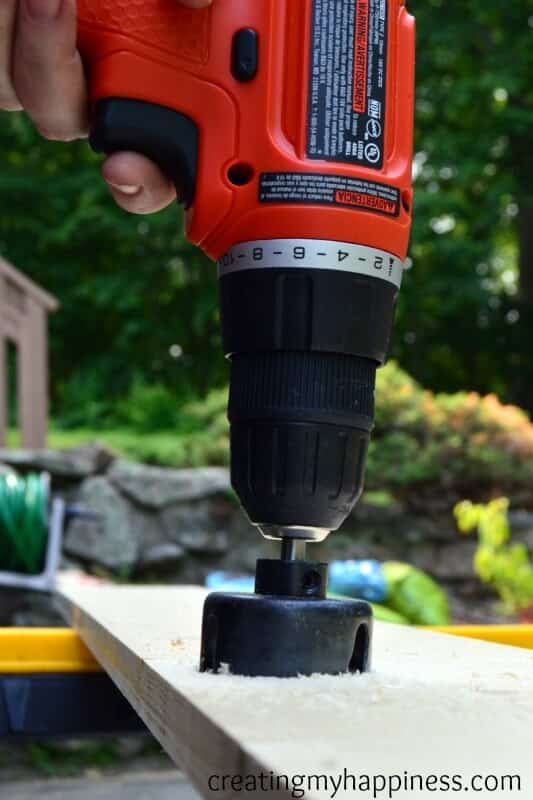
- A hole saw drill bit, I recommend 2″ or larger
- 1 cubic foot of soil
- Strawberry plants or bare roots
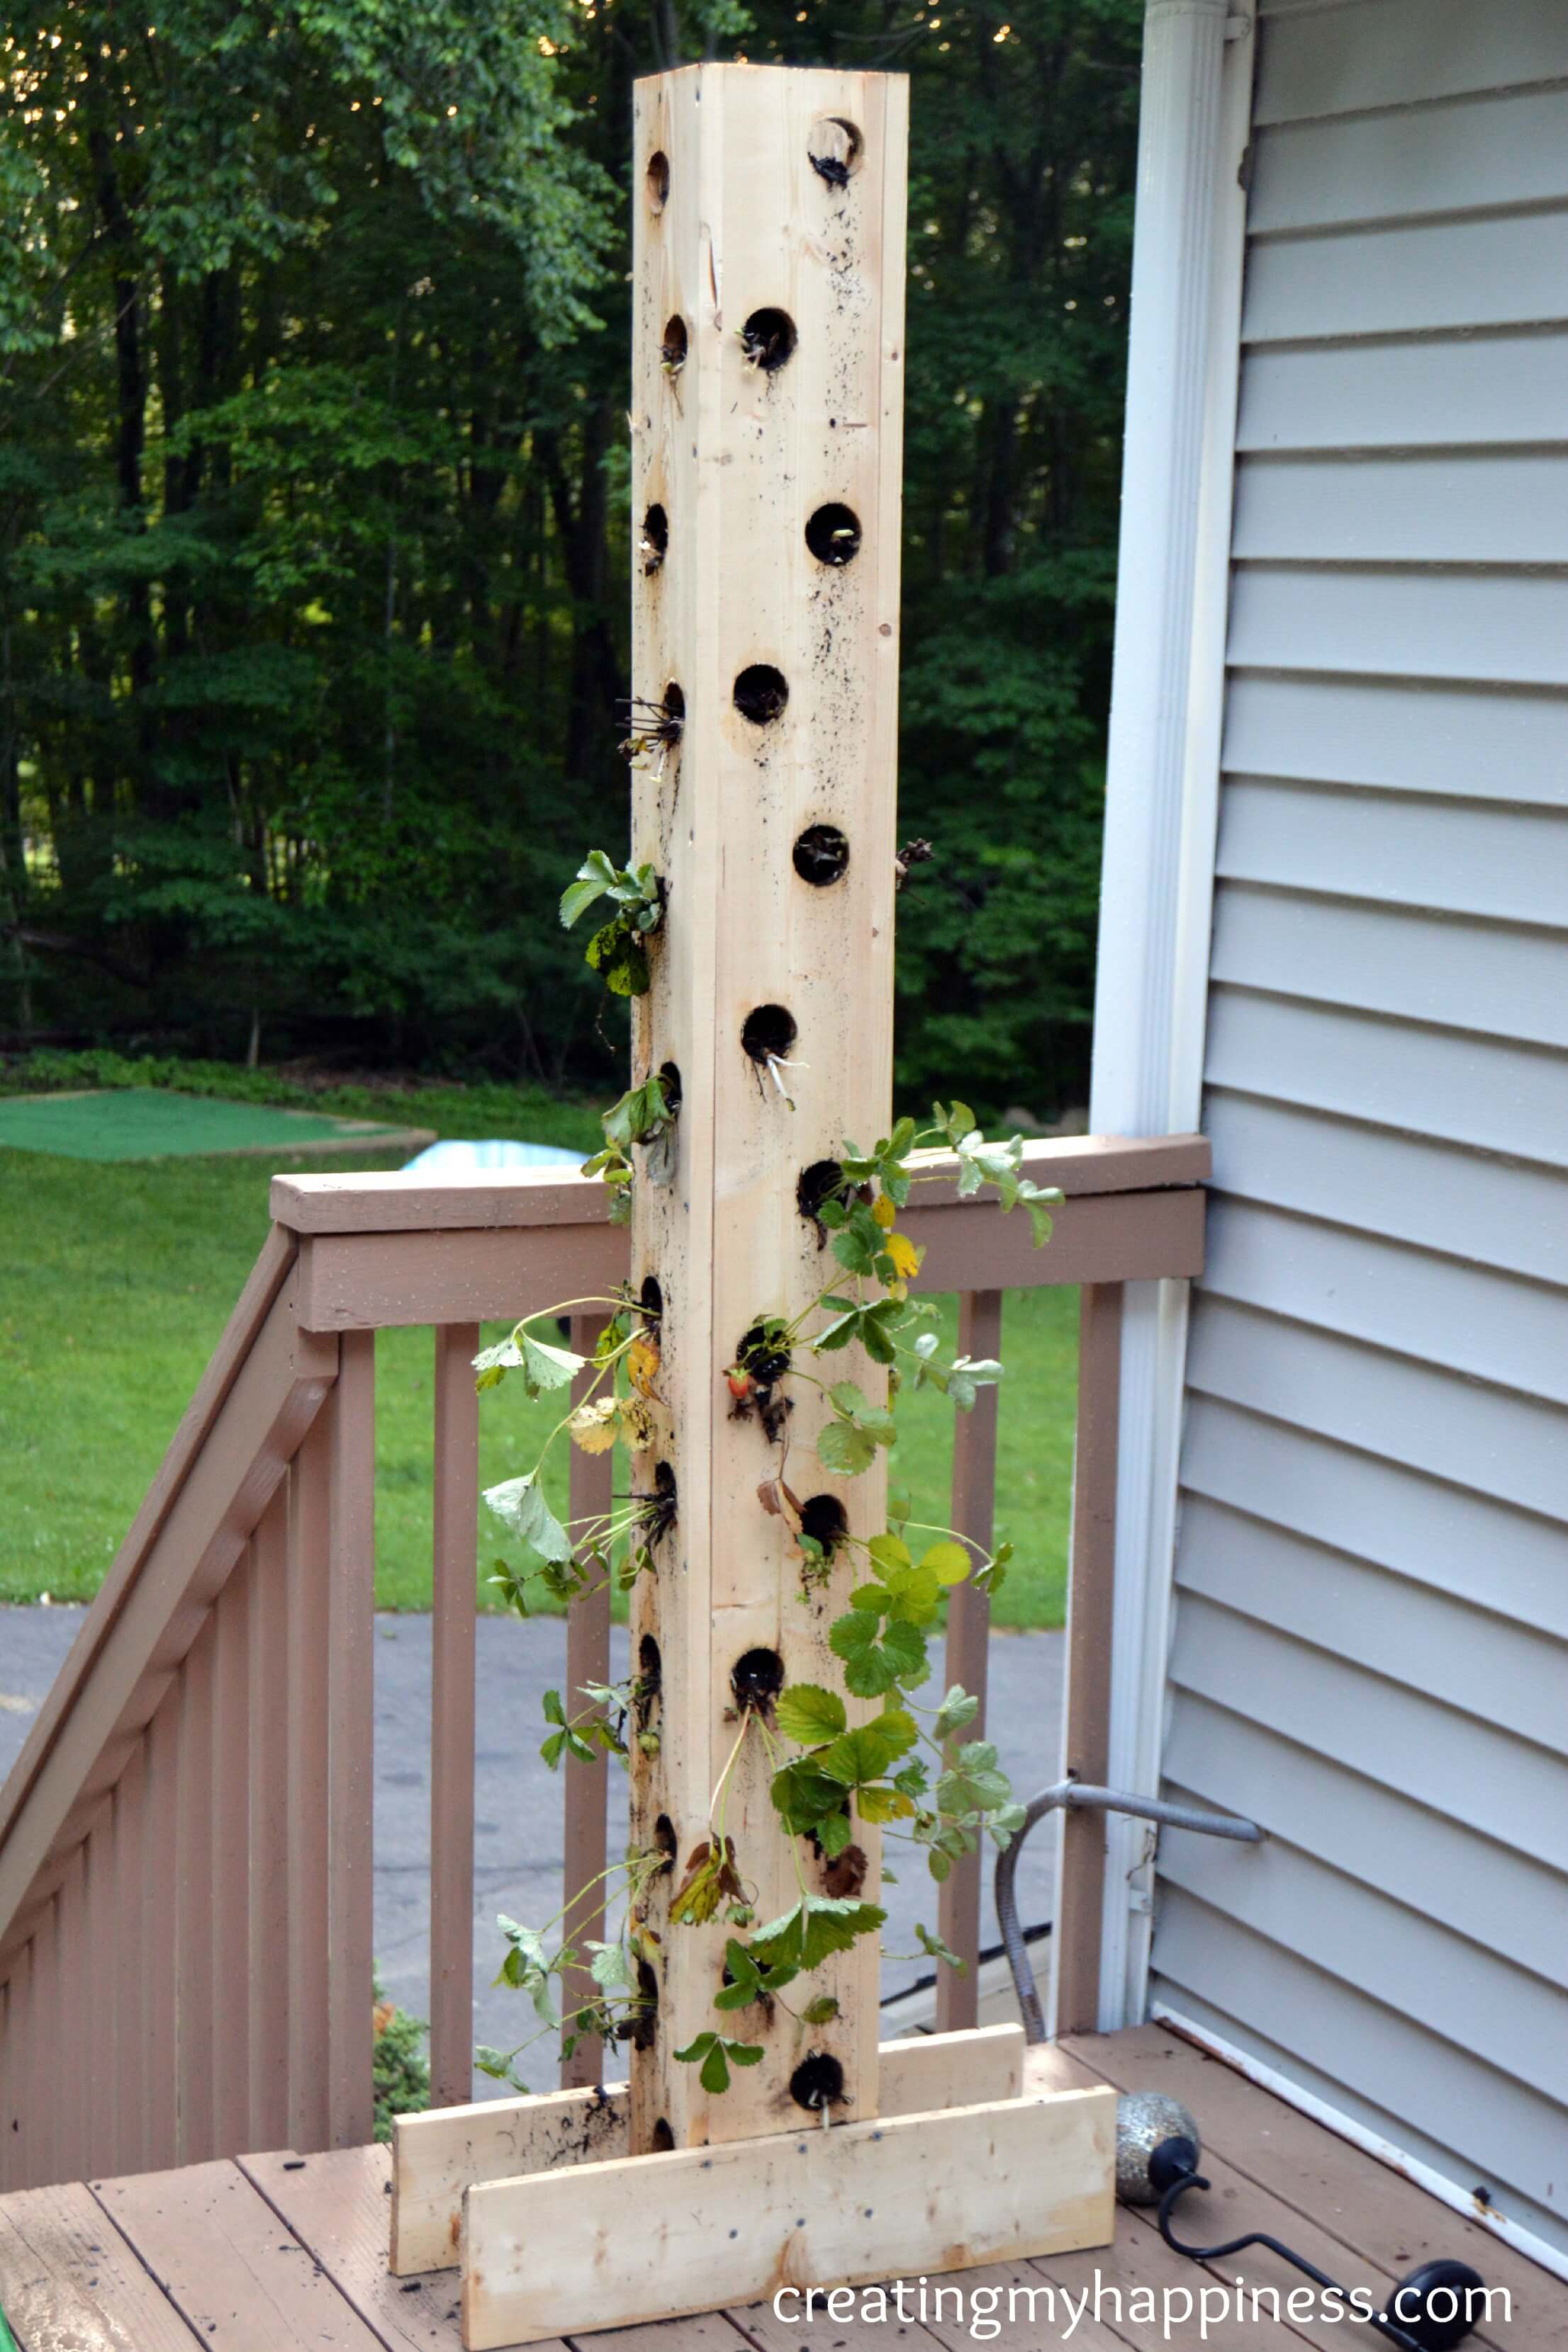
I decided to pre-drill holes in the sides to make the next steps easier. On 2 of the boards, drill holes slightly smaller than your screws along the edge, about every foot. These are 1/2″ in, because the boards are 1″ thick.
I also drilled holes in the bottom piece so water will drain when needed.
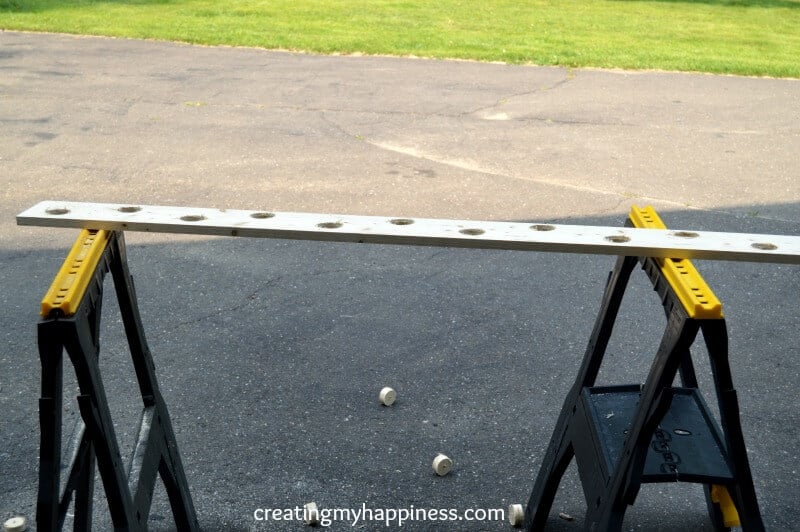
Next drill the holes for the strawberries. I put about 13 holes on each side. As you can see in the original post, you can fit a lot more, but I’m starting small. If you’re going to put your tower against a wall, leave 1 side with no holes in it.
Not for anything, but this step took a crazy long time. Even with my new high-powered drill. I had to put the drill on the highest setting and couldn’t do more than 4-5 holes at a time before it got hot and needed a break. It was frustrating, but I powered through it. This is partly due to the wood I chose and my learning curve with the drill. I did get up to 10 holes at a go with practice.
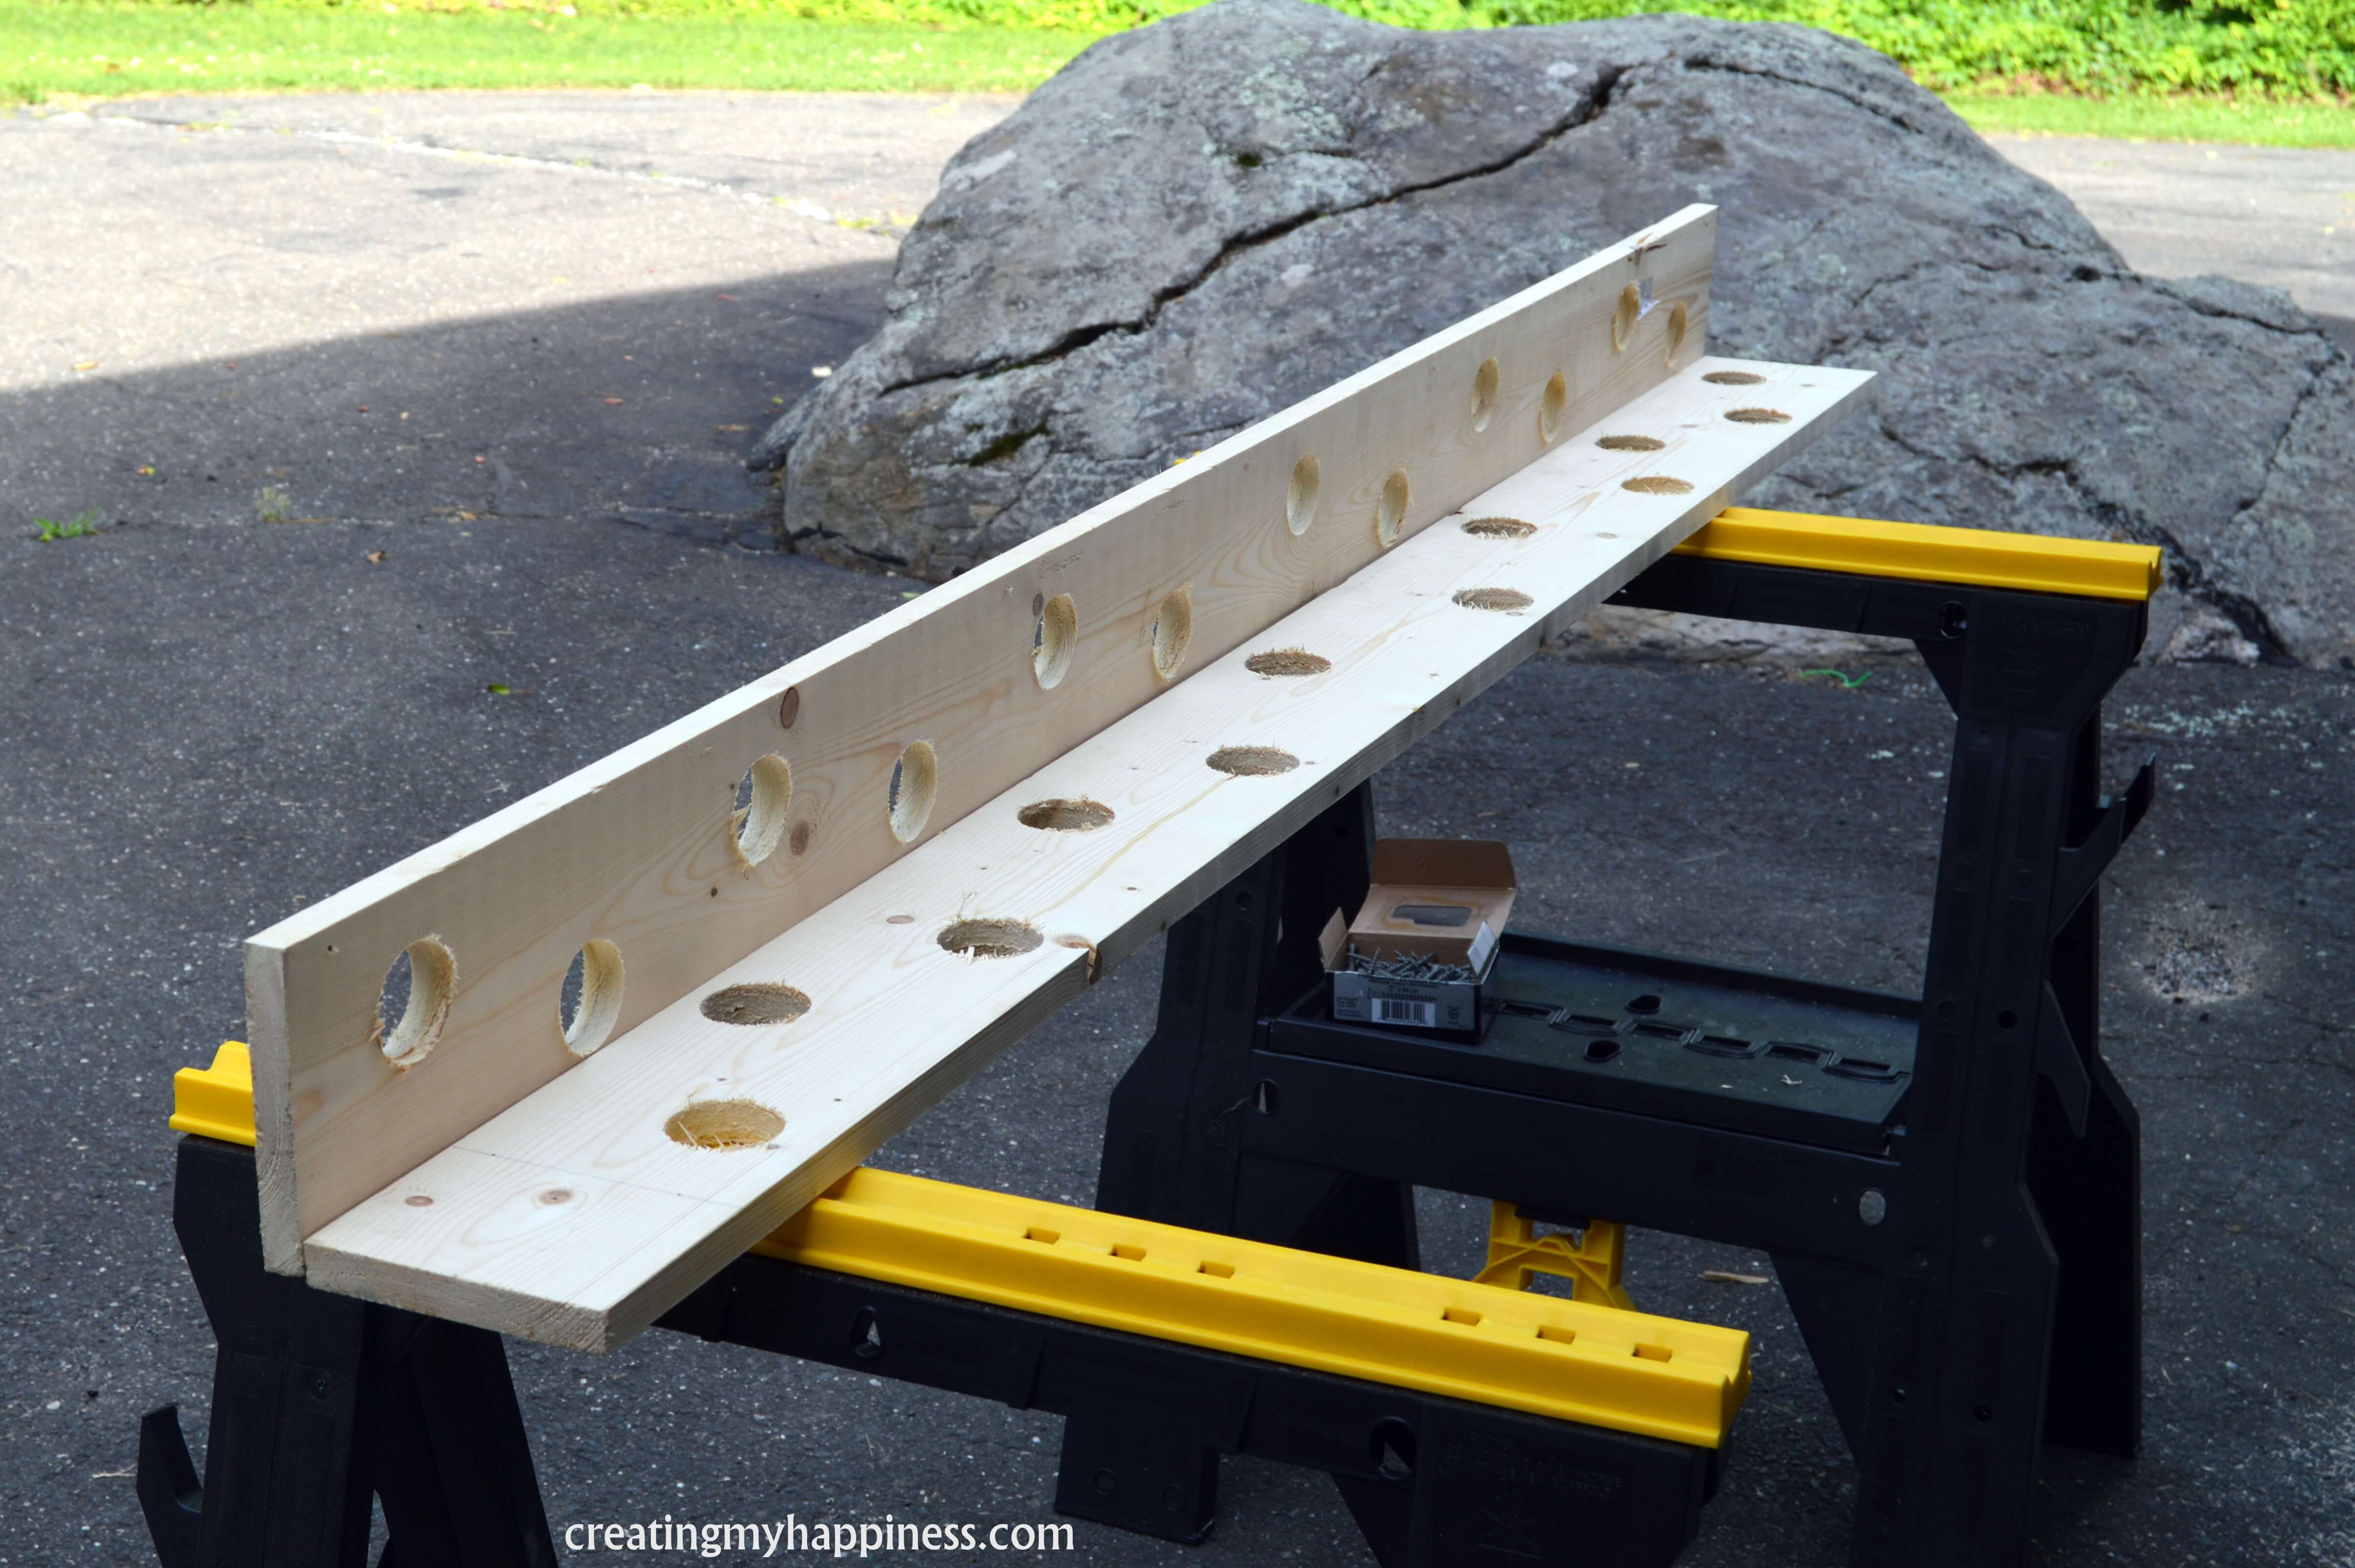
Lay the non pre-drilled board flat, then lay the pre-drilled board perpendicular, right up against it (so it makes an L shape). Place the screws in the pre-drilled holes, adjust as needed if your screws enter your plant holes.

Attach the other pre-drilled side, then the final side.
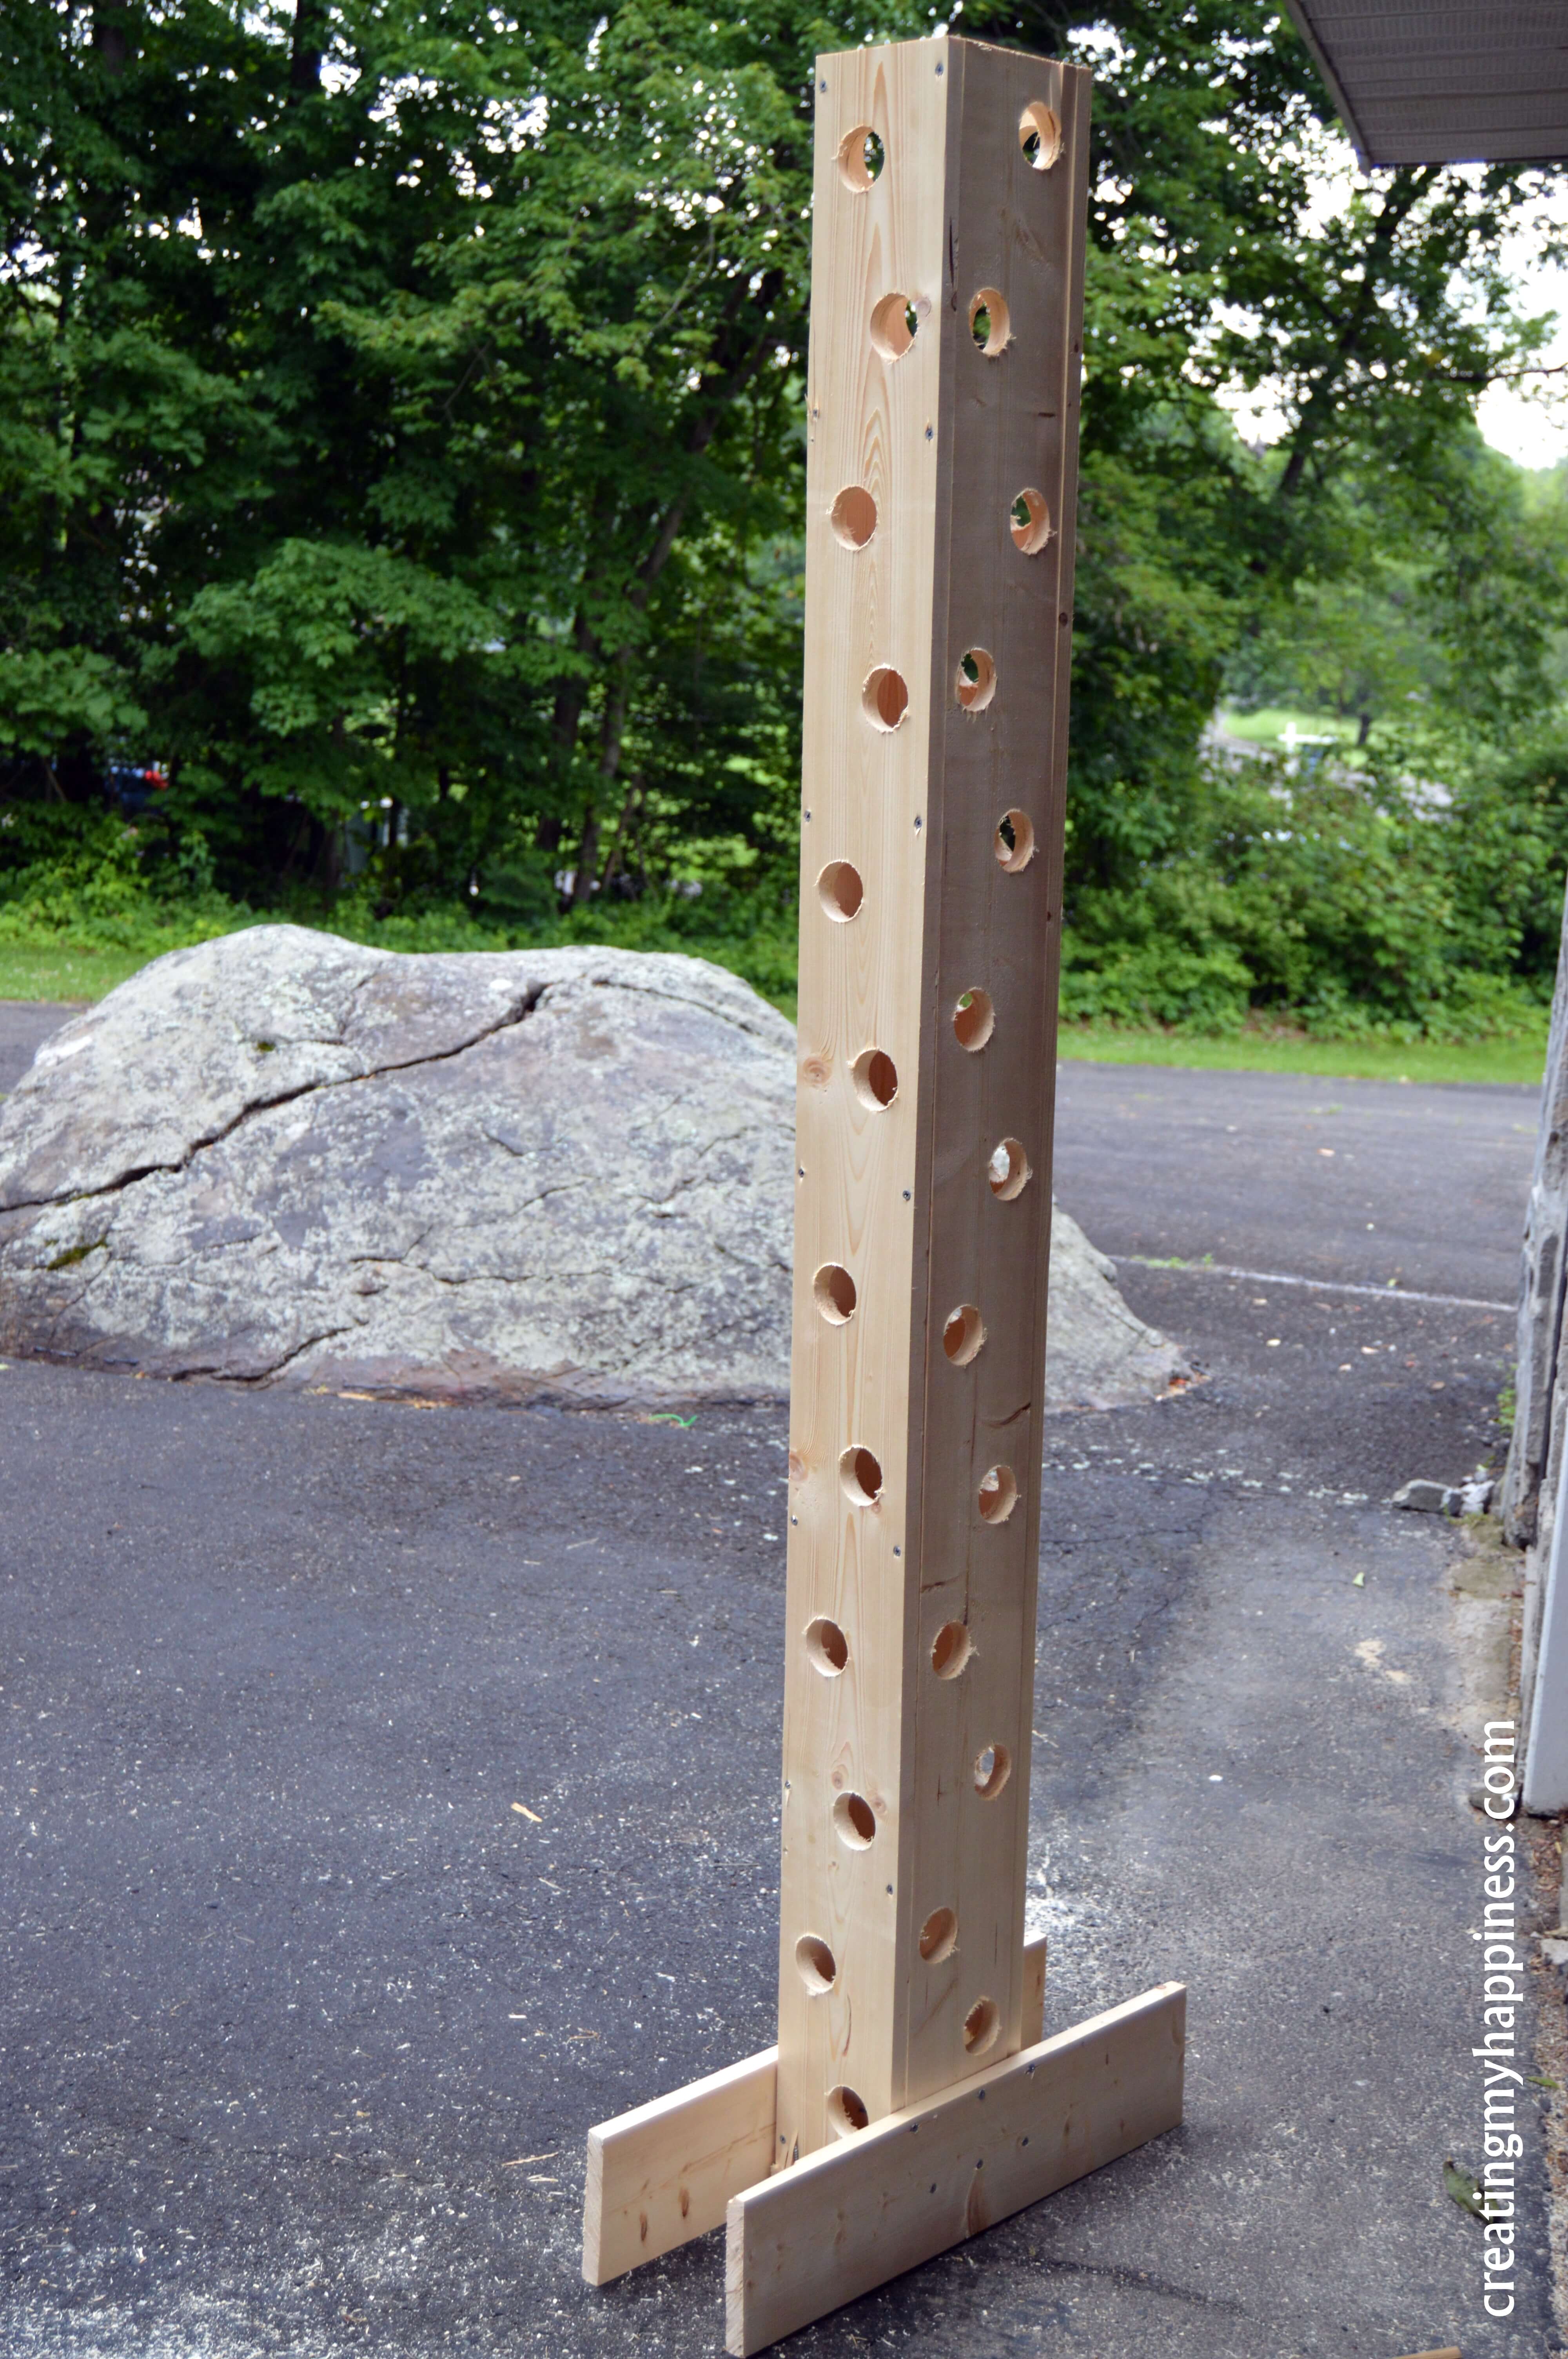
Attach the bottom and footings.
Fill with soil and plant your strawberries. I used a 50/50 mix of organic compost and Miracle Gro Hydrate Soil with Peat Moss. It was as close as I could get to Mel’s mix with what I had.
You’ll want to stand on a stool to fill (you’ll still get completely filthy, but more of the soil will get in the tower). I recommend planting the plants or roots as you fill so the soil will fill in around the roots. Water immediately.
One regret I have is not installing a drip watering system. It wouldn’t have worked in our space, but I recommend it for your tower. If you don’t have a drip system, set your hose sprayer on shower and spray it up in the air, so when it comes down, it “rains” on the tower.
Some soil will come out the holes when you water, but that’s okay. The soil will settle as it rains and you may need to add more to the top.
For those of you who aren’t as keen to build your own tower, you can buy them here. They aren’t as high, and they don’t fit as many plants, but you won’t get any splinters either.
Linked up at Frugal Friday


