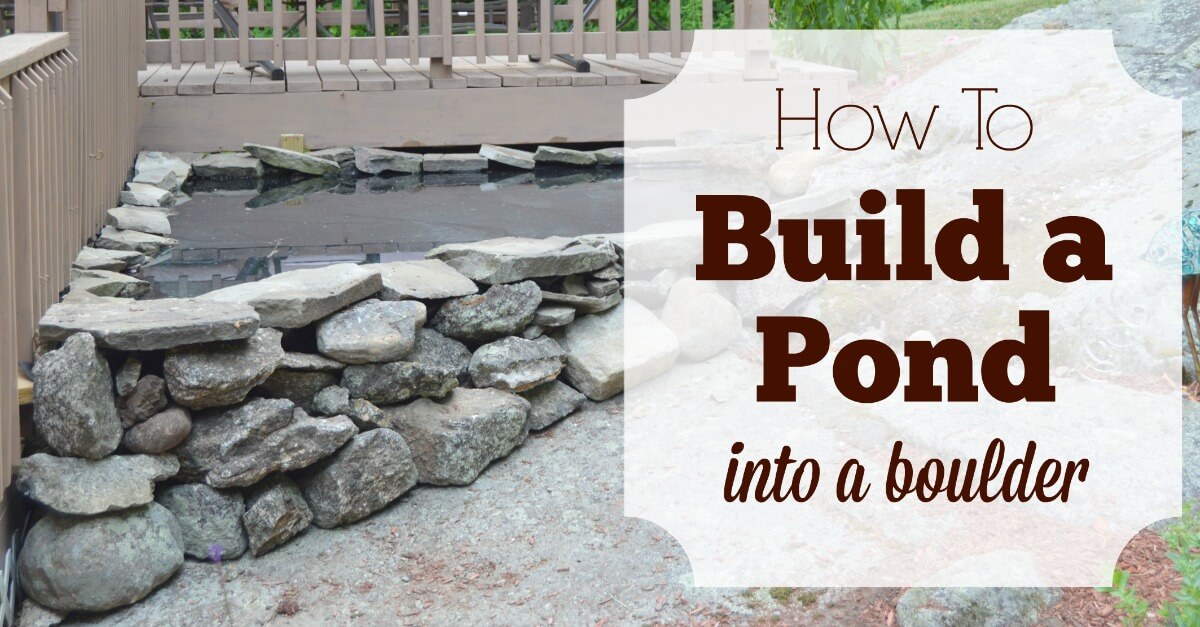
When we bought our house, it came with a pond. Sort of. The house hadn’t been lived in by the owners for several years and the pond was in less than stellar condition. It was one of the first projects we tackled and I learned a lot – but the pond came out rather blah.
It’s bothered me for years, but I couldn’t figure out how to make it better… so there it sat.
Until now!
This summer I finally had a plan I thought would work. You see the problem was that the pond was built out of rocks, to blend in with the natural boulder surround. There’s nothing wrong with that, per se, but it was impossible to get the rocks level. That led to natural pond that looked anything but.
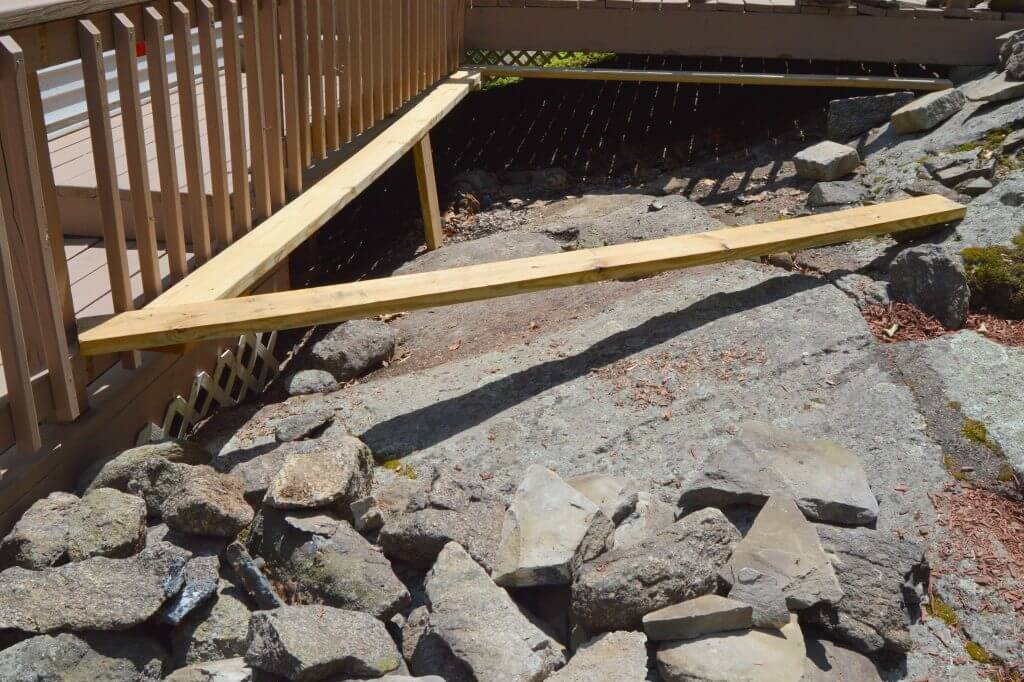
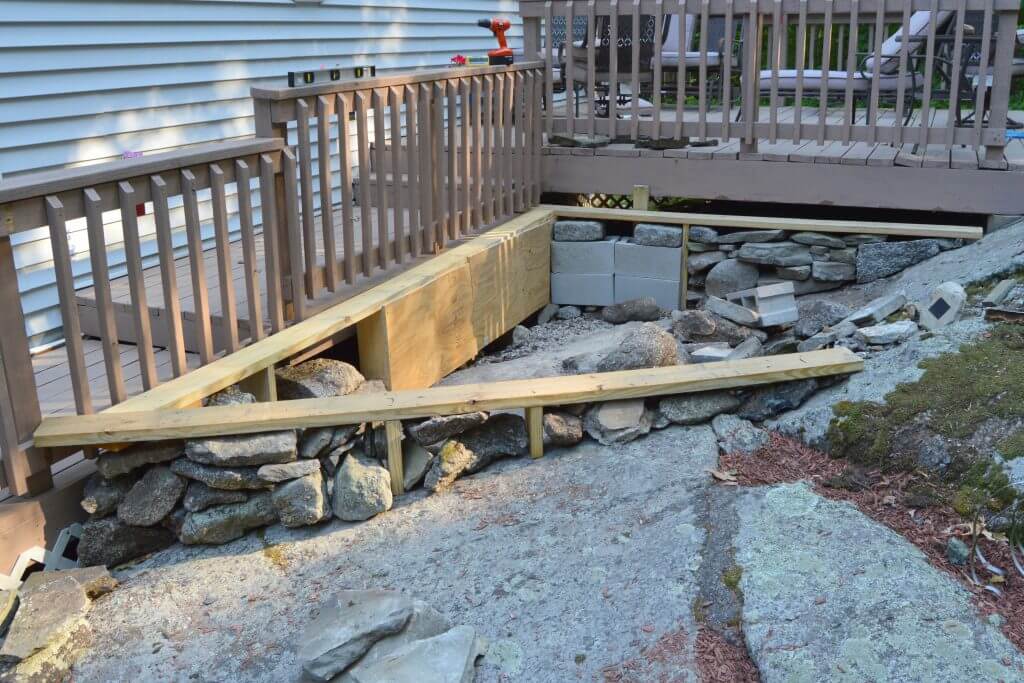
So this time I built a frame out of wood, and secured it to the deck. I filled in the space below with rock and some plywood. This time it much more level, and looks much more natural.
The frame is just made of pressure treated 2 x 6s. Running from the deck to the rock I used 10-foot boards. Connecting the 2, along the deck, is a 12-foot board. I cut each down a bit with my circular saw so they’d be level.
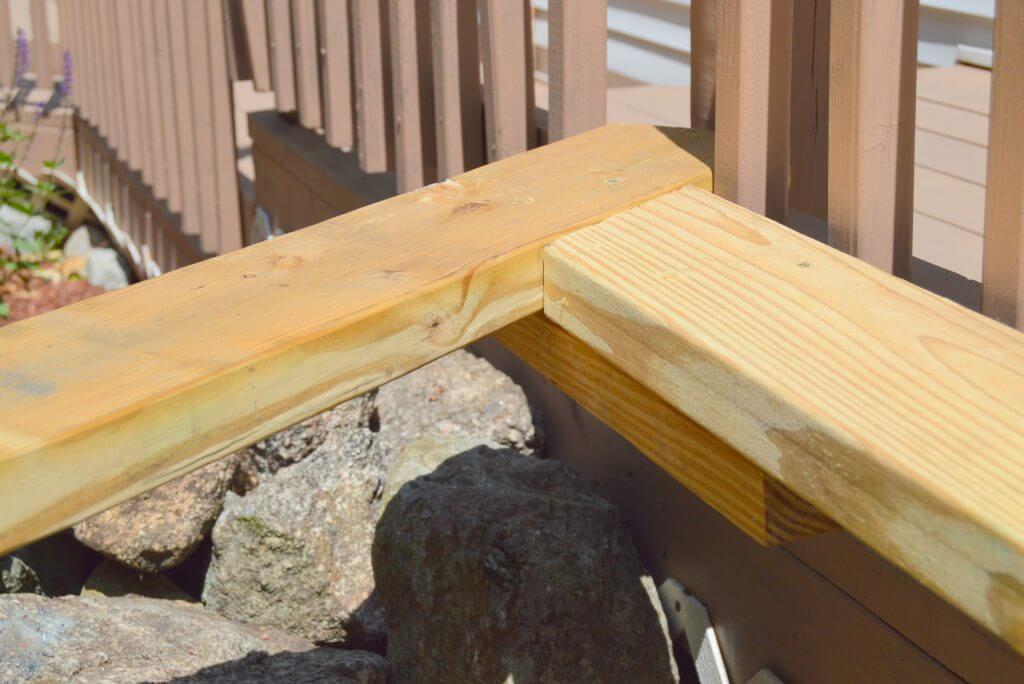
Where the 2 x 6s met, I doubled up to give extra support.
I used small cuts of 2×6 to add support under the boards because they’re quite long and have to hold a large amount of weight. I filled in the space underneath with rocks left over from the old pond.
There were 2 spaces in which that set up wouldn’t work. The slope of the boulder was too steep to reliably stack rocks to hold the weight of the water. So I dug some old plywood out of the garage and fastened it on. Honestly, if I did it all again, I would probably use a lot more plywood and a lot fewer rocks, but it worked, so I’m good.
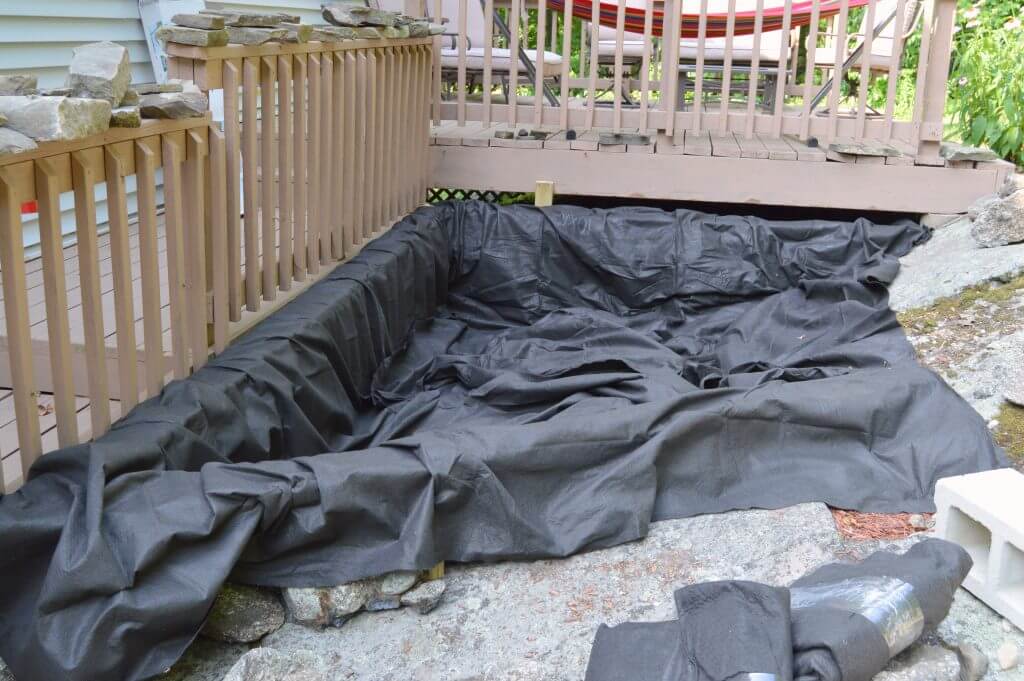
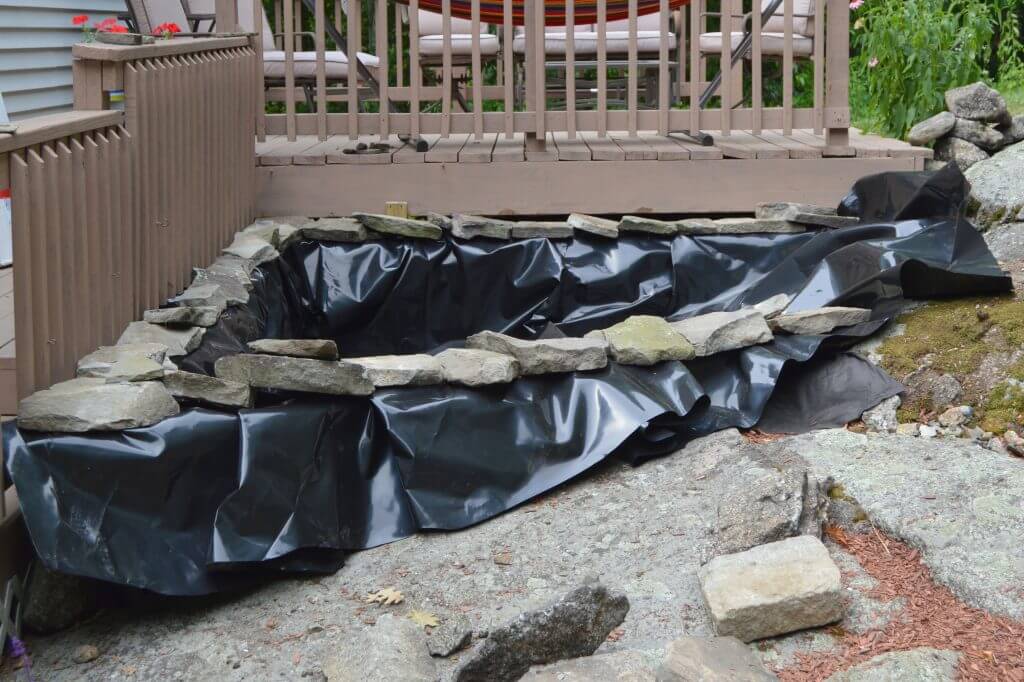
This is a pond liner pad. If you’re going to put your liner over something jagged, like rocks, a pad is a must. Don’t worry that there are wrinkles. The pressure of the water will flatten them out.
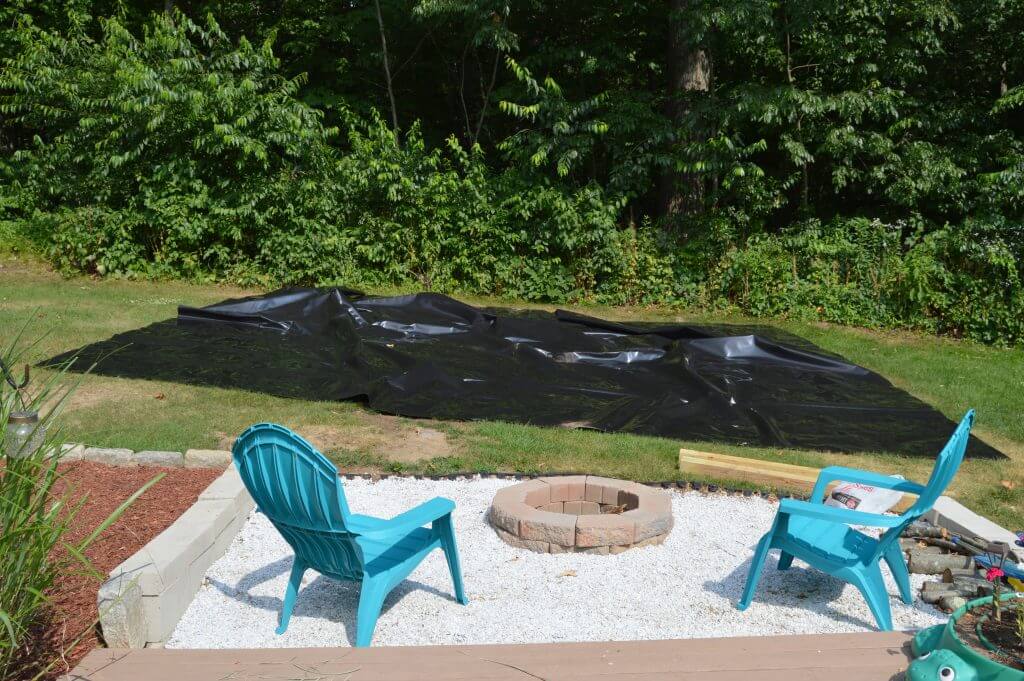
The liner was a bit stiff (and really big) so I laid it out on the lawn in the sun to relax it a touch. It got hot pretty fast! I then moved the liner to the pond area.
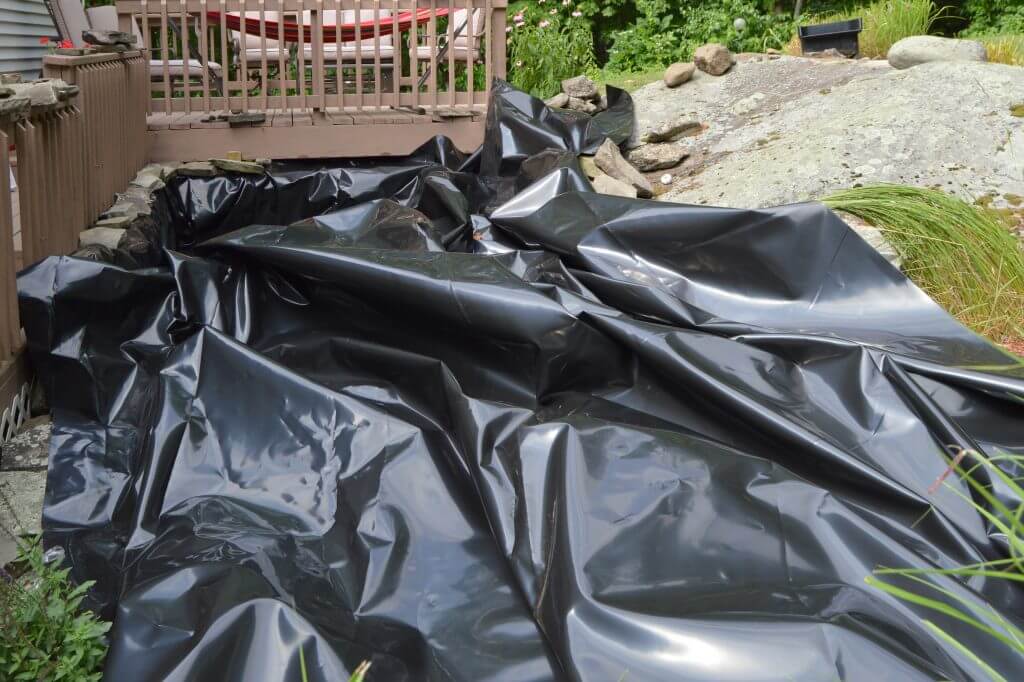
Once it was in the pond area it went from hot to a hot mess. It was not easy to get into place and after about 10 minutes I started wishing I had waited for Mr. O to help me. This liner was thicker – and stiffer – than the last, so it was somewhat tough to get it to go where I wanted.
When placing the liner, leave plenty of overhang… just in case. You can always trim more. Once you’re confident in your placement, turn on the hose!
Despite all my prep and using my trusty level, there was a slight slope to my pond. One side was a little bit higher. Ugh. This meant that the pond liner would be showing on that side, making my pond look completely unnatural. Since I did this whole project so it would look more natural, that was not good.
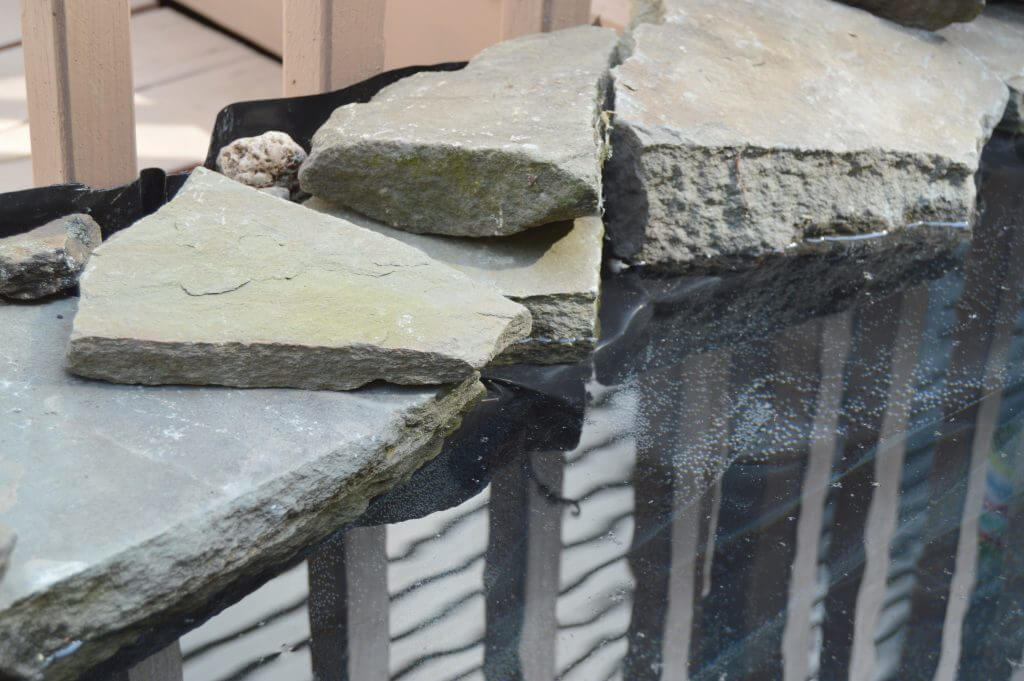
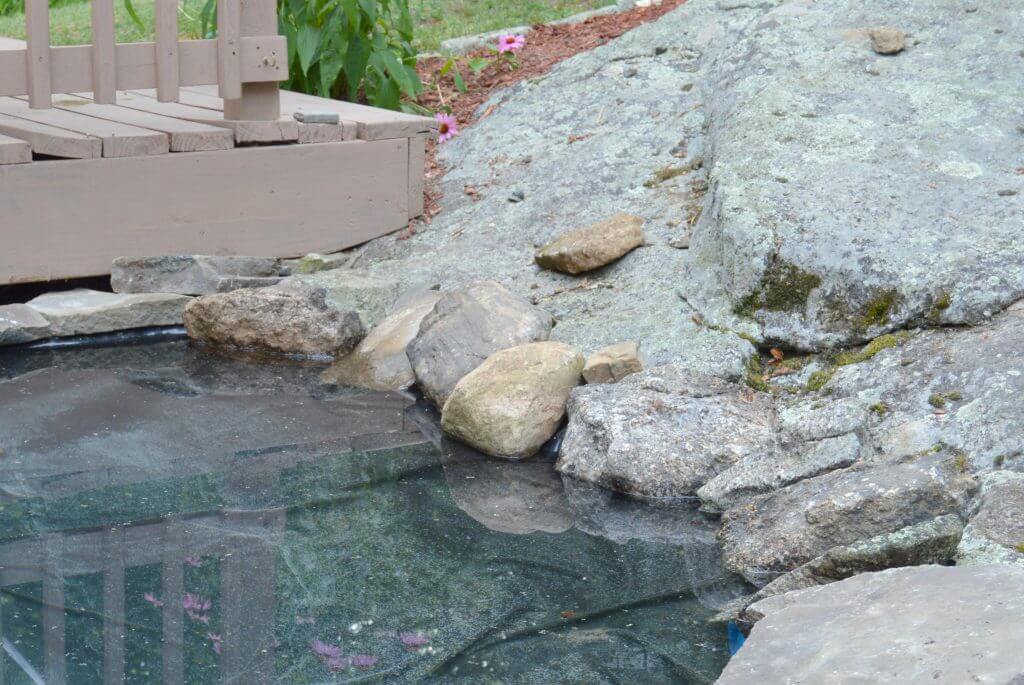
Luckily, I had an idea! I used the excess liner around the edge as a lip to catch more water. This worked more beautifully than I had even anticipated. What happened was the water rose and the bottom edge of the stones were now partially submerged, making it look extremely natural.
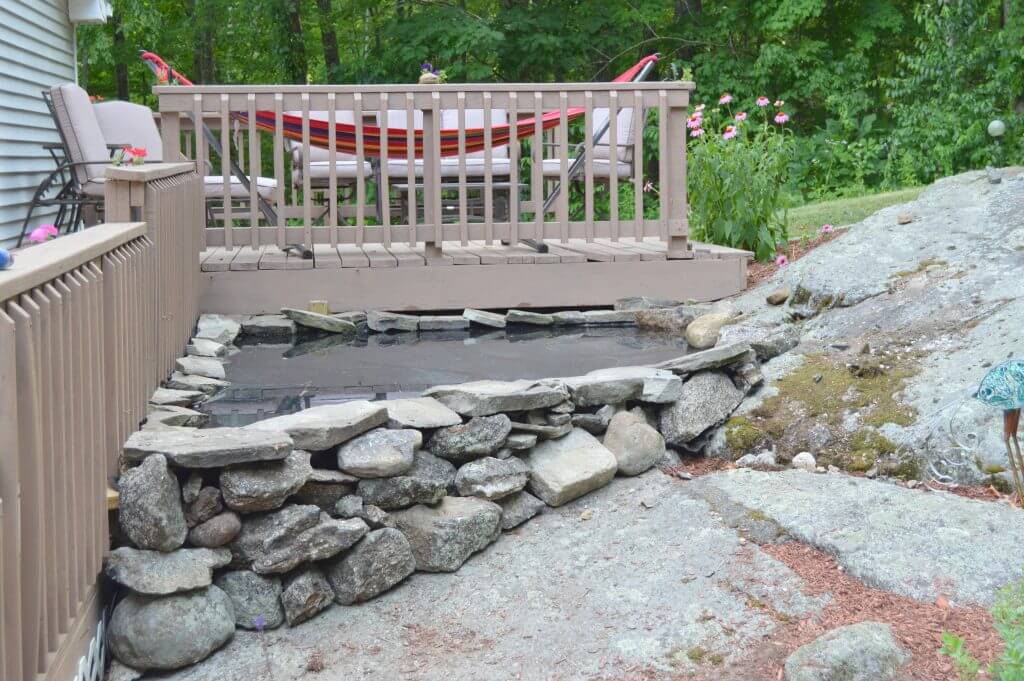
I built up the rock wall on the outside.
On the top edge, I placed a line of rocks that blend nicely with the boulder, again sitting partially in the water.
Here’s a before and after:
Though the top picture isn’t of a full pond, you can see how uneven the walls were. It just looks… clunky. The new pond is also bigger and deeper – you can’t see the lattice at all.
We’re thrilled with how it came out and I’ve been out there several times to just stare at it.
Next up we’re going to fill it with plants and a few fish. I’ll definitely update when we do!

