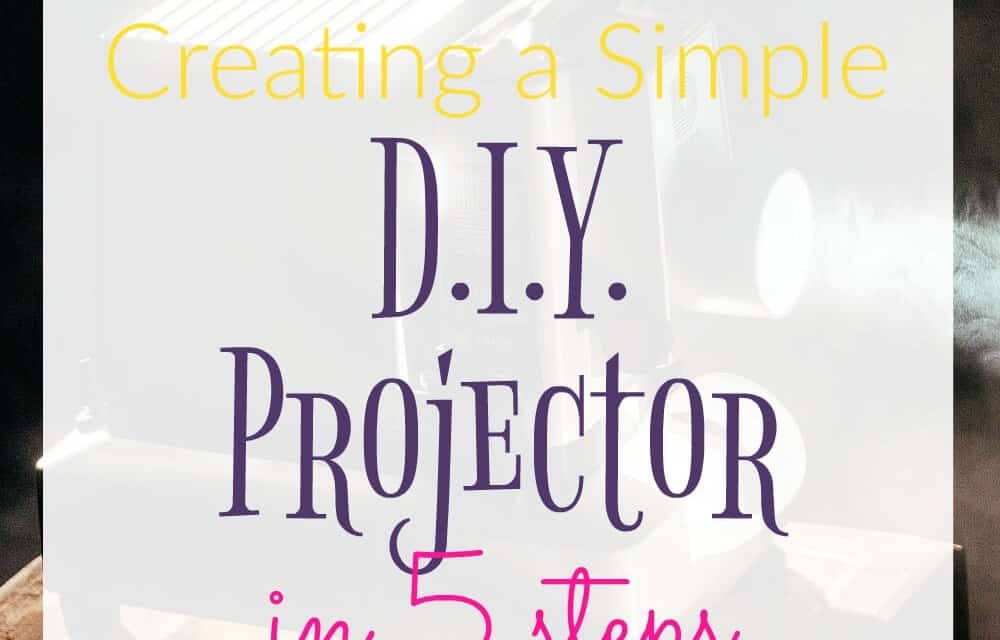
Technology and DIY projects don’t seem to match at a first glance. So, seeing your favorite pictures or a movie on your smartphone might work only if you have no mercy for your eyes or your funds. Mobile projectors cost somewhere around a fortune. Can science help here and come up with a homemade solution to those tiny screens? Actually, it can just by following the same functioning principle of the human eye.
The below DIY project takes a few dollars, if you don’t already have the necessary tools. You can start working on the projector one hour and a half before you plan to use it. Here’s an outline of the homemade projector you can put together in your home.
Find the box. You can make a projector out of any cardboard box in which your phone fits. I recommend you take your favorite shoebox and dismiss it from its storage function. Shoeboxes are most size-suitable, as you will move the phone inside the box to manually focus the image. To make a long-lasting DIY smartphone projector you will need to check its interior edges and glue them if necessary. You can style up the box in any color and even put stickers or draw on it. Remember to keep or spray paint the interior in black, for higher quality image.
Build up your phone stand. While the box dries, you can start working on your phone stand. Some cut the box to make room for the phone. For better results and to prevent light from entering the box, you can make an independent stand out of an old membership card. What you can do? Bend it twice as if creating a tiny tent with one margin. The phone will stand on the margin while the tent design supports the stand. Alternatively, you can bend two paper clips or a plastic juice glass cardboard.
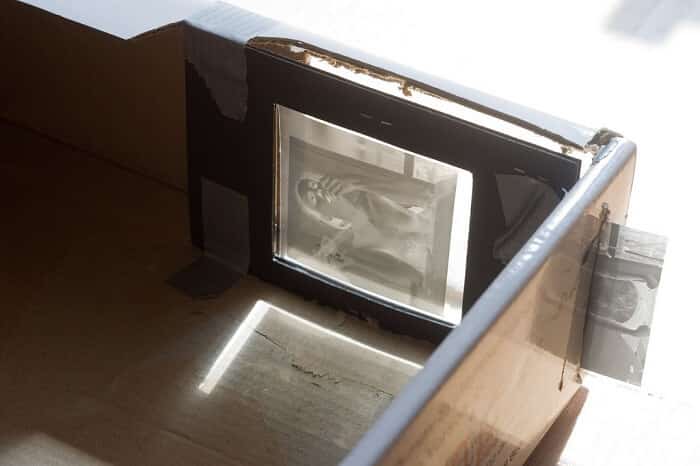
Cut the projector. The shoebox is now your movie projector. Place a handle-free magnifying glass on a side short edge of the box and mark the spot by using a pencil to avoid any mistakes. Measure the diameter of you phone charger and mark a spot on the opposite box end to power support your phone. You can cut these marks in circles by using a cutter or XALTO knife. If any light passes through, you can adjust it with a bit of duct tape.
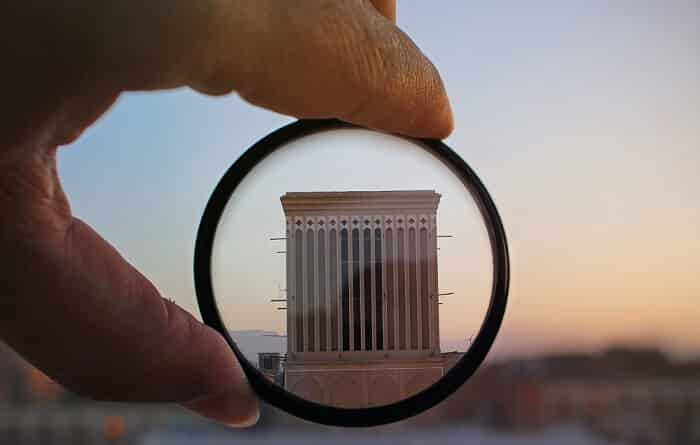
Glue the lens. It’s time to glue the lens of the magnifying glass to the shoebox. For more resistance, you can use duct tape. However, you will have to spray paint it afterwards to match the box. Don’t cut the wire hole yet, do it when you need to charge your phone. Also, keep the cap for future use. If the lens is perfectly vertical, the image will reflect exactly where you need it to. Then, let it dry for 10 – 15 minutes.
Test and adjust the image. When placing the phone in the shoebox and turning the video on, the image will be reversed and blurry. No panic – as I’ve said above, it functions following the human eye principle.
- First, set the image size by moving the phone inside the box closer or further away from the lens. Don’t side move it as the image needs to fully go through the lens.
- Move the projector closer or further away from the white wall it shows on to adjust image sharpness. Make sure it’s also close enough to a plug for charging.
- Revert the phone inside the shoebox while it’s set to show landscape to properly revert the image. Phone apps also work.
So, why did I show you this DIY mobile projector tutorial? According to a survey, more people prefer phones instead of PCs to watch videos than before. Around 78% of them are satisfied by image quality. Yet, the survey might not include the size of the image. If you can change the phone to a newer model, you cannot increase the screen size at home by any trick. So, why not install and use your own projector? You might already have all the necessary tools in your home. If you miss the magnifying glass, you can purchase it for less than $10 from Walmart or Target stores.
Contributed by Kathy Hardess


