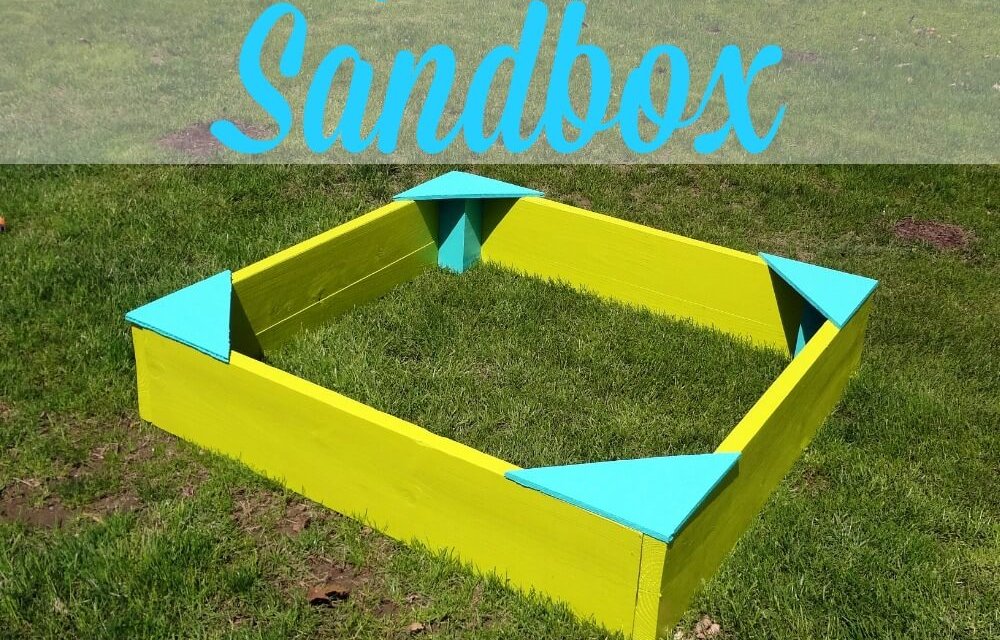
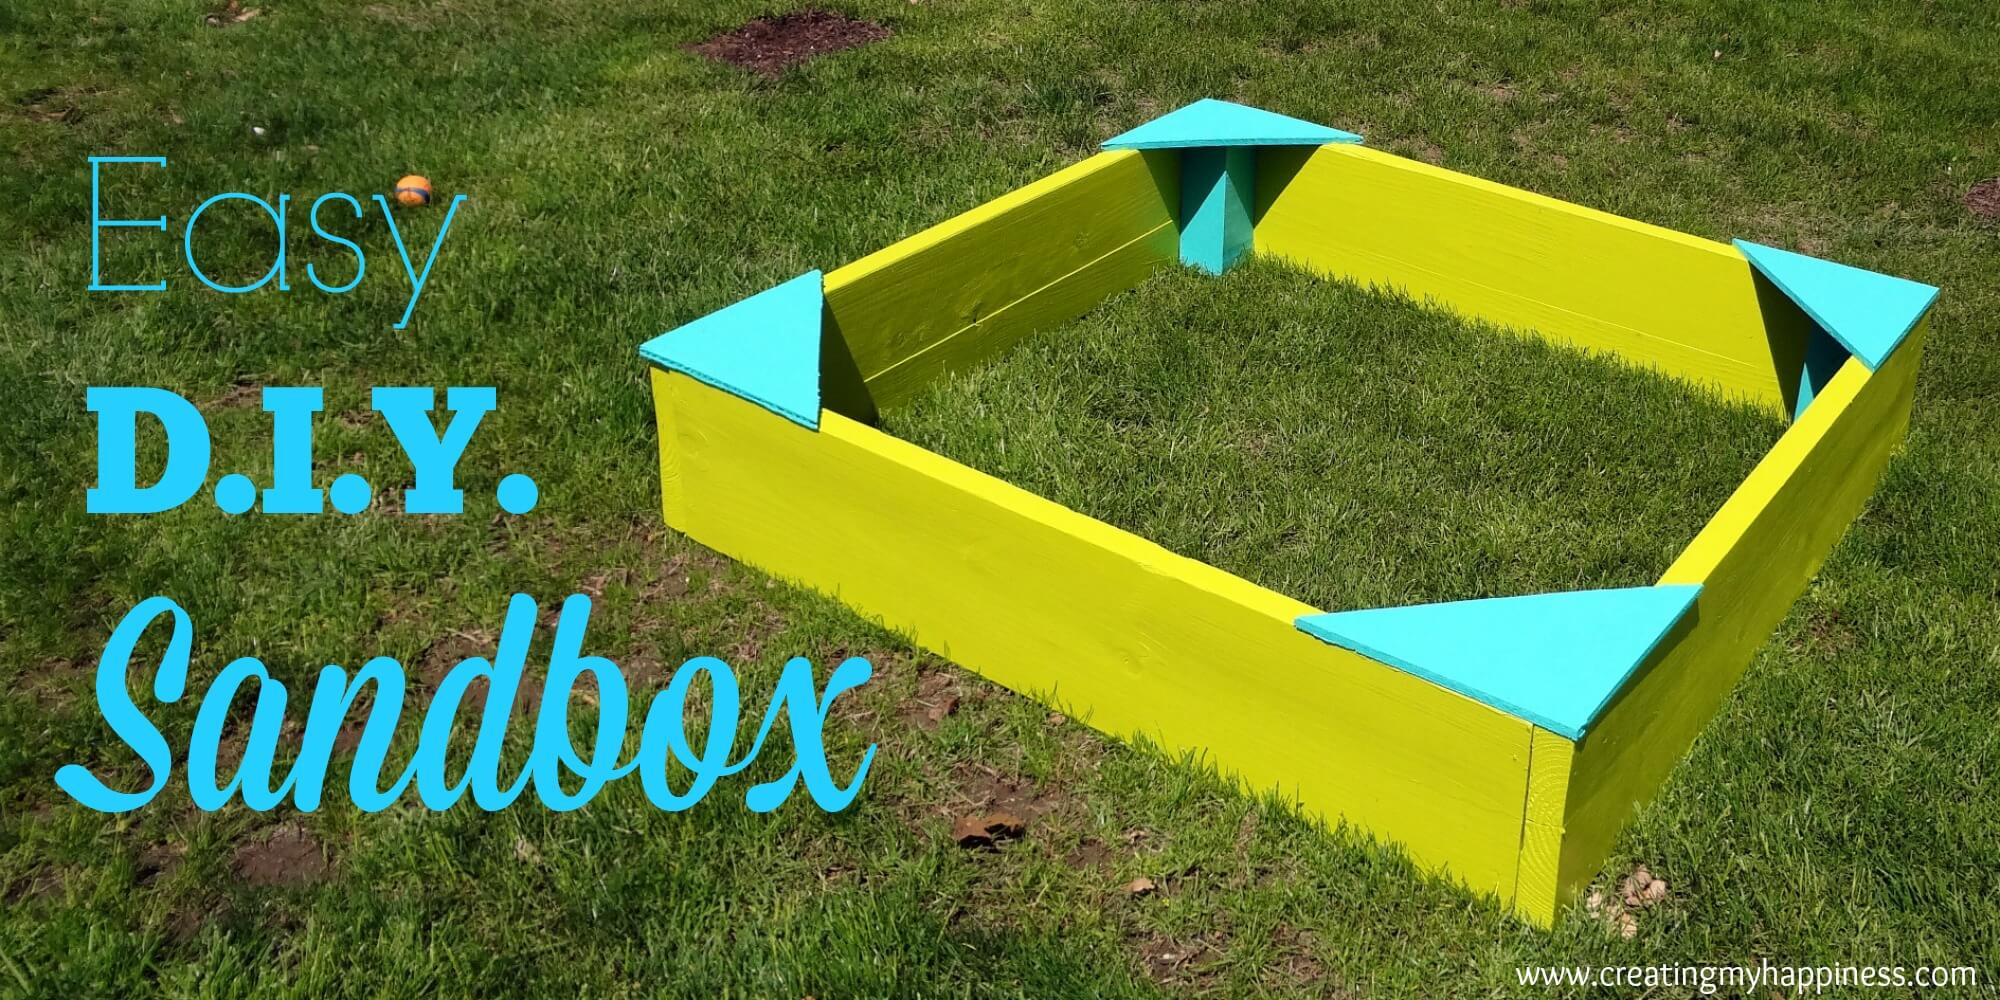
Finally it’s time to begin the sandbox!
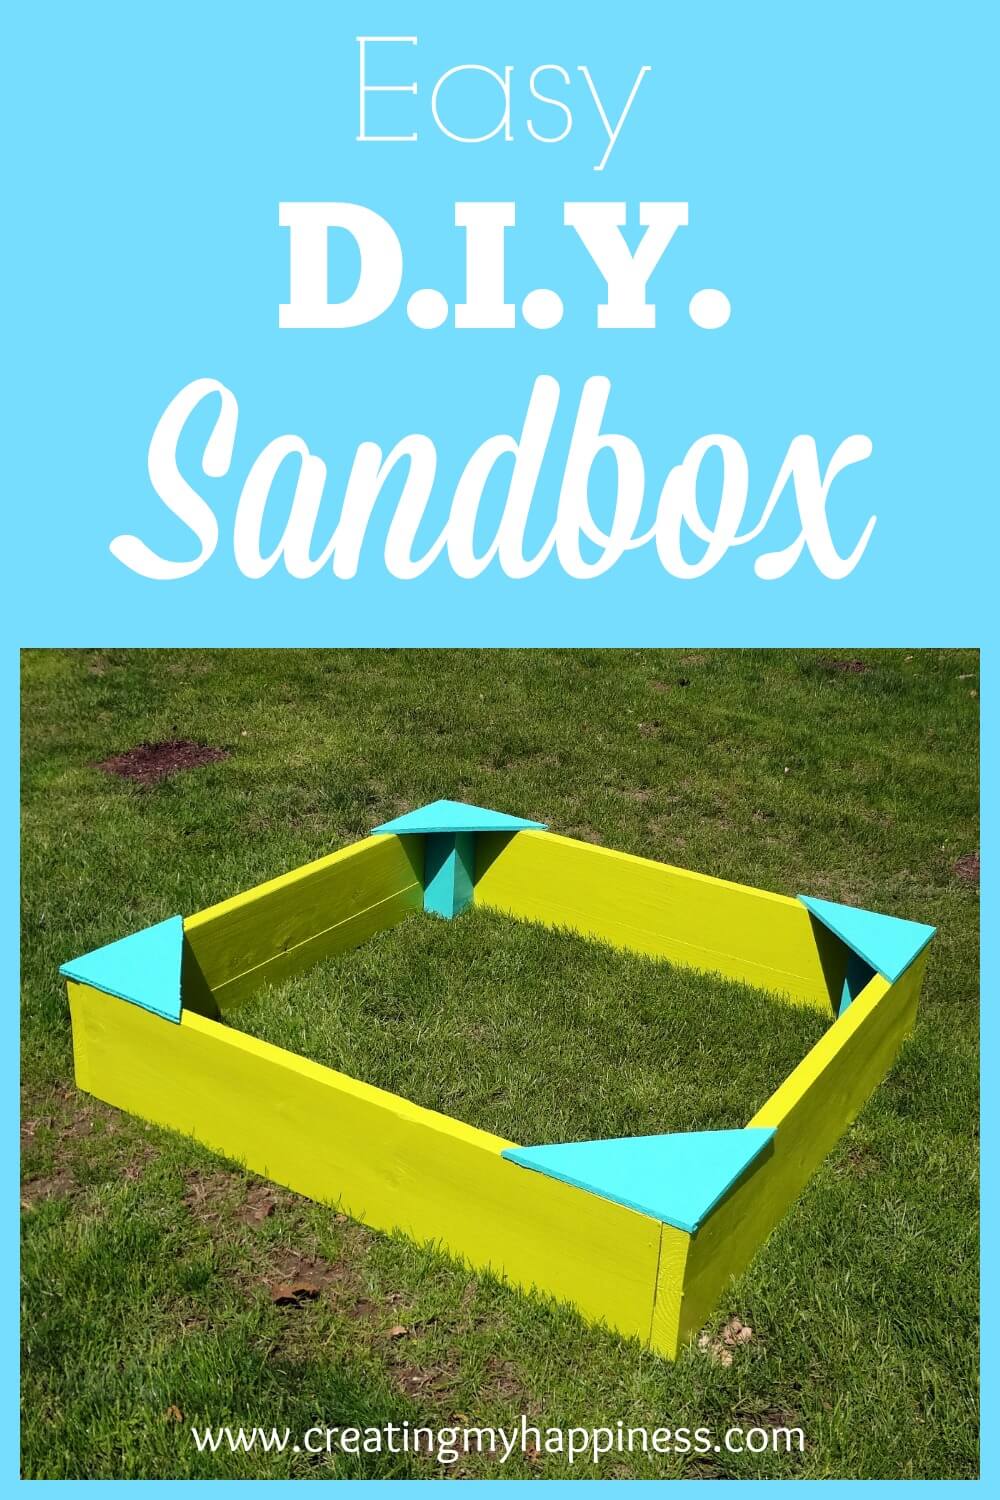
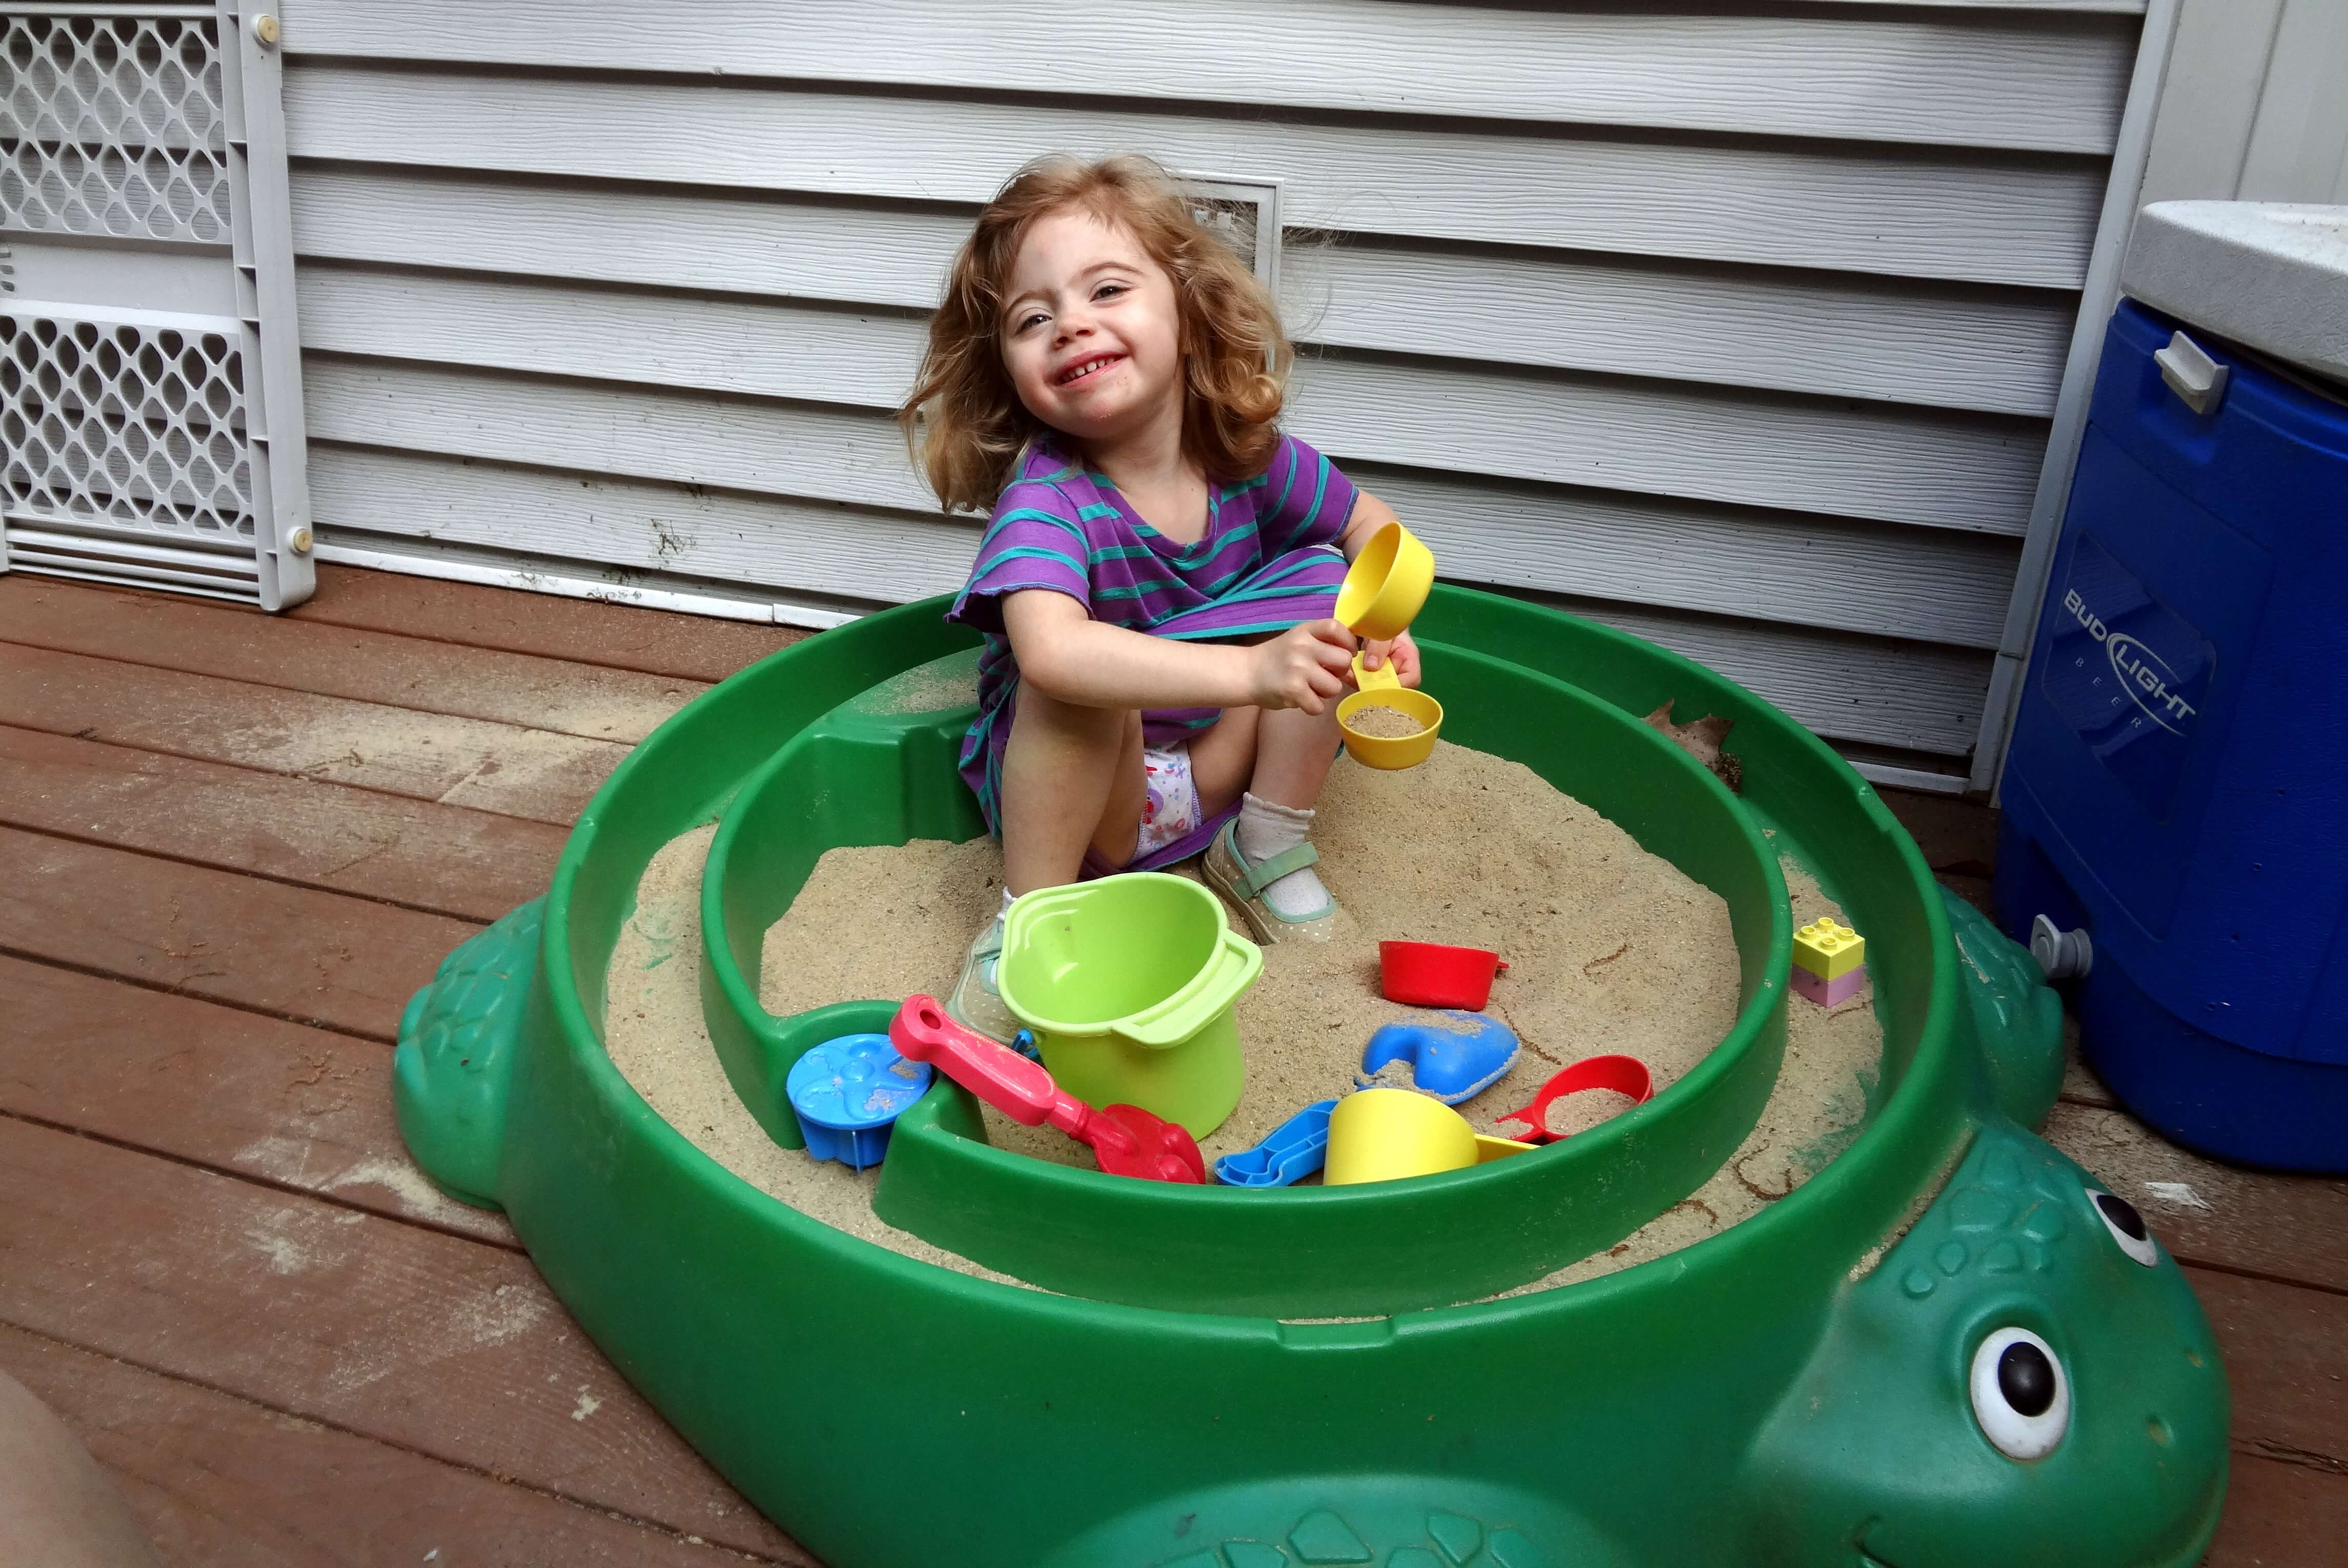
We’ve been using the ubiquitous turtle sandbox for the last 2 years, but Miss O’s legs take up the entire play space now, so it’s on to bigger and better things. I found plans on Pinterest, of course. Many. Many. Plans. Most of them looked like they required an advanced degree in engineering to build. Then I found these plans and they seemed… doable.
A very nice Home Depot employee named Mike walked me around and showed me my options. I decided to stick with a 4′ x 4′ sandbox since that’s enough to suit our needs. Mike also told me that I could call the Pro Desk at Home Depot with my order, including the lengths to which I needed everything cut, then pick it up later that day. Perfect! I ordered and picked up the wood the next day.
The only thing they couldn’t do was the angled cuts for the corner seats. But that’s no problem, right? Riiiiiight. As I found out later, you shouldn’t use a hand saw on pressure treated wood. It doesn’t cut straight, it doesn’t cut easily and you end up with a really sore shoulder. (My chiropractor must love me.) A friend offered to make the cuts, but in the end, because I just wanted to be done, I used some plywood we had lying around.
I got some good quality outdoor paint from a local supply store. Outdoor paint is expensive! I had a coupon for $25 off a purchase of $50 or more so I threw in a package of sandpaper (which I needed anyway) to get me over $50, so I basically got 2 quarts for the price of 1. Bonus!
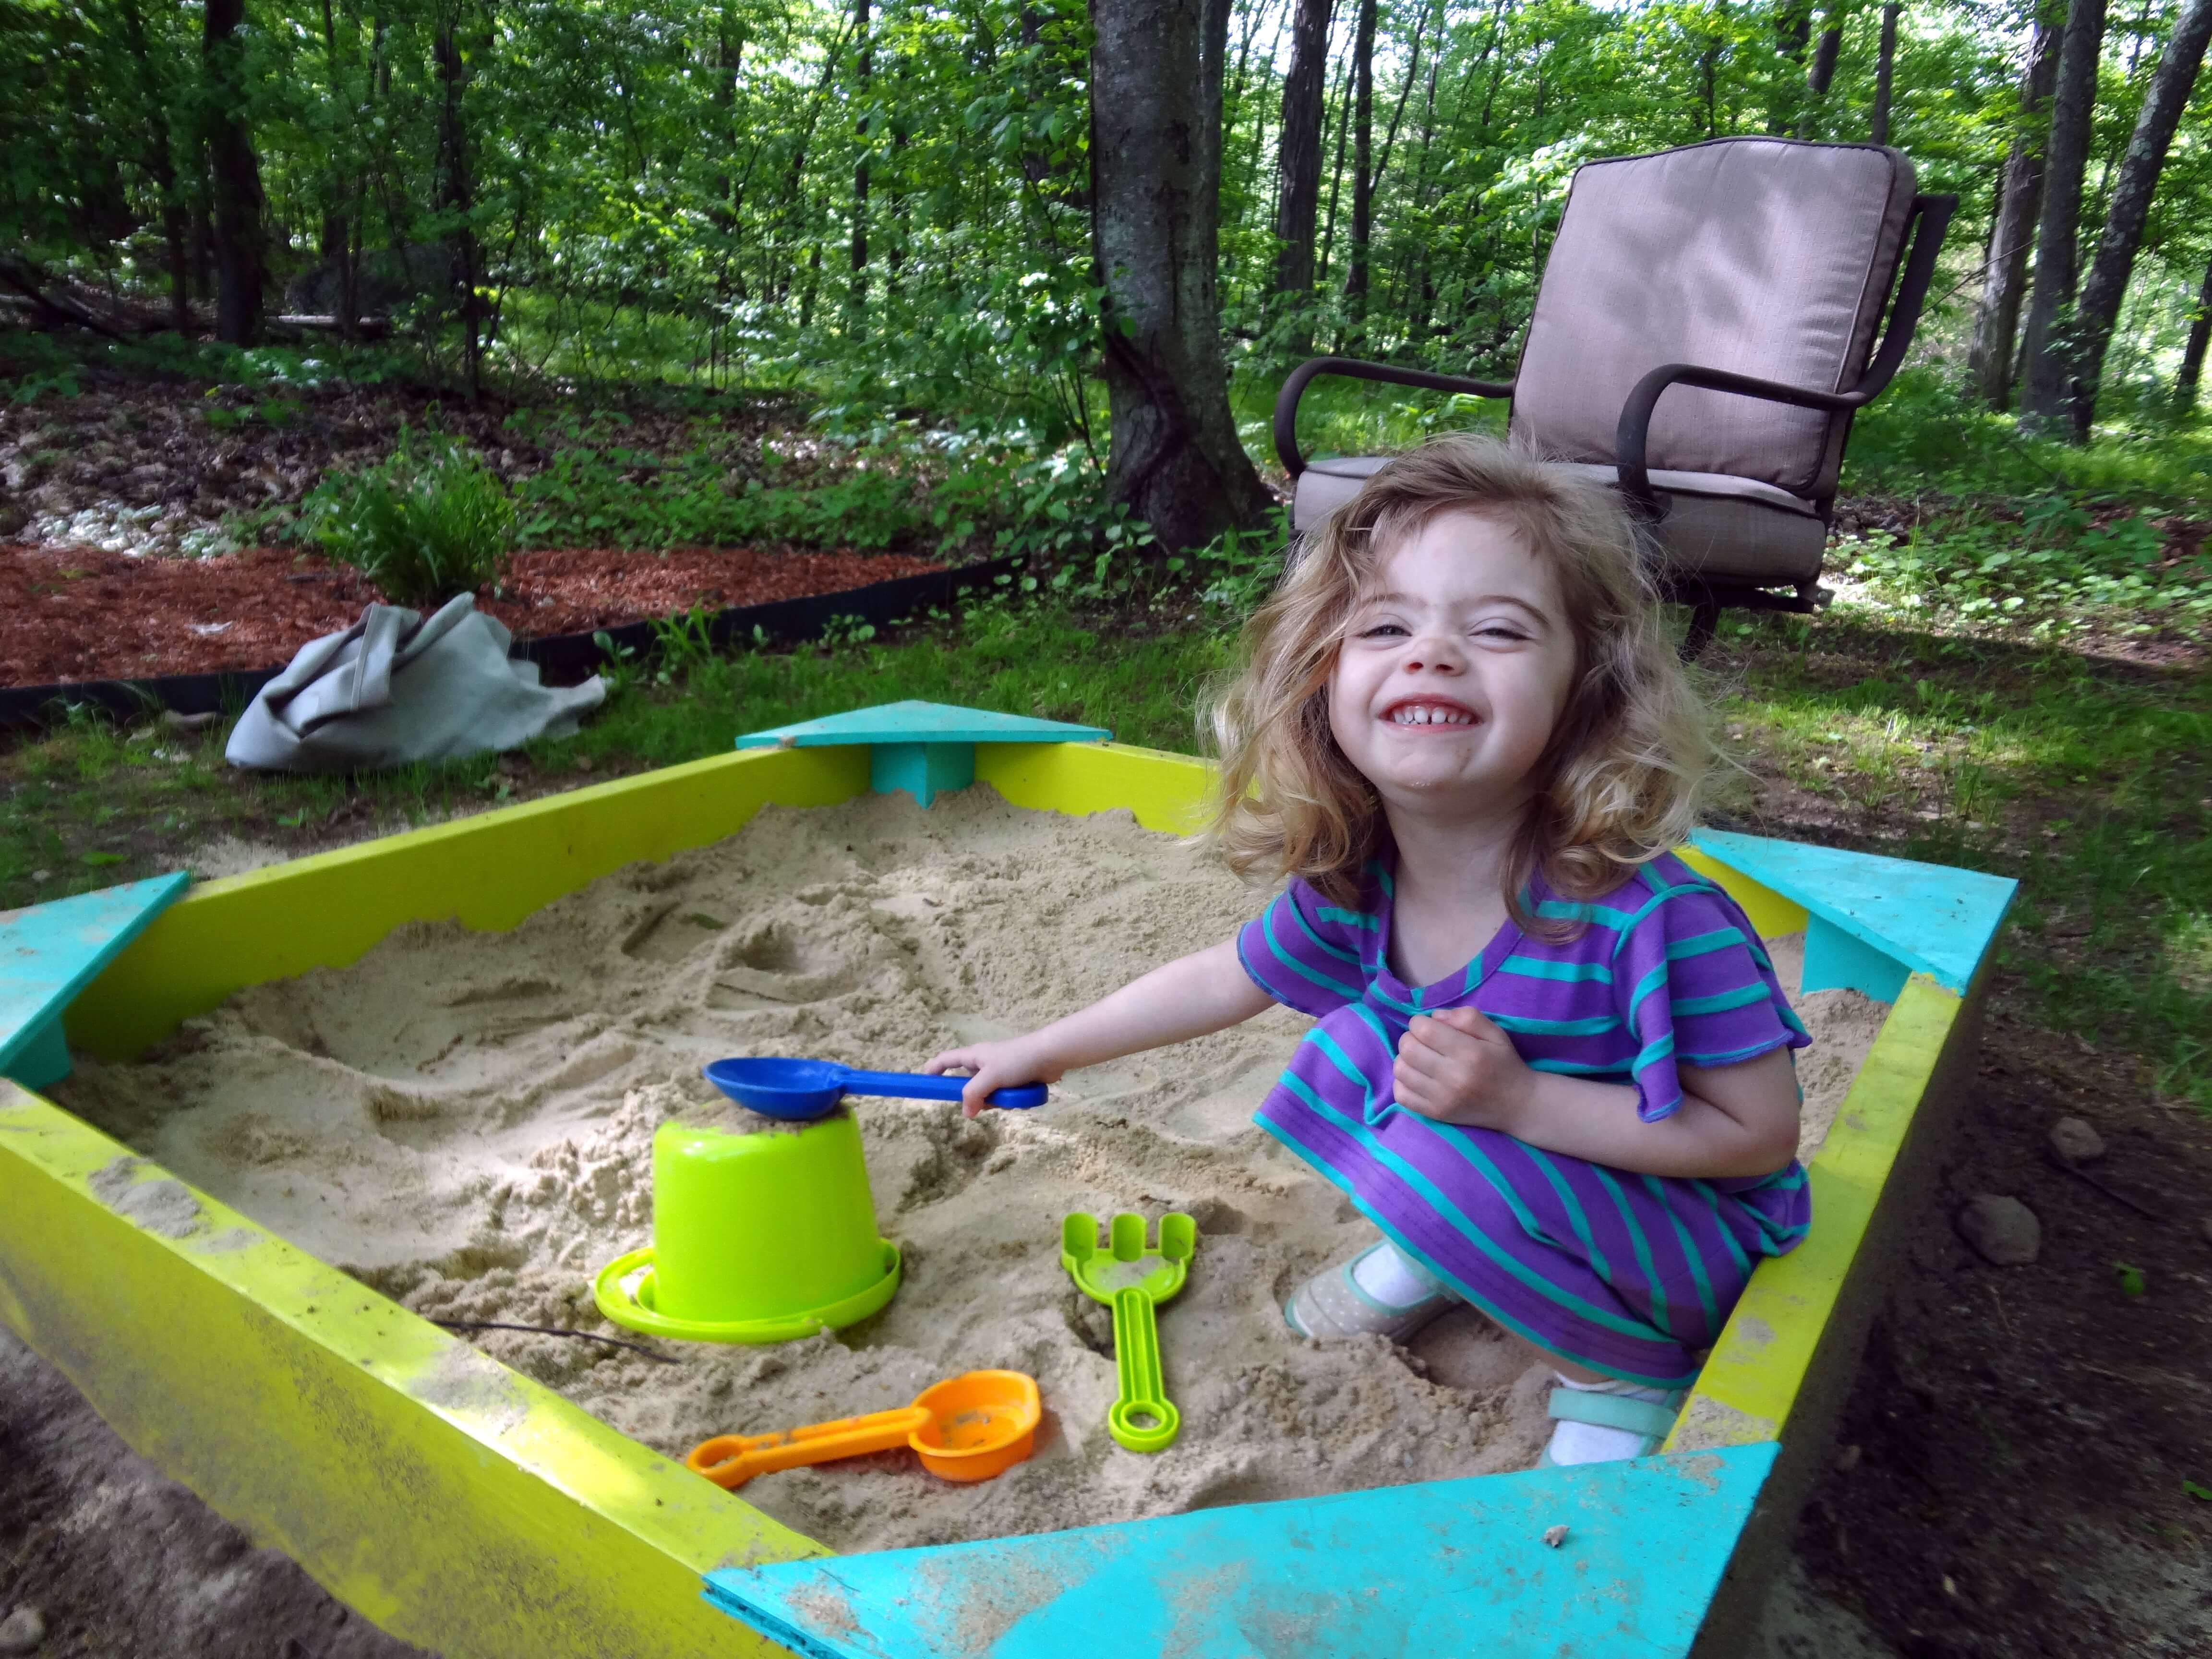
Assembling the box proved to be harder than I expected. As someone who’s assembled a lot of IKEA furniture, even things that supposedly required 2 people, I was unprepared for the challenges that come with building something that doesn’t come with pre-drilled holes and illustrated instructions. First, I discovered very quickly that our driveway and garage are far from level and my wood was slightly bowed which made getting even edges and a perfect square difficult. I later learned that places like Home Depot let their wood get wet so it’s more prone to bowing and cracking. But, the corner seats are very good at hiding the imperfections, and let’s face it, my 3-year-old doesn’t notice the gap in the wood. All she sees is a great way to get dirty.
To keep the animals out we throw a tarp over the box every night, but that comes with it’s own problems. Never one to waste, I got a 5′ x 5′ tarp. I bought a canvas tarp because I wanted water to seep through rather than pool on top, but this tarp is lined with plastic, resulting in a nice little pond after each storm. We have yet to find a way to dump the water from the tarp without it flooding into the sandbox, which sort of defeats the purpose. I’ve got a number of solutions in mind, including using tent stakes on 1 side, cutting holes in the tarp so the water will drain into the sandbox, ditching the tent and finding some lattice on freecycle, or building a cover. Since I’ve done enough building this year, I’ll probably go with 1 of the first 3. 🙂 Stay tuned.
I think DIY projects are a balancing act of self-satisfaction and self-loathing. In the end I’m glad I decided to tackle this project by myself. I get a great deal of pleasure every time my daughter runs to her sandbox knowing that I did that for her. But going forward I need to consider the value of my time, as well as the tools needed to do a job properly.
Lessons Learned:
Ask for help. I don’t know anything about wood, so when I walked in to Home Depot I made a beeline for someone in an orange apron. He not only showed me my options, he helped me figure out the least amount of wood I could purchase to meet my needs, so I don’t have a bunch of scrap wood hanging around and it saved me money. Also, Home Depot will cut the wood for you, a HUGE time saver.
Use the right tools. Yes, DIY projects are supposed to save you money and tools are expensive, but doing it wrong can be costly. It’s not always necessary to buy what you need. Rent it. Borrow it. Use an acceptable substitute (but ask a professional what’s considered acceptable).
Be okay with less than perfect. There is now an entire website devoted to Pinterest fails. Check it out. It made me feel a whole lot better about my less than perfect sandbox.

Budget for this project:
I spent just under $125 on this project, including sand. Considering a comparably-sized commercially sold sandbox would be at least that much without sand, I think that’s pretty good.
Going through E-bates* can save quite a bit on projects, too. A bit of cash back on each purchase adds up fast!
Check out what I did with the turtle sandbox!


