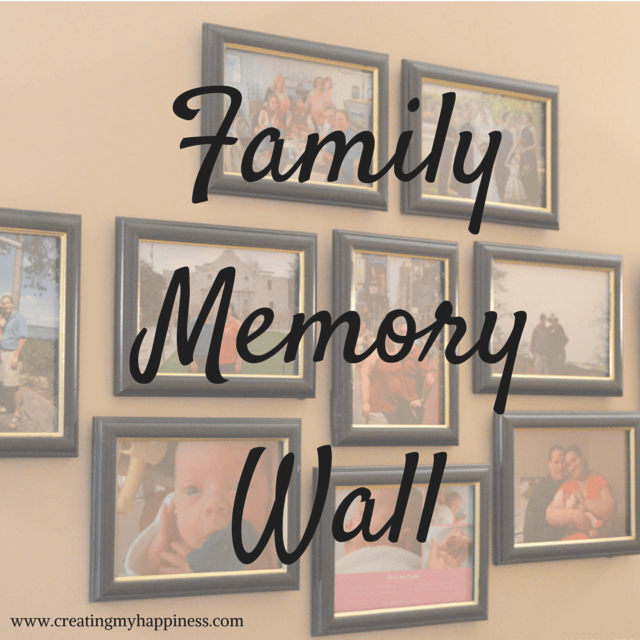
My in-laws have a wall in their house dedicated to all the special moments in their family’s life. They have all six of the kids’ weddings, grandchildren and great-grandchildren, and pictures with local celebrities. It’s a beautiful collection of memories and I knew I wanted one for my home as soon as I saw it.
When we bought our house I set up two picture walls. One was in our front room – at the time a sitting room, now Miss O’s playroom – and it was just for wedding photos. We’ve replaced a couple with family portraits, but the setup remains the same. The other is in the hallway leading to the bedrooms. I thought about putting it in a more public place, but I kind of like that it’s in an area of the house only some people see.
Both picture walls were set up around the same time and both have stayed basically the same since, even though our memory wall was supposed to grow as our life together grew. Life got busy and our memory wall was almost forgotten.
One day I had to stop and straighten a photo – I can’t have one of our most precious memories hung crooked – and I got the itch to continue what I’d started. I had ordered a bunch of frames when I first started the project, so I dug them out. I selected and ordered photos online… then I waited. And by the time the photos came, I was once again too busy.
Fast forward to today. I found myself in an empty house with nothing to do. (Okay, there’s always something to do, but there were no urgent tasks on my to-do list.) I grabbed my frames and photos and got to work.
The first step in this process is one I actually skipped when I started; deciding what kinds of pictures we’re going to include… It seems like a no brainer, but in my first round of hanging I put up a few pictures that were really cute, but weren’t connected to a big moment. Now I’ve decided to include pictures from places we go, life moments, like weddings, and family milestones, like the day Miss O came home. We’ll reevaluate the system as we go.
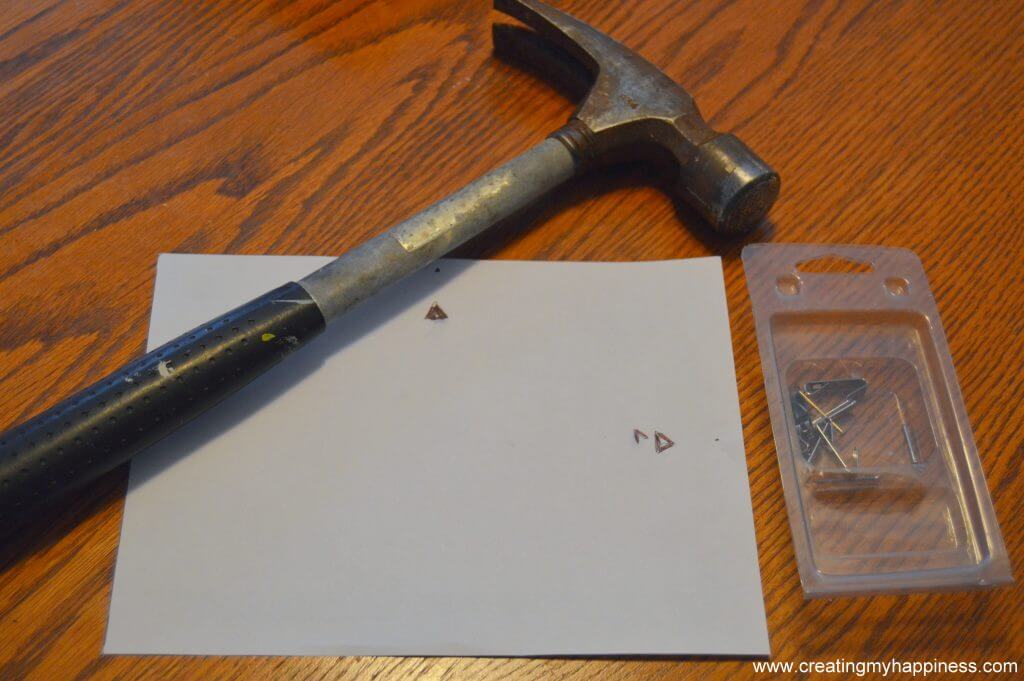
I got my supplies together – not a huge list. Picture hooks, hammer, and frame place holder. To make the place holder, just trace around the edge of the frame, cut around the edge, then mark where the hooks are. You can make one and move it around, or make one for each frame and tape them up where you want the pictures to go. It’s a great way to try different arrangements without putting tons of holes in your wall.
One thing about a project like this is that you can’t get too caught up in creating the perfect layout. For one thing you’ll be adding to it as you go. For another, there’s no such thing as the perfect layout. Just be creative and have fun! If you like straight lines, go with it. If you prefer more of controlled chaos look, more power to you. The most important thing is just to get your pictures up so you can enjoy them!
What I love most about my Family Memory Wall is not how pretty it is, or perfect it is. I love walking down my hallway and seeing pictures of my family at some of the best times of our lives. I love having a beautiful physical reminder of the good times. Even on my bad days, these pictures will always make me smile.
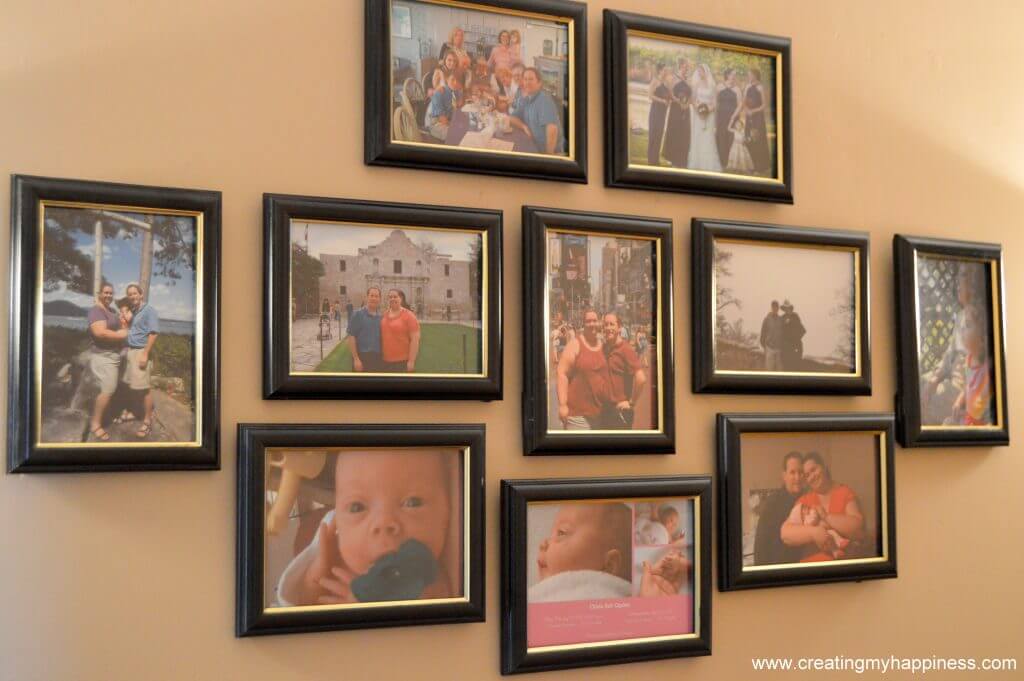
Here’s my finished product:
From top left: Easter breakfast, a friend’s wedding Miss O and I were in, our trip to NH, the Alamo, Times Square, the Grand Canyon (snowed in), Miss O with her great grandmother, Miss O’s first picture with no tubes, Miss O’s birth/coming home announcement, Miss O’s coming home day
Linked up at Much Ado About Monday, One Project at a Time, Thrifty Thursday, Frugal Friday, Link Party-Palooza

